
The November 2021 Paper Pumpkin Kit is all about gift giving and it’s time for gifts galore! This kit focus is on treat packaging. So, whether you like to give homemade goodies from your kitchen, or gather small trinkets to give as a secret Santa, these projects are just the thing you need. I made three treat holders so far, then I wandered to try and make the parts into cards. Mine turned into easel “gift card holder” cards, but I think you’ll like them!

A Time for Gift-giving
I have to be honest. I don’t think I will use too many of the treat packages as the kit is designed, so I needed to figure out a way to use the pieces. And I love the challenge! The cutouts are fun and my goal was to not destroy them too much, so the idea came to me to make them into easel cards.
Time to Start Making Gifts Galore!
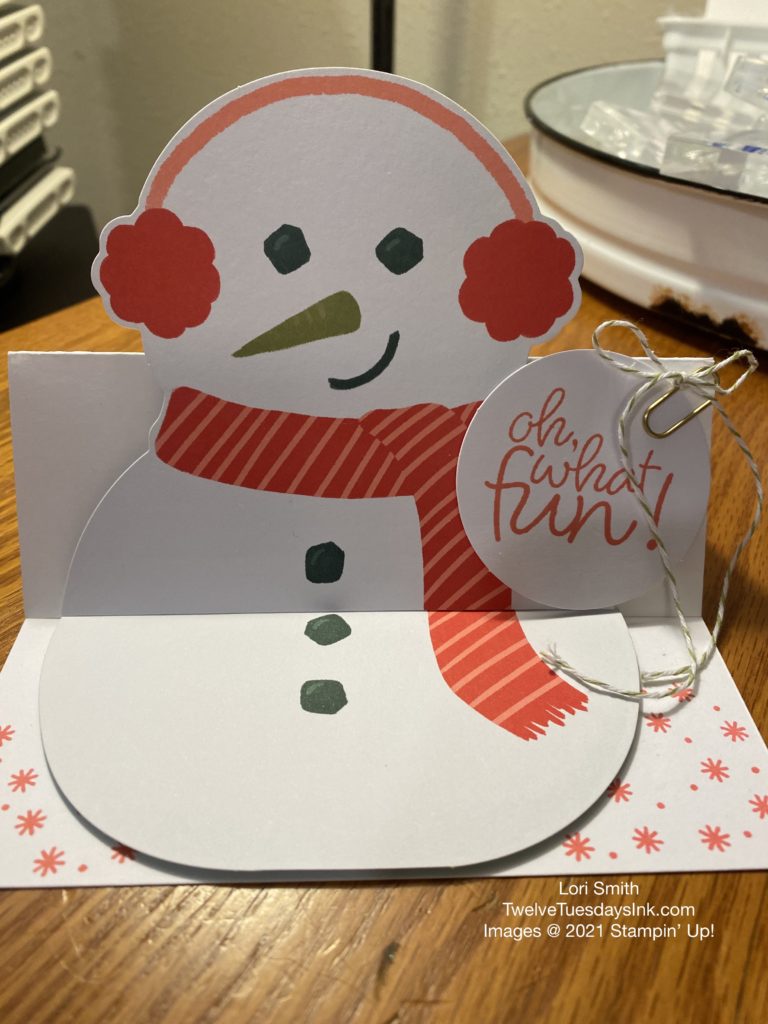
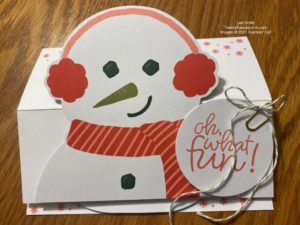
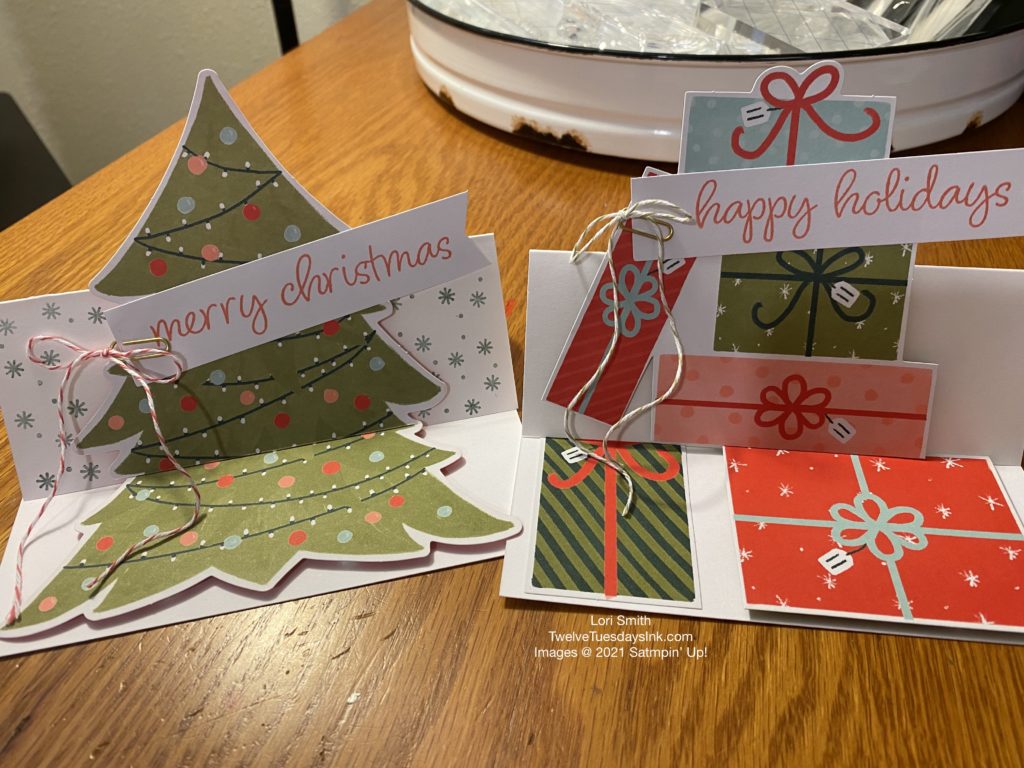
First, choose one cutout of your choice, snowman, tree or gift stack, and gather some thick white cardstock. Also, if you’d like to have another ink color or two, look in your craft stash. Really, most of the supplies you need to make this card are inside your kit! This snowman easel card only uses supplies from the kit, and a piece of white cardstock. So, let me explain how it’s done.
- Cut a piece of white cardstock to measure 5-1/2″ x 8-1/2″.
- Make two score lines on the long side (8-1/2″) at 2-1/8″ and at 4-1/4″.
- Fold the card in half (on the 4-1/4″ score), and also fold along the 2-1/8″ score line toward the inside of the card. This card will have a landscape orientation. Look at the photos to guide you.
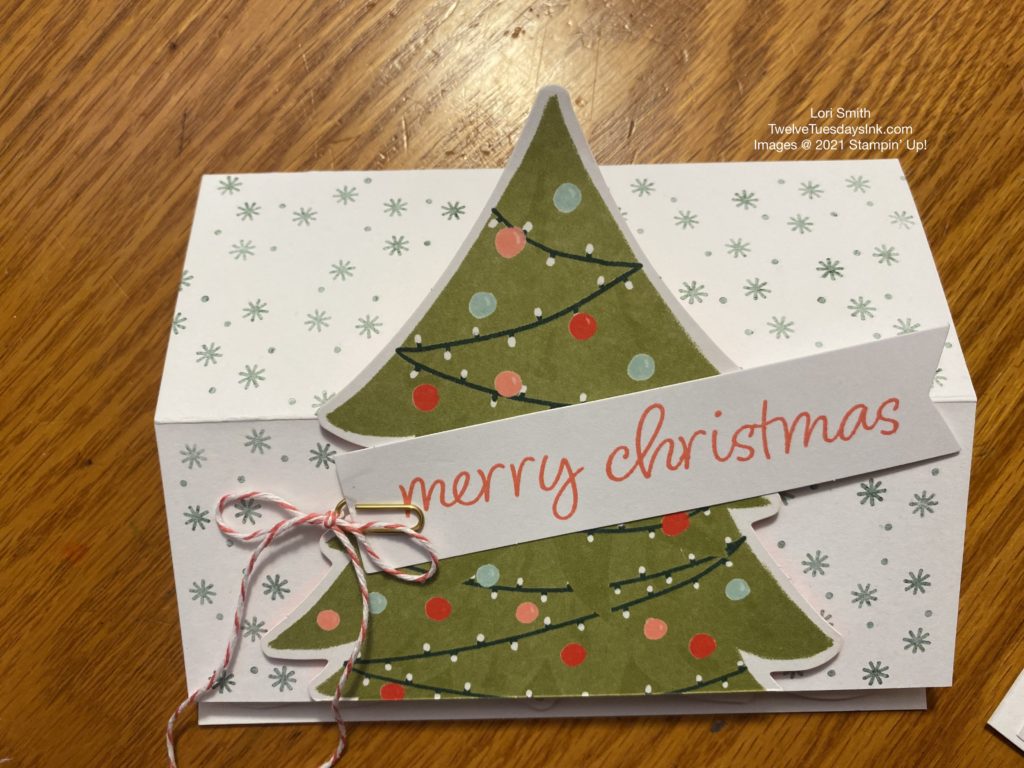
- Next, determine where to make the cut on the snowman or the tree, for the front of the card. Hint: The piece that will be on the front cannot be longer than the card front. Hold the cutout to the front of the card, with backside facing you, and make a couple of pencil marks. Line up the pencil marks and cut along the pencil line with a scissors or paper trimmer. The bottom portion of the cutout will make the easel part inside.
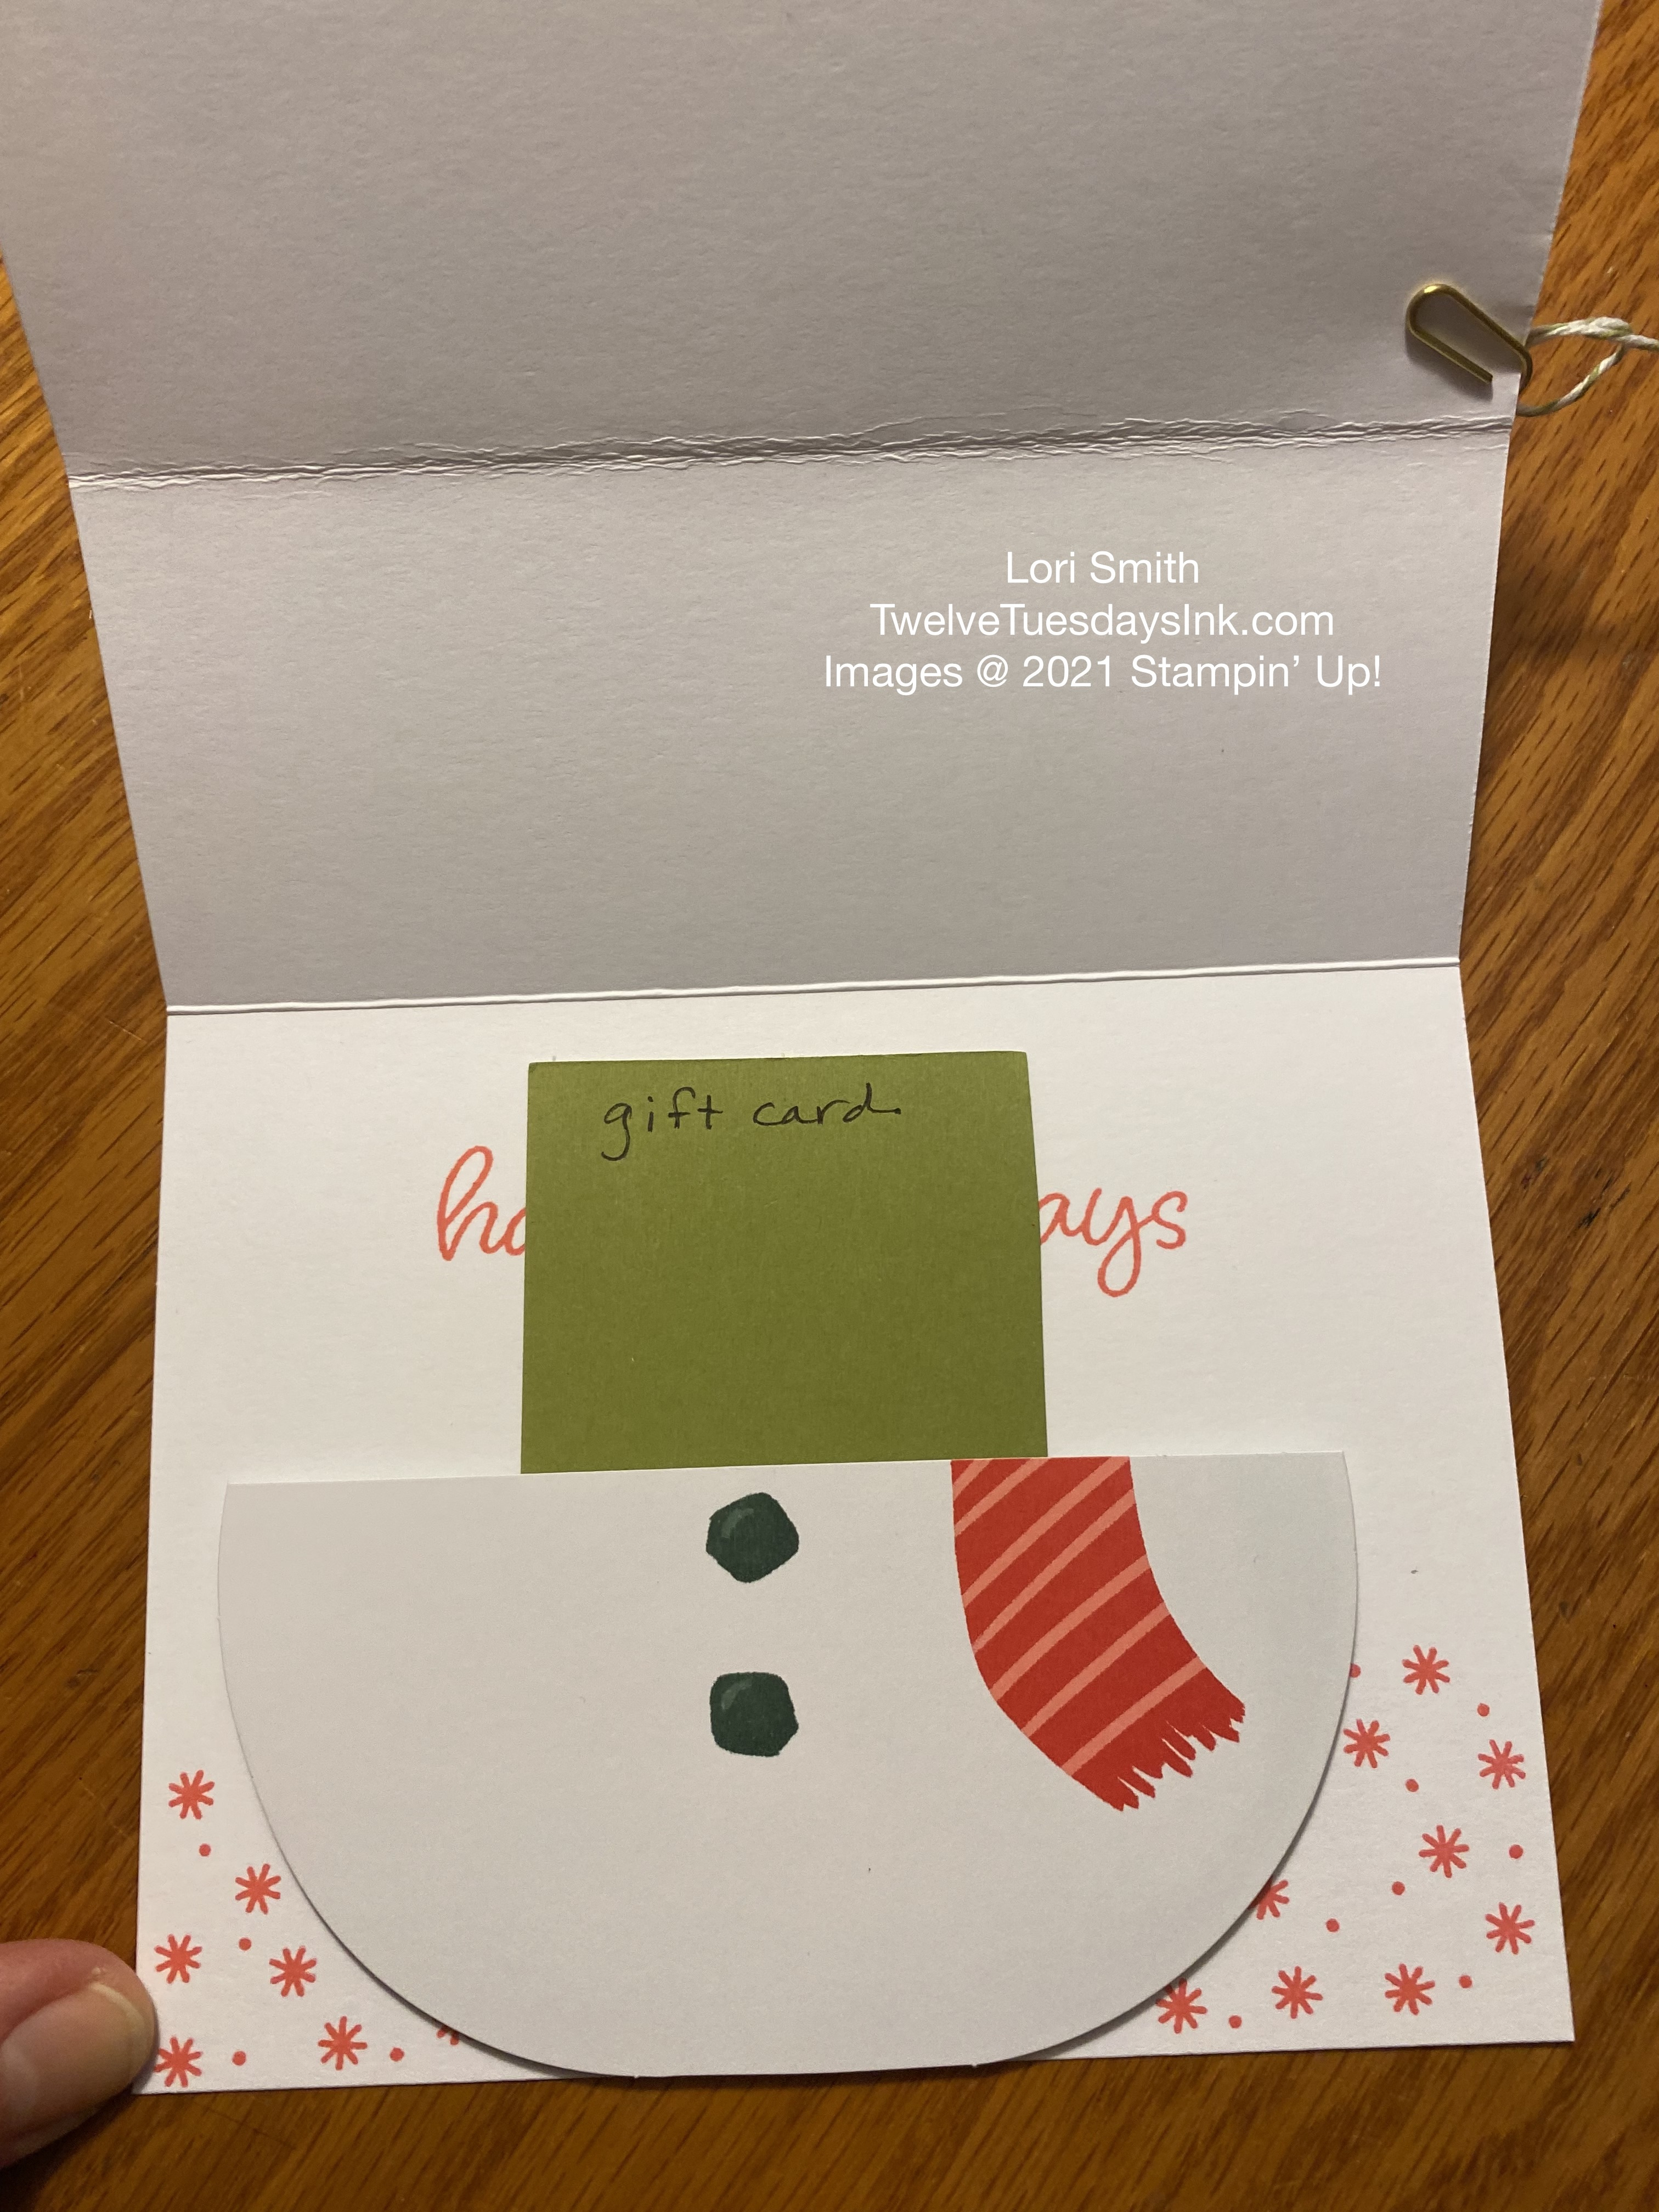
- Stamp some snowflakes on card front, as you desire, and also add the sentiment to the inside of the card.
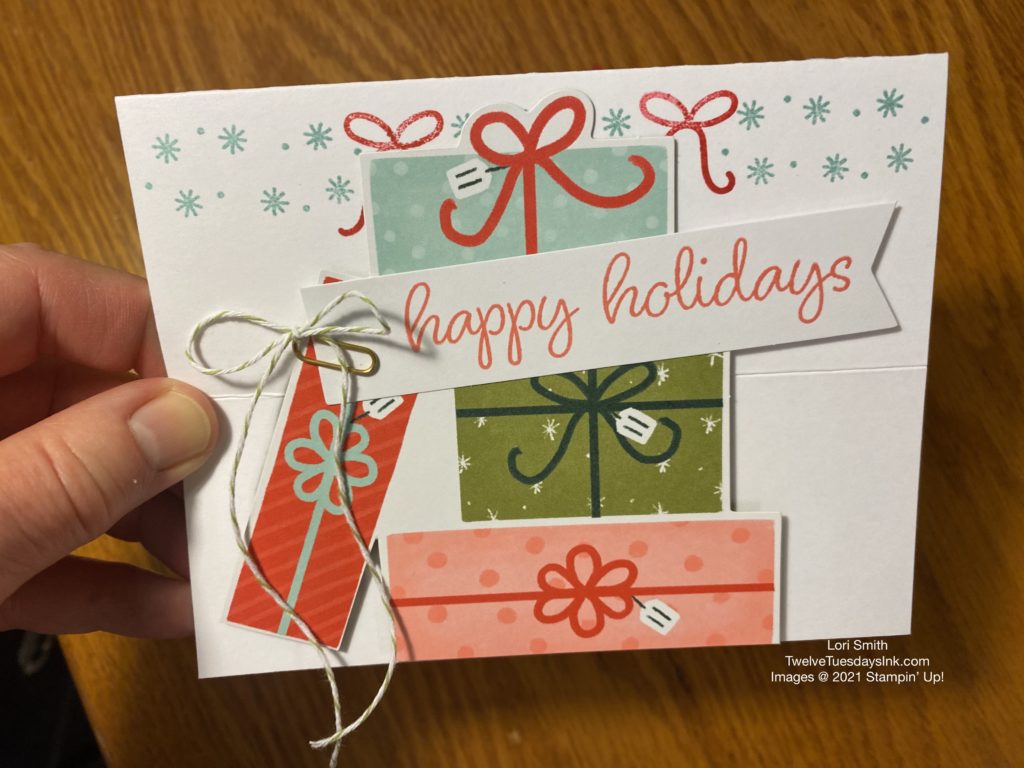
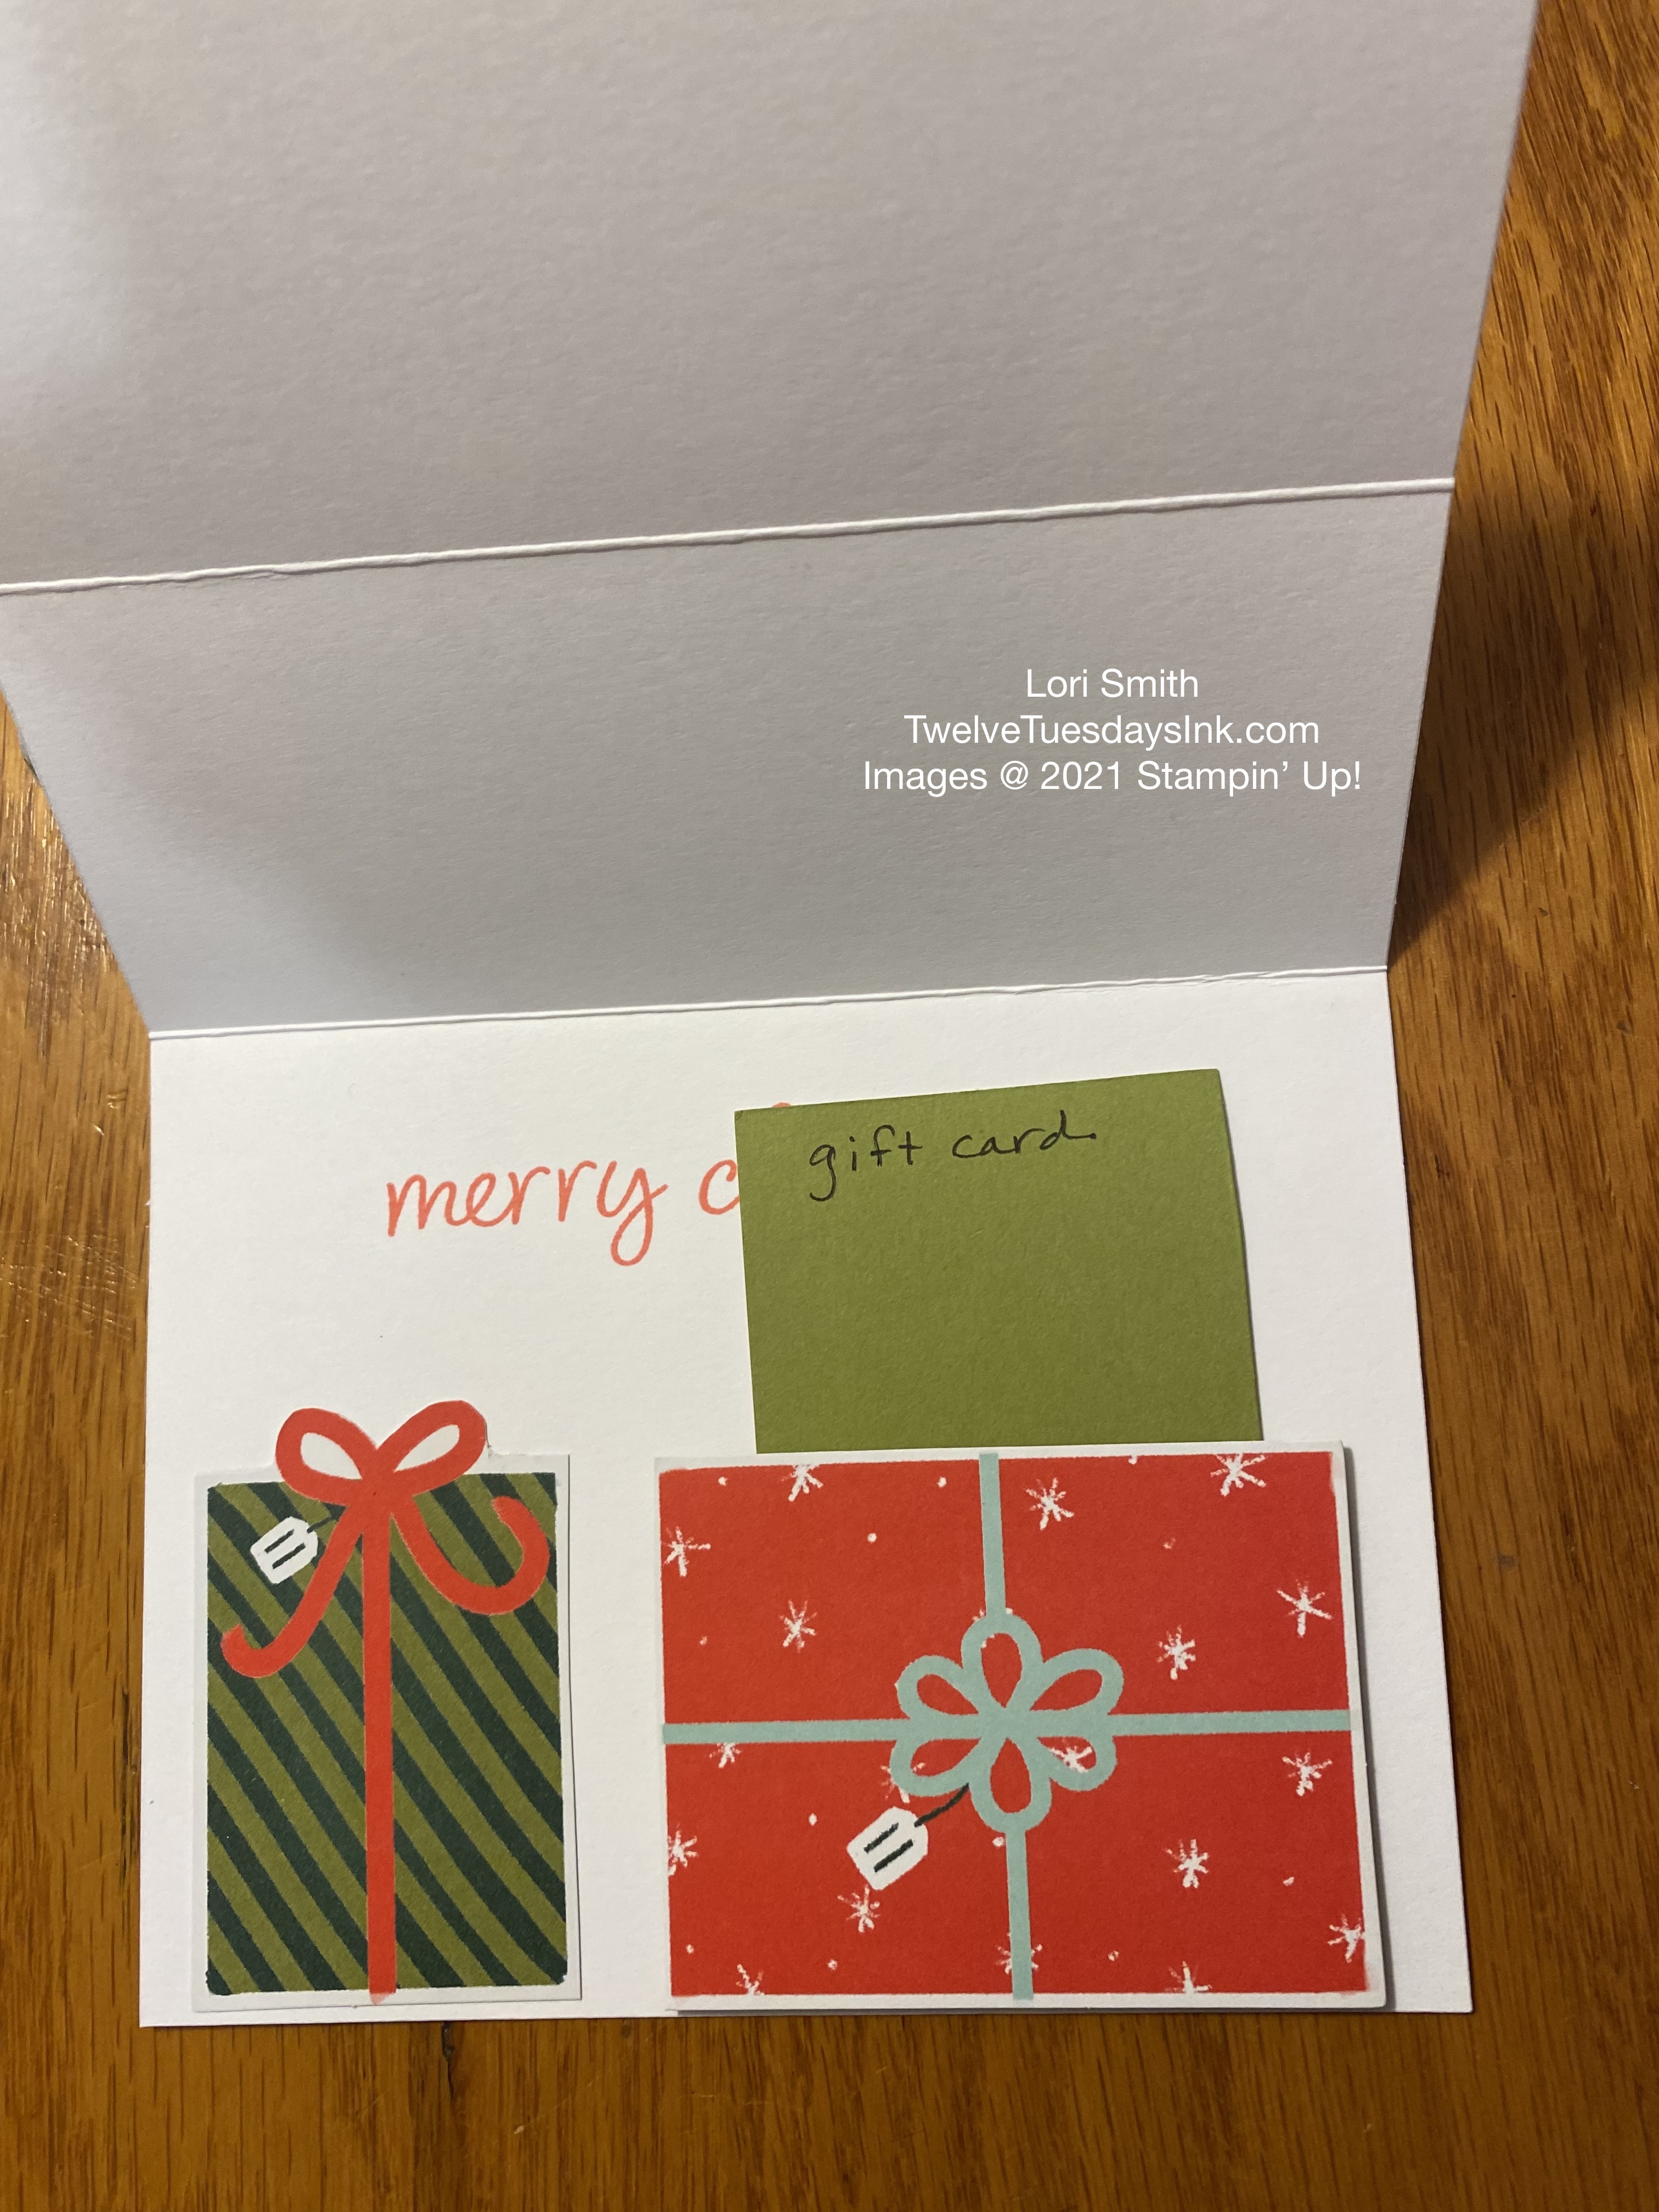
- If you chose to make an easel card with the gift stack cutout, you will simply fussy cut the bottom two gifts off. There’s no need to measure, as in step 4. Refer to the photo below.
Assemble the Card
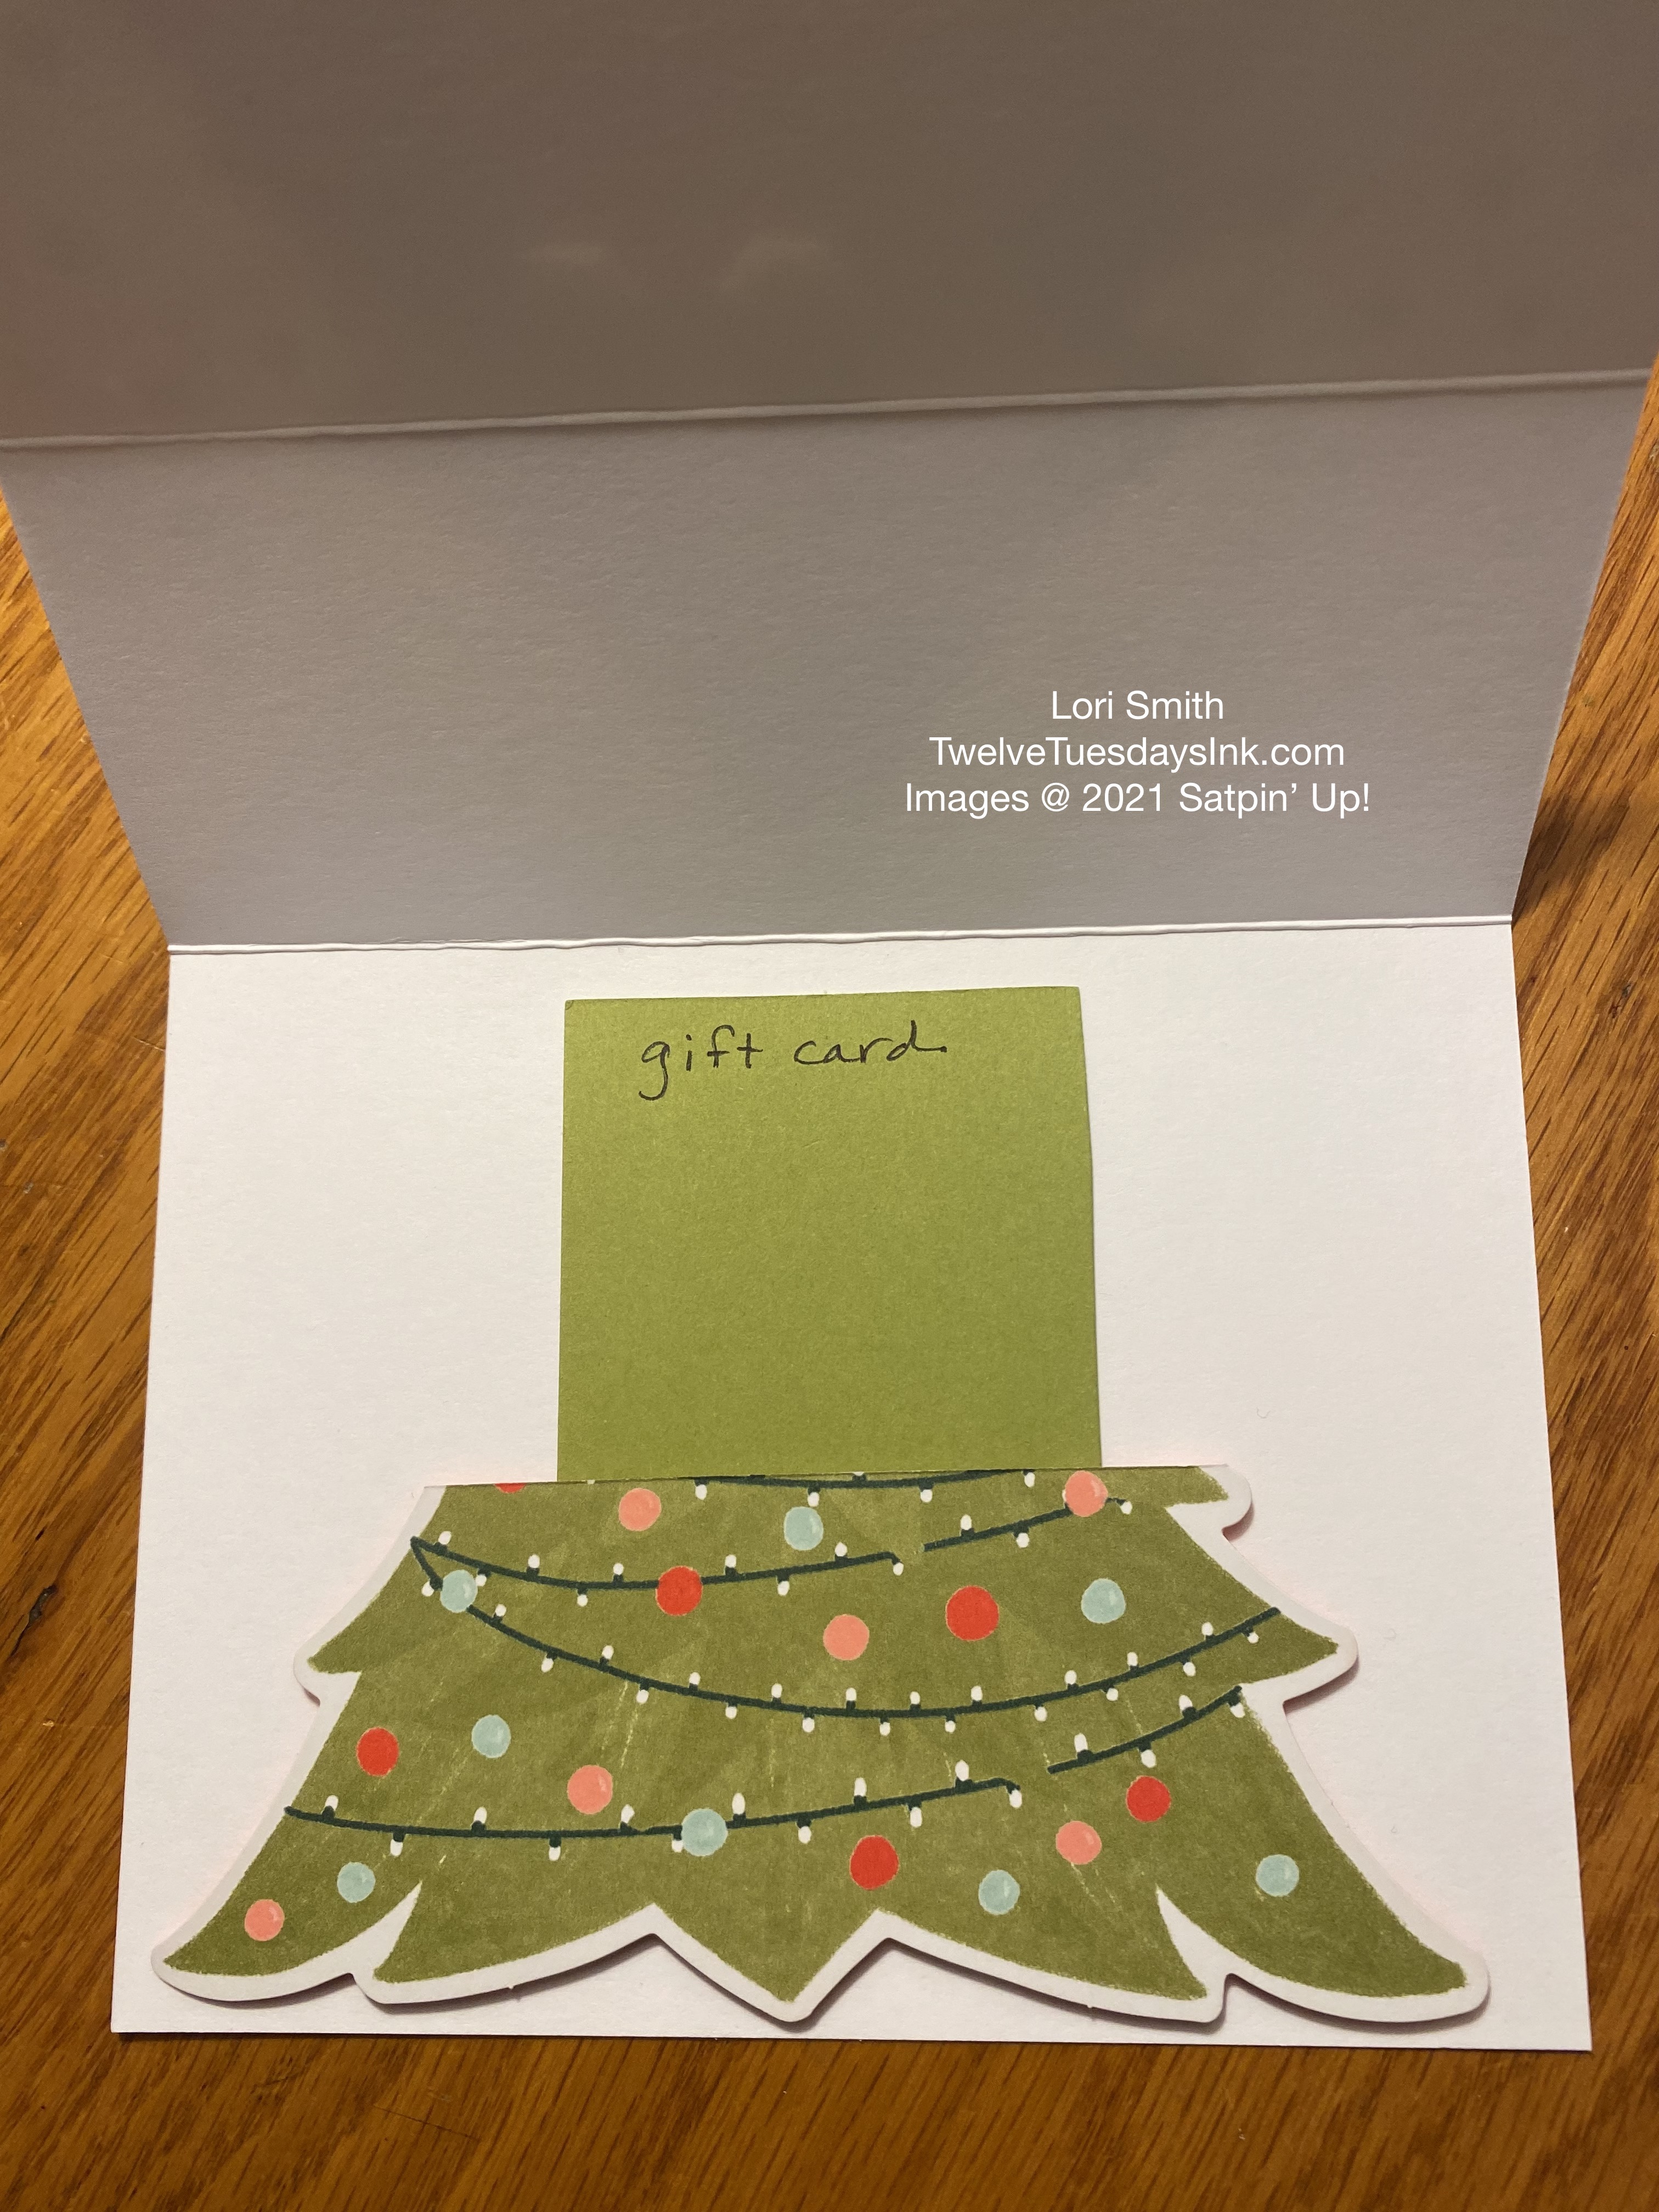
I have another confession to make. After making these cards, I realized the bases of the cutouts were perfect size to fit a gift card in. Just make sure the dimensionals don’t obstruct the space for the gift card when you place them on the cutout. If I had thought about this first, my snowman could hold the gift card horizontally, if I had only placed the dimensionals closer to the edge. Instead, I can only fit a gift card in the easel vertically. The next one will be different!
So, the card base is ready, the original cutout is cut into two pieces, and most of the stamping is done. As a result, it’s time to finish the easel card:
- First, align the bottom of the cutout along the bottom of the inside of the card. Attach with dimensionals, but being careful to leave enough room for adding a gift card. It will allow the easel to display, when the card is open.
- Next, open the card, and align the top (front) portion of the cutout to the bottom part (inside). Attach dimensionals to the back of the “top” cutout, but only to the bottom half of the cutout. This way, it can pop-up when the card is in “easel mode.”
- As a result, the cutout will look very close to the original piece when the front is propped up.
- To complete the card, add the final embellishments. However, don’t forget to add the gift card before giving it away!
More Gifts Galore Alternatives
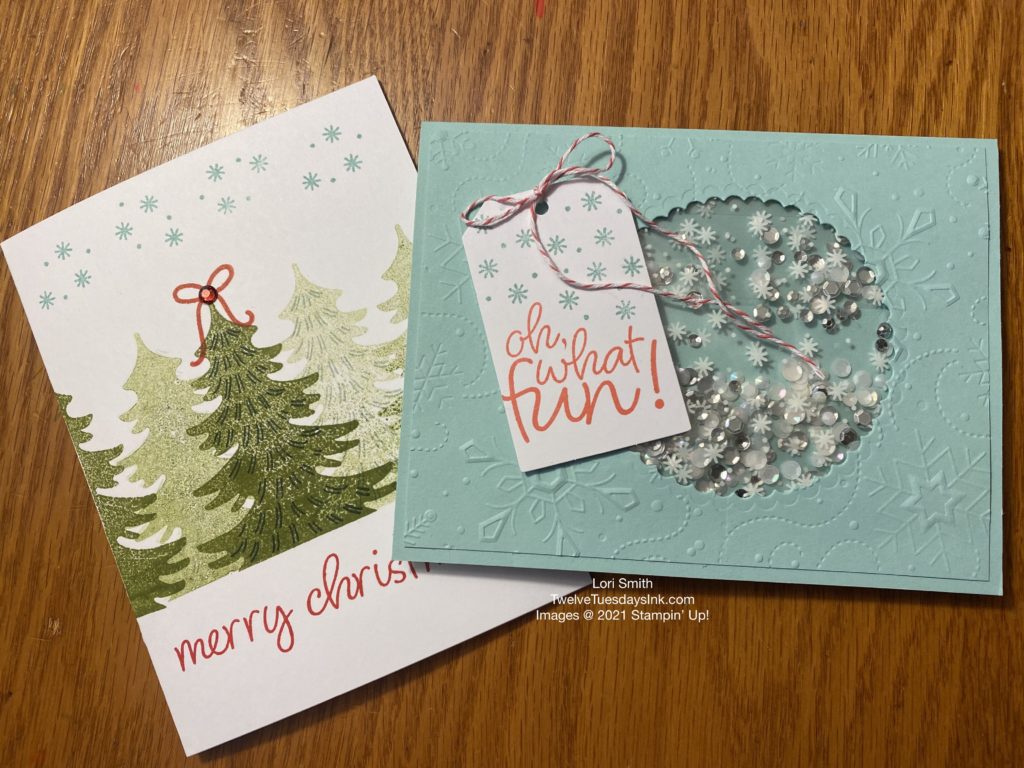
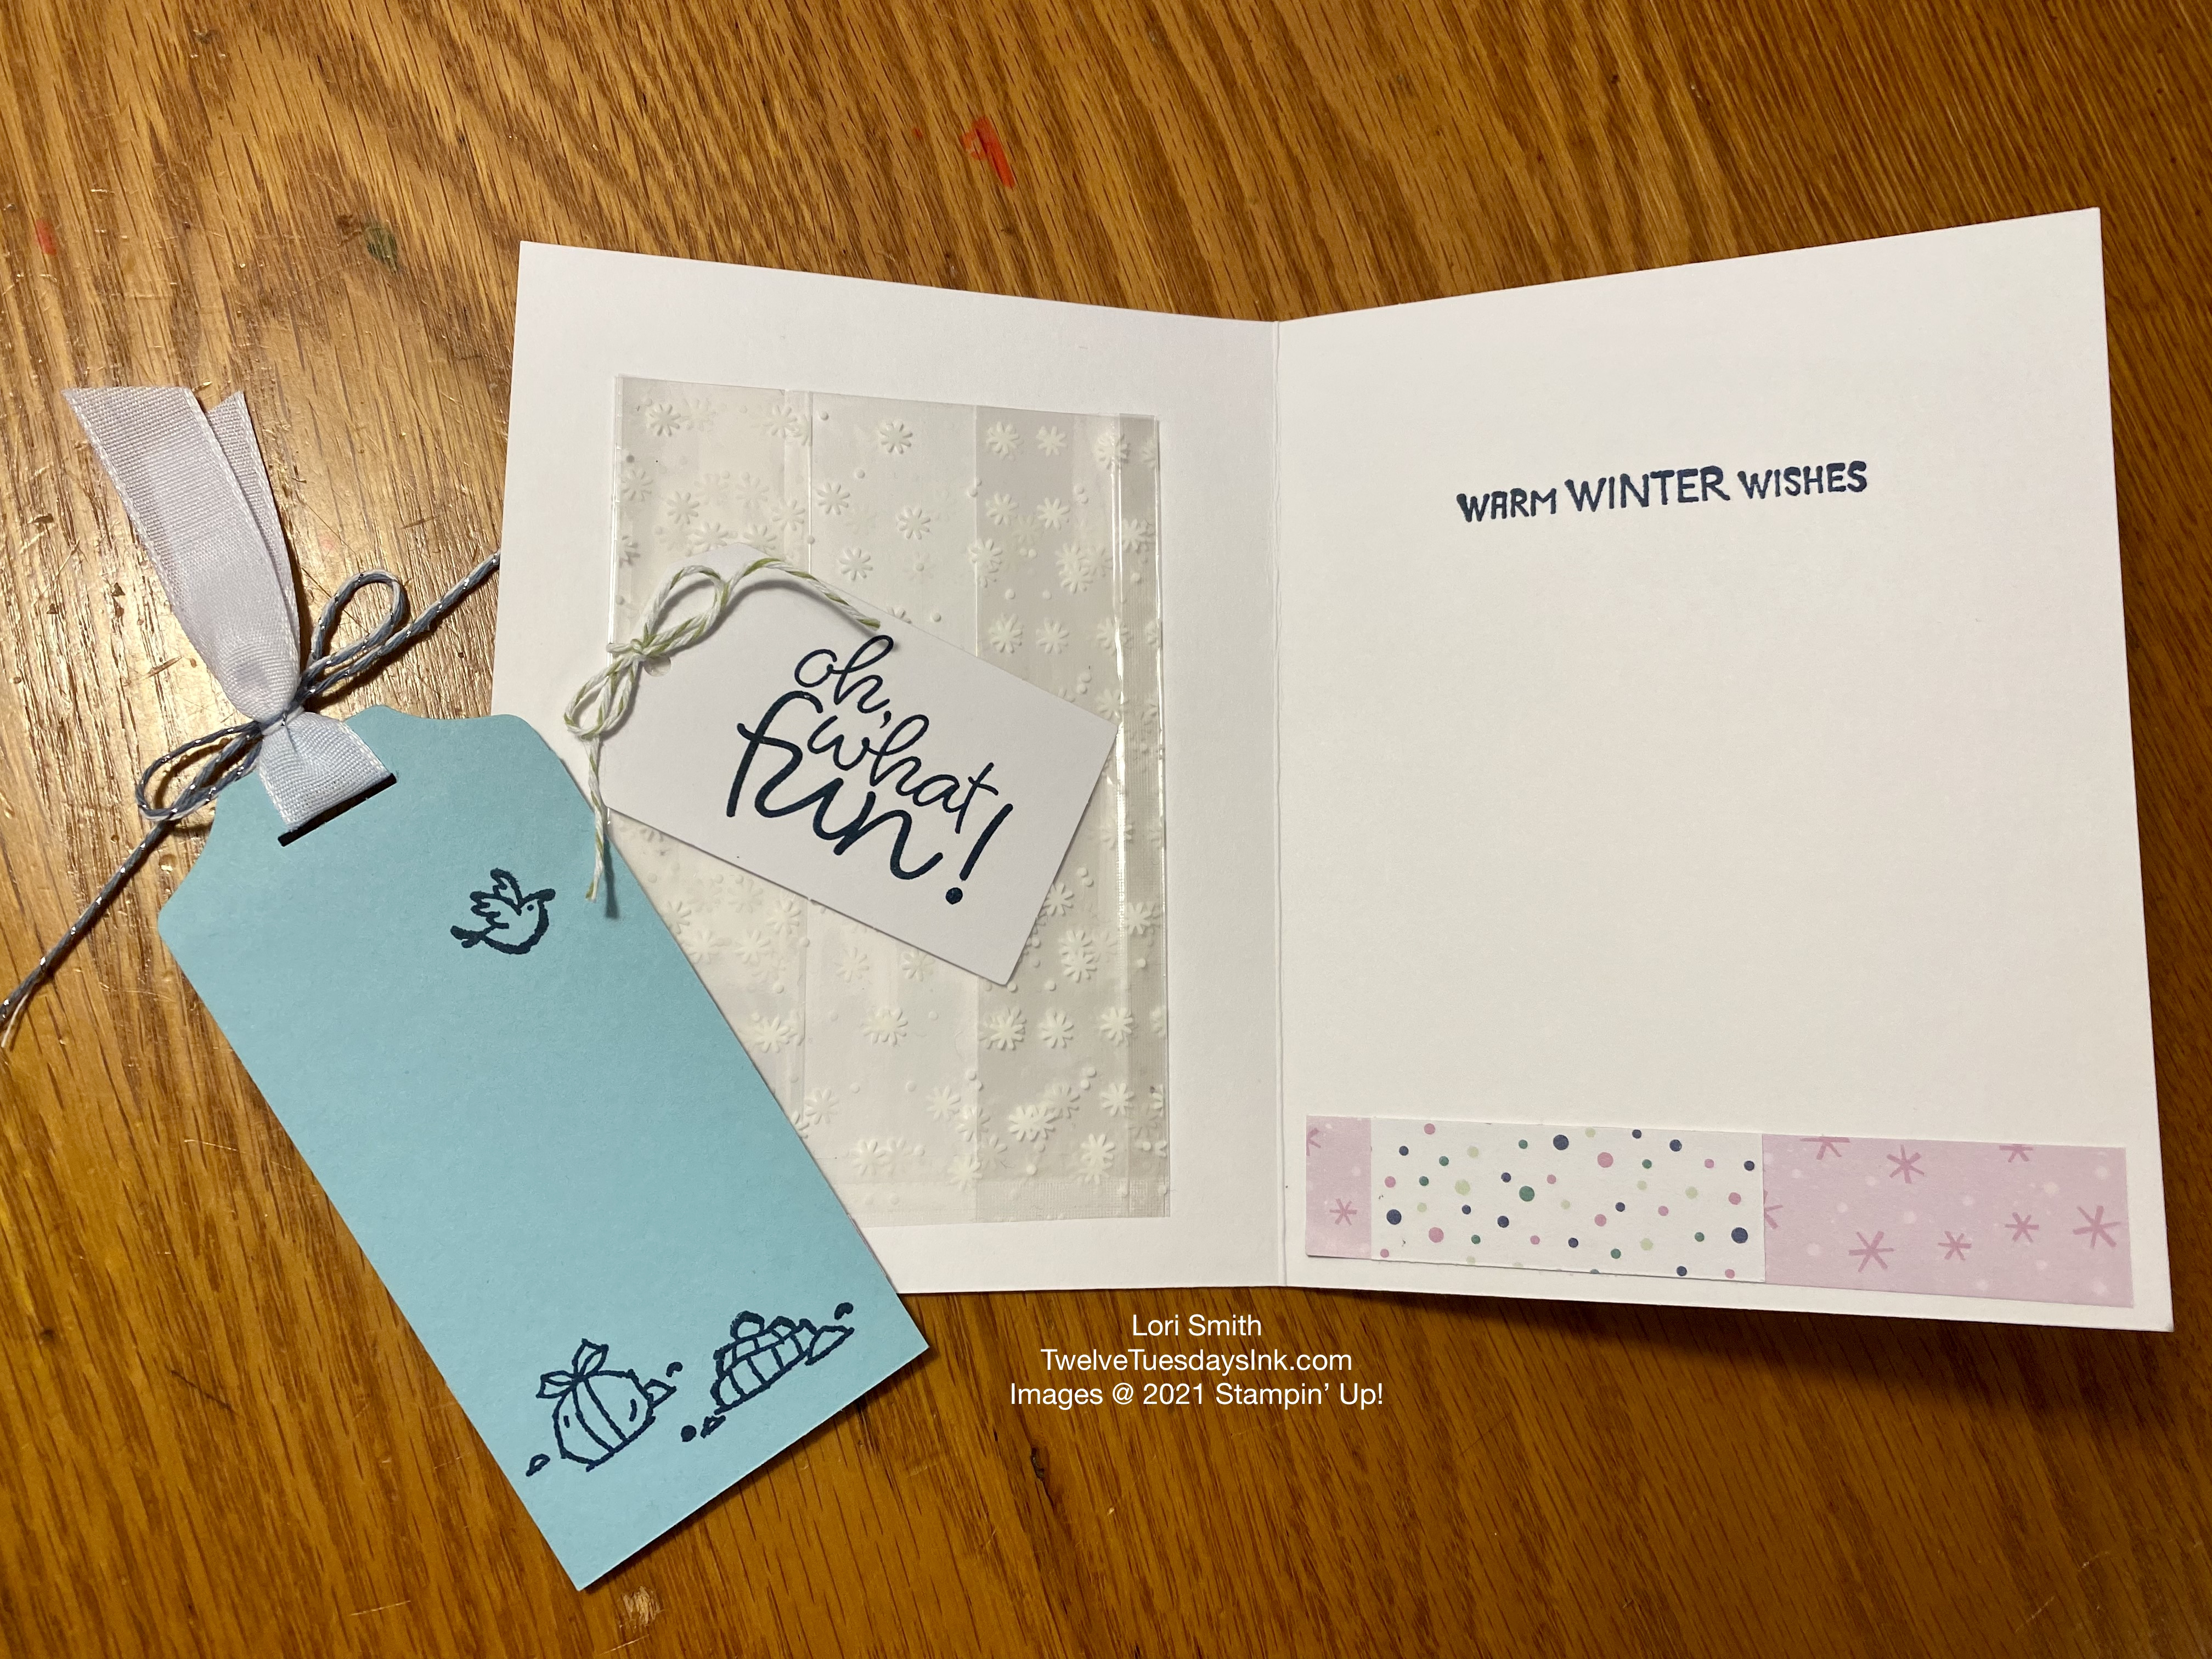
But wait! There’s more! As always, the Paper Pumpkin stamp sets are wonderful all by themselves. I’m constantly finding myself going back to past kit stamp sets, either for an image or a sentiment. The two cards below are using the stamp set from the July 2021 Let the Adventure Begin. I used the tree image on the right and a sentiment inside the faker shaker card.
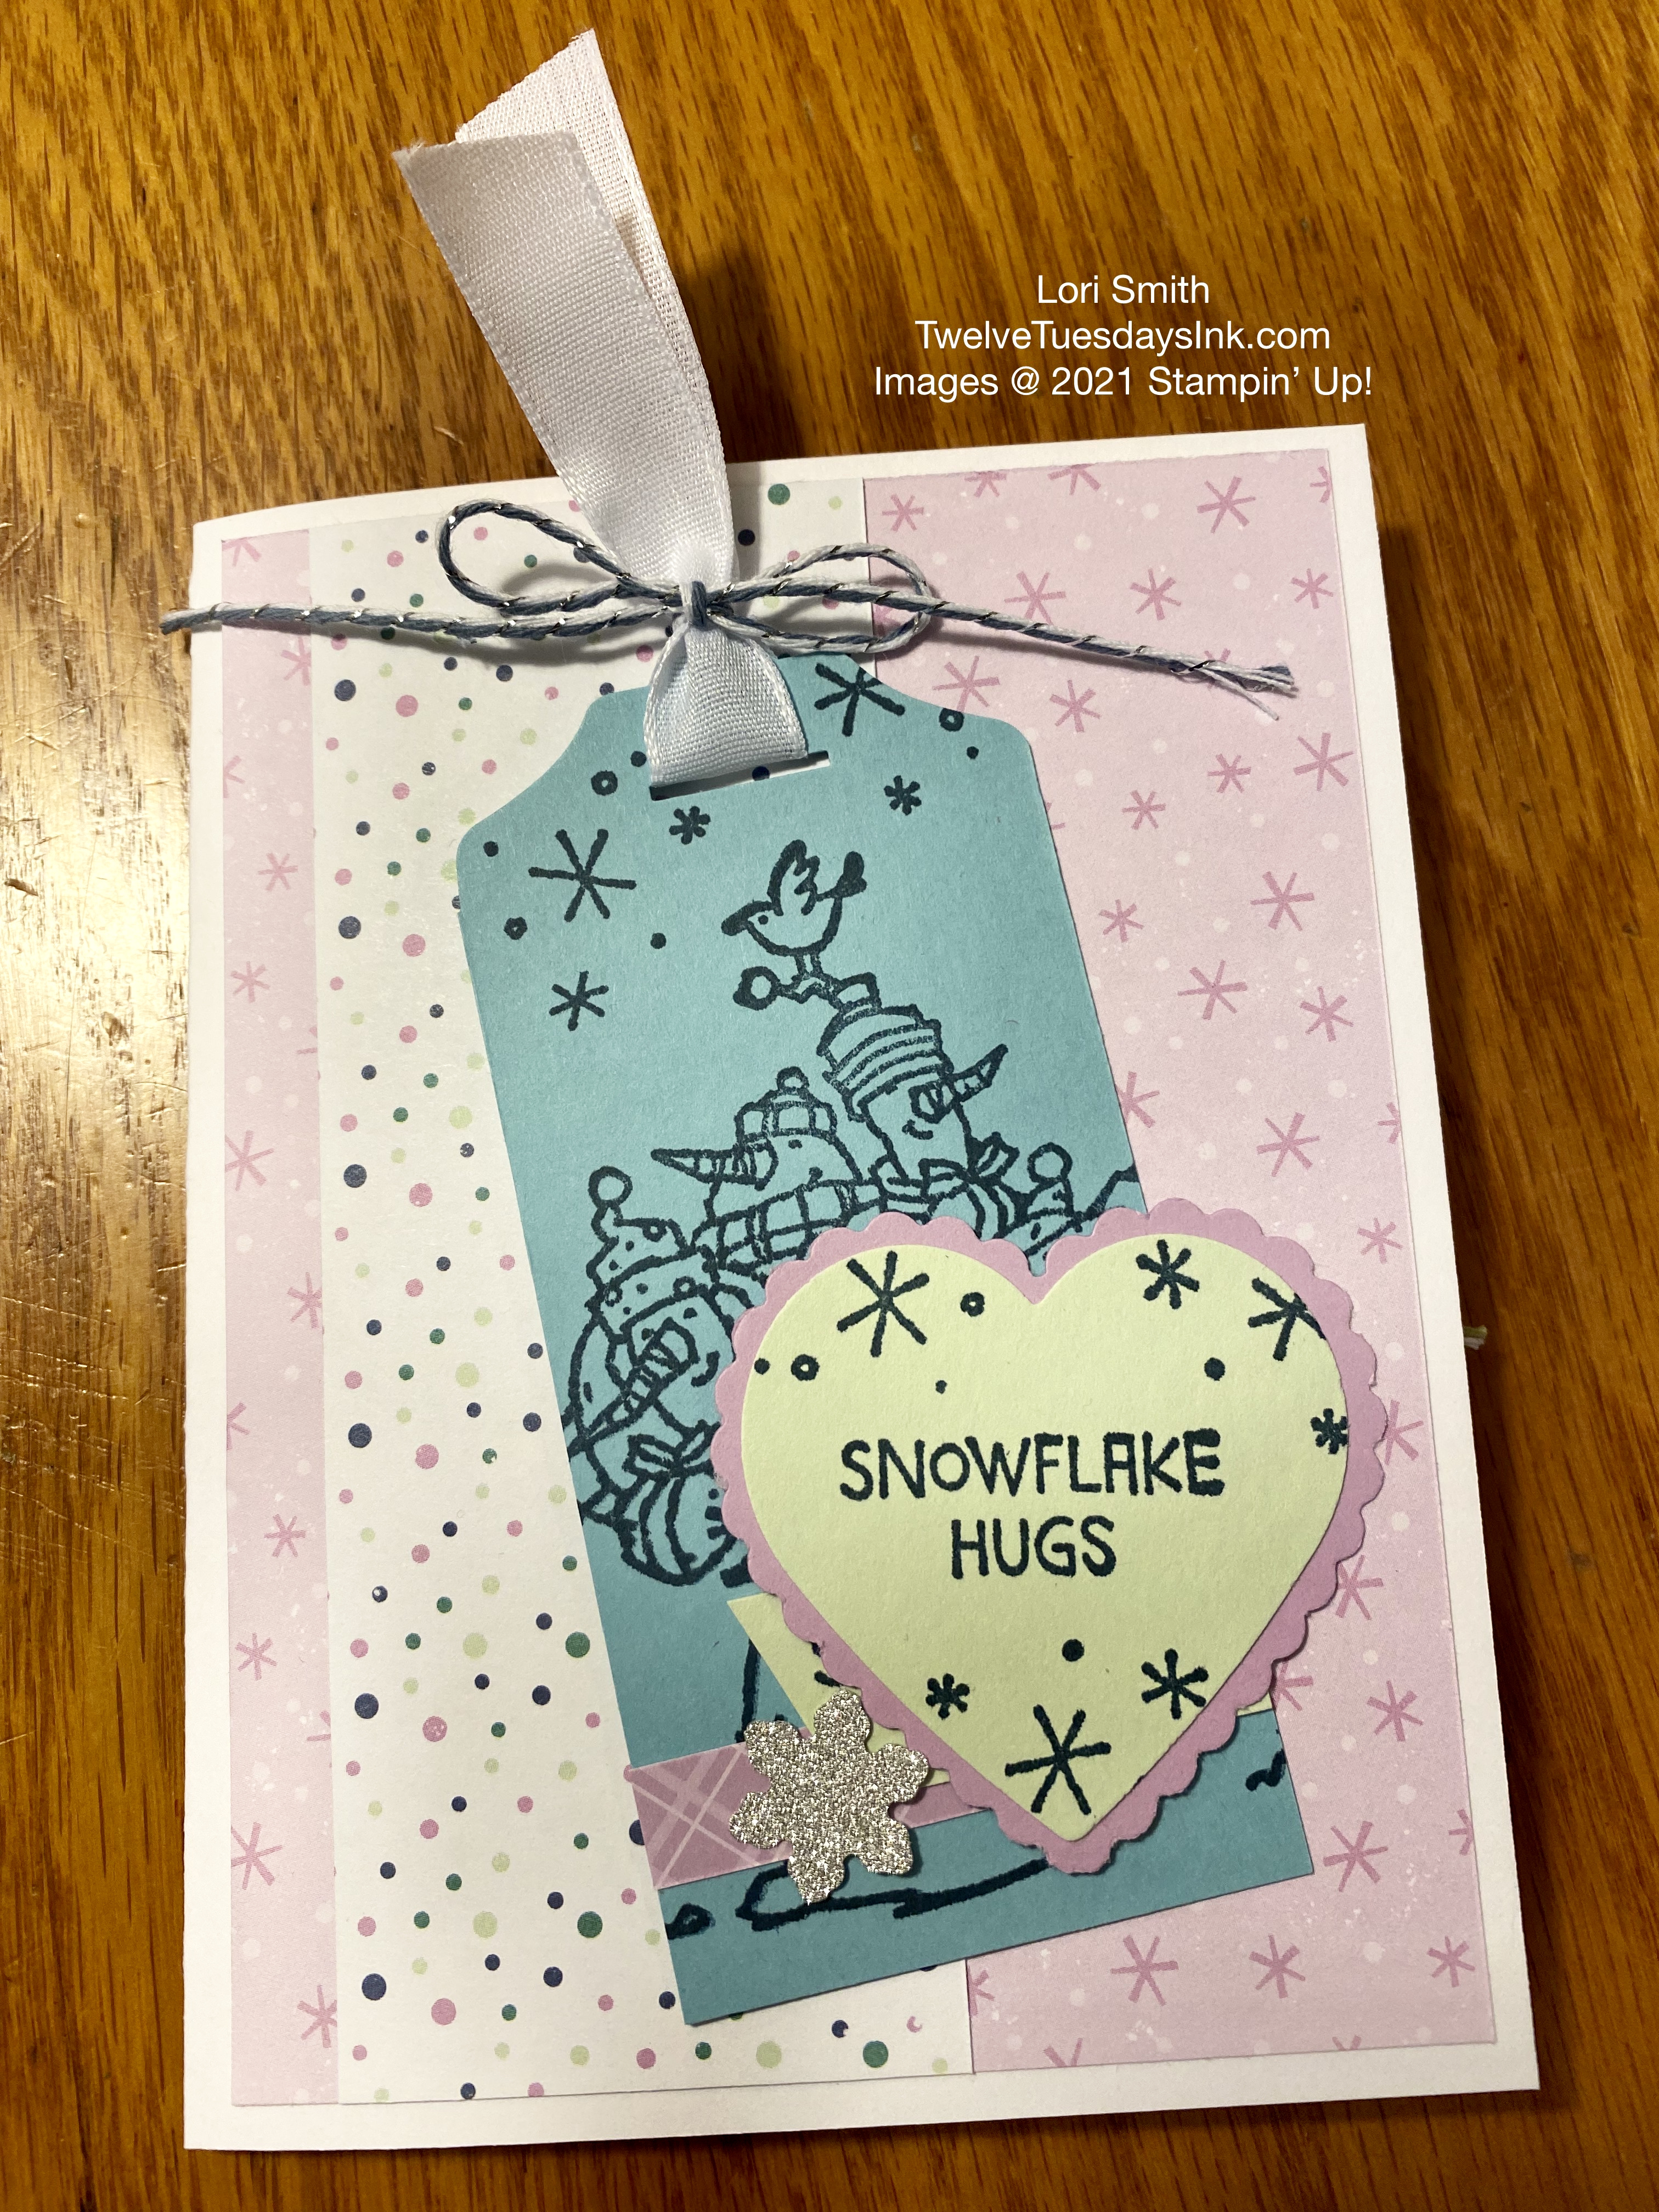
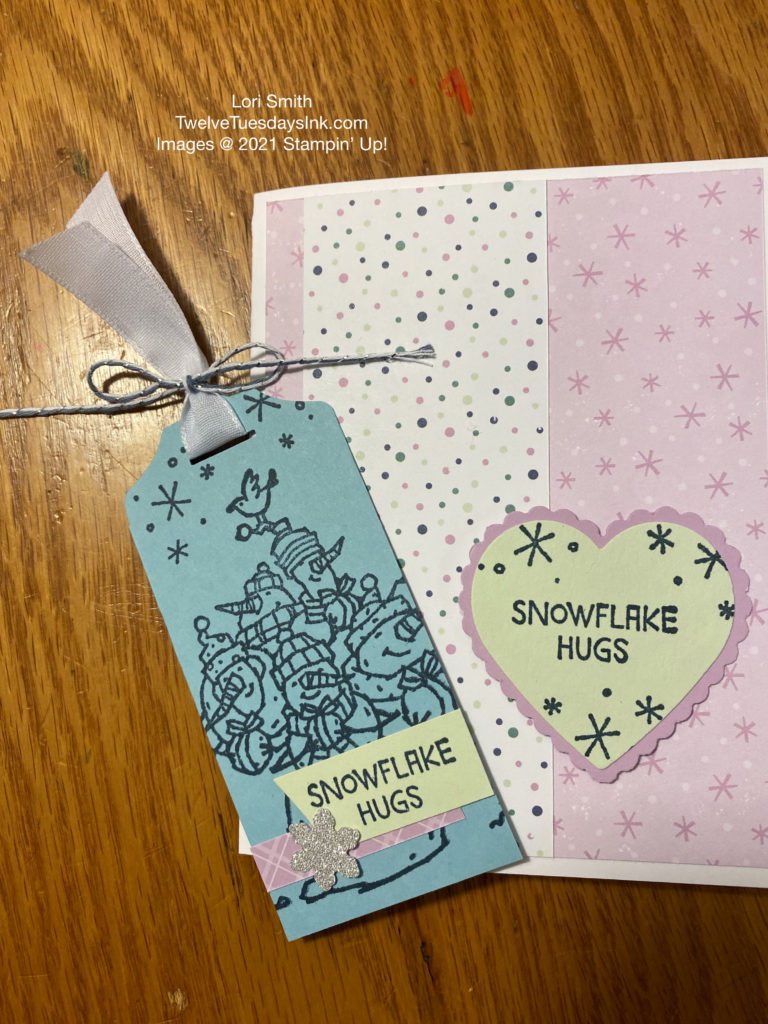
I also used my Gifts Galore stamps and parts to help make this next gift card. One half of the cellophane gift bag is used in the faker shaker card and the other half is used here. I made a bookmark/gift tag to tuck behind the heart in the front. And, inside I added the gift bag to make another gift card holder and used another gift tag from the kit. As you can see, I’m having fun with the Snowbody Better stamp set, from the July to December Mini Catalog. And, it’s on sale this month!!
Extra Supplies – Time for Gifts Galore Alternatives
As you guessed, the alternative ideas use extra items from the craft room. Select the item number of a product you are interested in, to view and learn more about.
- Thick Basic White cardstock, 159229
- Evening Evergreen ink pad, 155576
- Poppy Parade ink pad, 147050
- Pool Party ink pad, 147107
- Old Olive ink pad, 147090
- Misty Moonlight ink pad, 153118
- Pool Party cardstock, 122924
- Soft Seafoam cardstock, 146988
- Fresh Freesia cardstock, 155613
- Balmy Blue cardstock, 146982
- Wintry 3D embossing folder, 155433
- Subtle Shimmer Sequins, 156407
- 2021 – 2023 In Color DSP, 155641
- Layering Circles dies, 151770
- Fancy Tag Topper punch, 152711
- Heart Punch Pack, 151292
- Snowbody Better stamp set, 156446
- Linen Thread, 104199
- Flower for Every Season Ribbon Combo Pack, 153620
- Holiday Rhinestone Basic Jewels, 150457
- Tear & Tape Adhesive, 154031
Time to Order the December 2021 Paper Pumpkin Kit!
If you want to get in on the next Paper Pumpkin fun and love puns as much as I do, you’ll want to make sure you order! Subscribe to the December 2021 Paper Pumpkin Kit between 11 November and 10 December. Just click on the banner below to take you to the right spot.

The Lots of Pun kit contains enough elements to create 9 cards—3 each of 3 designs—and 9 coordinating envelopes. It includes printed card bases, die-cut paper pieces, embellishments, adhesive, and more! This stamp set is a builder stamp set, which means the included images can be mixed and matched to build a variety of unique characters with different looks and features. For those interested in the colors in the kit, they are Crumb Cake, Daffodil Delight, Early Espresso, Granny Apple Green, Pool Party, and Poppy Parade. I anticipate we may “go bananas” over this one!
This is the season and time for gifts galore, but I’ve taken enough of your time today. I hope I’ve inspired a couple of different ideas for you to treat your friends and loved ones and make them feel special! May you have gift holders galore!
Happy Holidays!!