
My Wishlist
If you could wish for anything at all, what would you wish for?
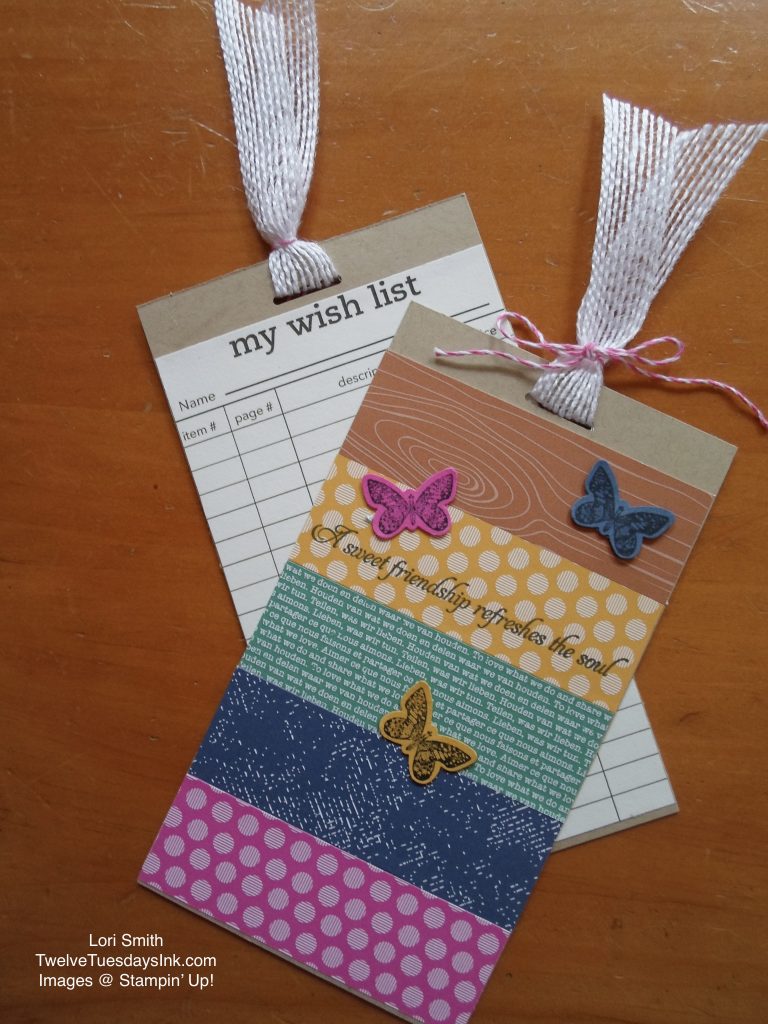
In June, we celebrated being able to place our first orders from the 2020 – 2021 Stampin’ Up! Annual Catalog, and as an order “thank you,” I made everyone a Butterfly Wishes Bookmark/wishlist. To make the markers, I featured the Butterfly Wishes stamp set and the 2020 – 2022 In Color Designer Series Paper (DSP). I think our group of stamp club members will use their marker, but will also get a little chuckle when they see the reverse side. After all, when we get together we talk many times how we’re always wishing . . .
Make the Butterfly Wishes Bookmark
Difficulty level: Casual Crafter
To make this project, I started with a 3 x 5 1/2″ base of Crumb Cake cardstock, and punched the ribbon slit at the top, with the Label Me Fancy punch. Then I cut 1 x 3″ strips of all 5 colors DSP, so that there would be one of of each color strip and various designs to glue to the base front.
As a demonstrator, I was able to download and print the Stampin’ Up! Wishlist from the website. I admit I did have to trim the list down to 3 x 5″ to fit the reverse side of the bookmark and then simply glued it down with a little white liquid glue. If you don’t have a Stampin’ Up! Wishlist, you can use any paper from a notebook, graph paper, or whatever you have on hand.
Next, I selected the sentiment, “A sweet friend . . .,” from the Butterfly Wishes stamp set, and then stamped it onto the Bumblebee colored strip using Tuxedo Black Memento ink. After that, I began to glue the strips by aligning them next to each other. Try to vary the colors and designs to give more interest.
12 Tuesdays Tip:
Start gluing the first strip at the bottom of the marker (opposite end from the punched slit) leaving an ever so slight edge of the Crumb Cake cardstock exposed. This will ensure you to have enough room for all 5 strips of DSP.
After I glued all 5 colors of the strips, I focused on making the butterflies. I selected scrap pieces of Bumblebee, Magenta Madness, and Misty Moonlight cardstock, the smallest butterfly image from the Butterfly Wishes stamp set, my Butterfly Duet punch, and black Memento ink. Ink, stamp. Arrange and glue the three butterflies around the sentiment.
To complete the markers, I cut 6″ of 1/2″ white ribbon that retired from last year’s catalog, and about 8 – 9″ of string leftover from the May 2020 Paper Pumpkin kit. The string and ribbon from the Flowers For Every Season Ribbon Combo Pack would be the perfect substitute for this project!
Using Leftover DSP
Difficulty Level: Casual Crafter
Once I completed the catalog marker, I had some leftover pieces of the Designer Series Paper. Still wanting to create with the Butterfly Wishes stamp set and Butterfly Duet punch, I played around with the arranging the leftover DSP pieces, and came up with the idea below.
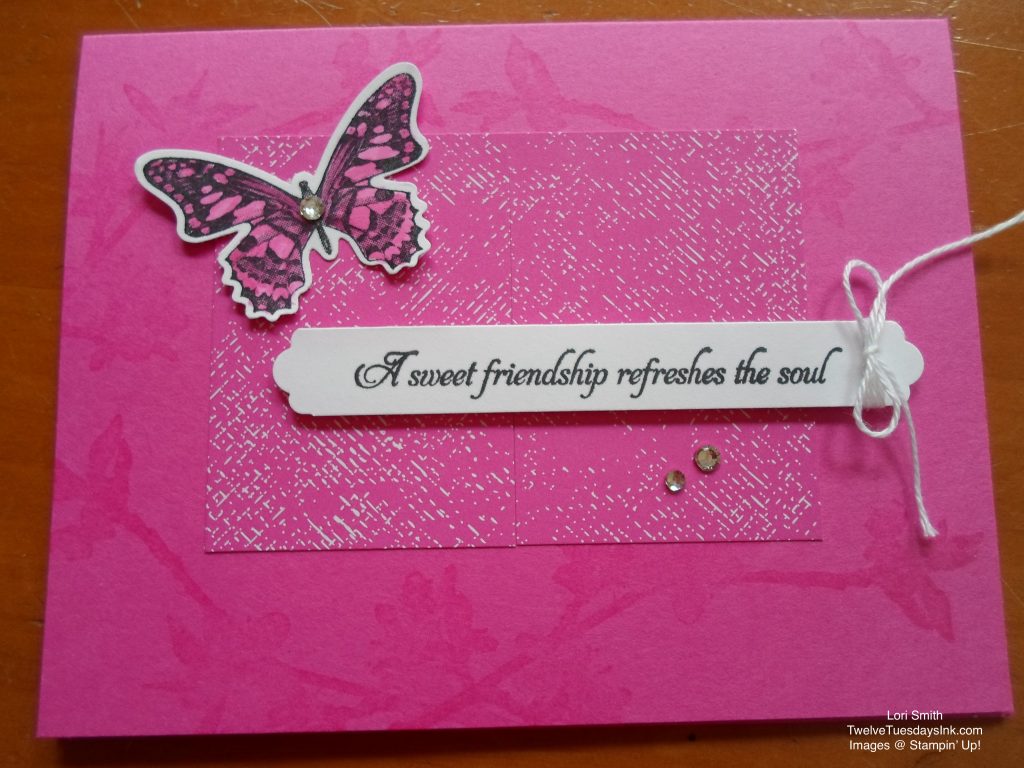
My card base is Magenta Madness Cardstock. I stamped the branch image multiple times using the Versamark Ink, which gave a more subtle effect of tone on tone. Two pieces of DSP, glued side by side, in the center of the card front, helped to create the focus. With a strip of white cardstock, I stamped the same sentiment, as above, but then trimmed the ends using the Lovely Labels Pick A Punch. I tied a bow at the end of the strip with some kite string that I had in my stash, then adhered it with dimensionals.
I stamped both butterflies from the set onto white cardstock with Tuxedo Black Memento ink, and colored the butterflies with the aid of a dual tipped blender pen and coordinating colored ink pad. The butterflies were glued in place with a dab of white liquid glue. The final touches on the front butterfly and the card front, were done by adhering basic rhinestones.
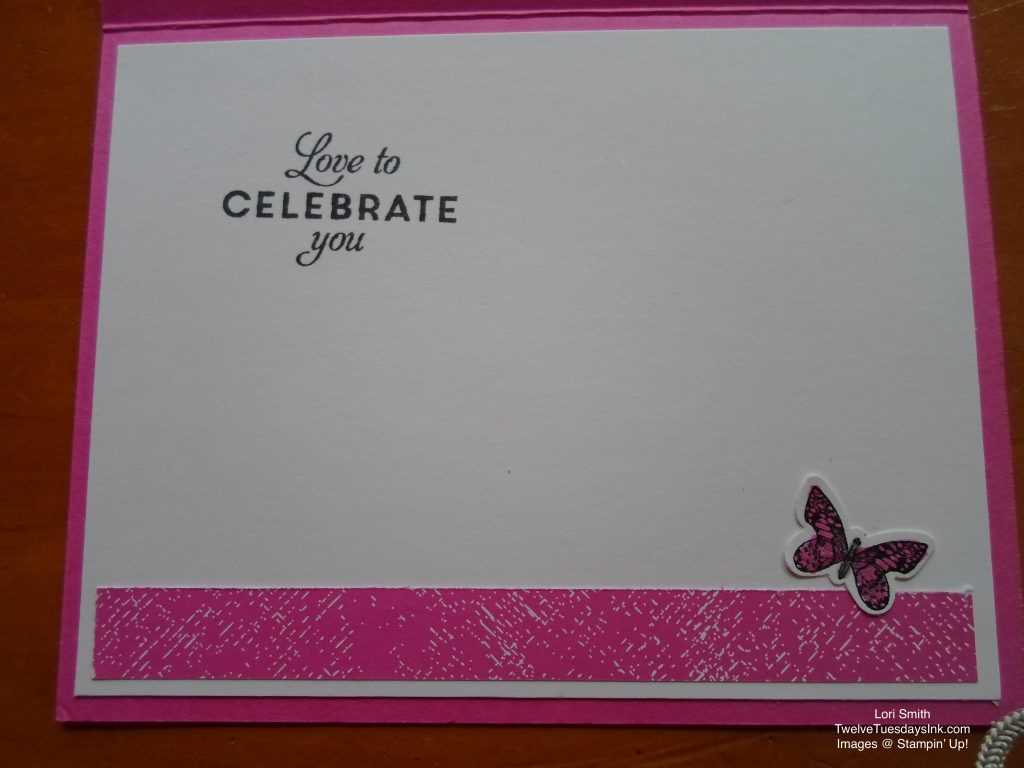
What did I do with the smaller butterfly? I glued it to the inside of the card, along with another leftover strip of DSP, then stamped the inside sentiment.
Another Butterfly Wishes Idea
Difficulty Level: Avid Crafter
Because I wasn’t ready to put my Butterfly Wishes stamp set away, yet, and wanted to use the other butterfly images in the set, I made another card. This time, I looked back to last year’s annual catalog and found the card featured there.
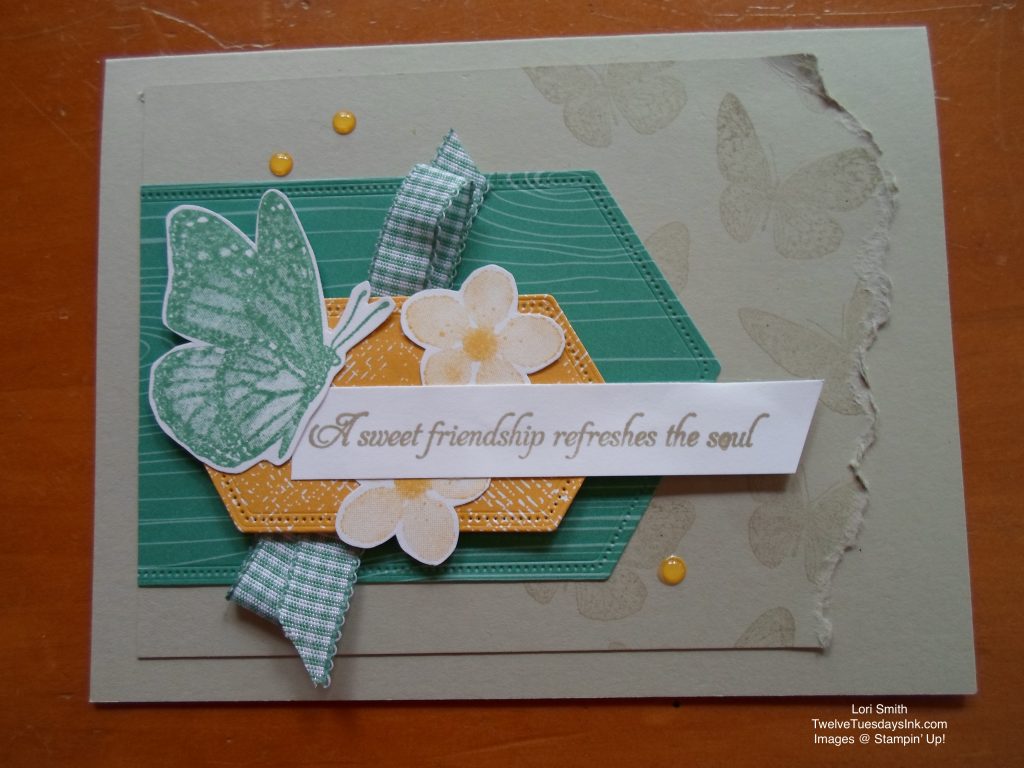
I did not have some of the paper or embellishments that card from last year’s catalog showed, but I really liked the color combination of Sahara Sand, a “soft” yellow, and “teal” colors. I did have Sahara Sand, Just Jade, and Bumblebee colors, though, and that combo worked just fine for me.
Some 12 Tuesday Tips for this card:
- After inking up the butterfly images, I stamped off some of the ink onto a piece of scrap paper, “huffed” on the image before stamping the image again onto the cardstock. Some of you know this as second generation stamping.
- The flower images were NOT made by second generation stamping.
- Fussy cut around the Just Jade butterfly and flower images.
- I used about 9 – 10″ of ribbon, from the Flowers For Every Season Ribbon Combo Pack, and attached the ribbon with glue dots, before I attached the Bumblebee DSP. Then I used dimensionals to pop up the DSP over the ribbon.
- The flowers, butterfly and the sentiment were adhered to the Bumblebee DSP with white liquid glue. I did tuck one dimensional to end of the sentiment that overhung the Bumblebee DSP.
- 2020 -2022 In Color Enamel Dots were also used to embellish the front.
This is my inspiration for you today!
Supply needs for the Butterfly Wishes Bookmark
- Butterfly Wishes stamp set, item #149346
- Label Me Fancy Punch, item # 151297
- Butterfly Duet Punch, item # 148523
- Crumb Cake cardstock, item # 120953
- 2020 – 2022 In Color cardstock, item # 153074
- 2020 – 2022 In Color Designer Series Paper, item # 153070
- Memento Ink Pad, item # 132708
- Paper Trimmer, item # 152392
- Paper Snips, item # 103579
- Flowers For Every Season Ribbon Combo Pack, item # 153620
- Multipurpose Liquid Glue, time # 110755