
Hello! The first time I spied the Beautiful Blues kit in the 2025-2026 Stampin’ Up! annual catalog, I swooned! Since it’s arrival, I’ve taken advantage of my Beautiful Blues kit. Some of the cards I followed the instructions to create and others I improvised. Come and look!
Beautiful Blues as Instructed
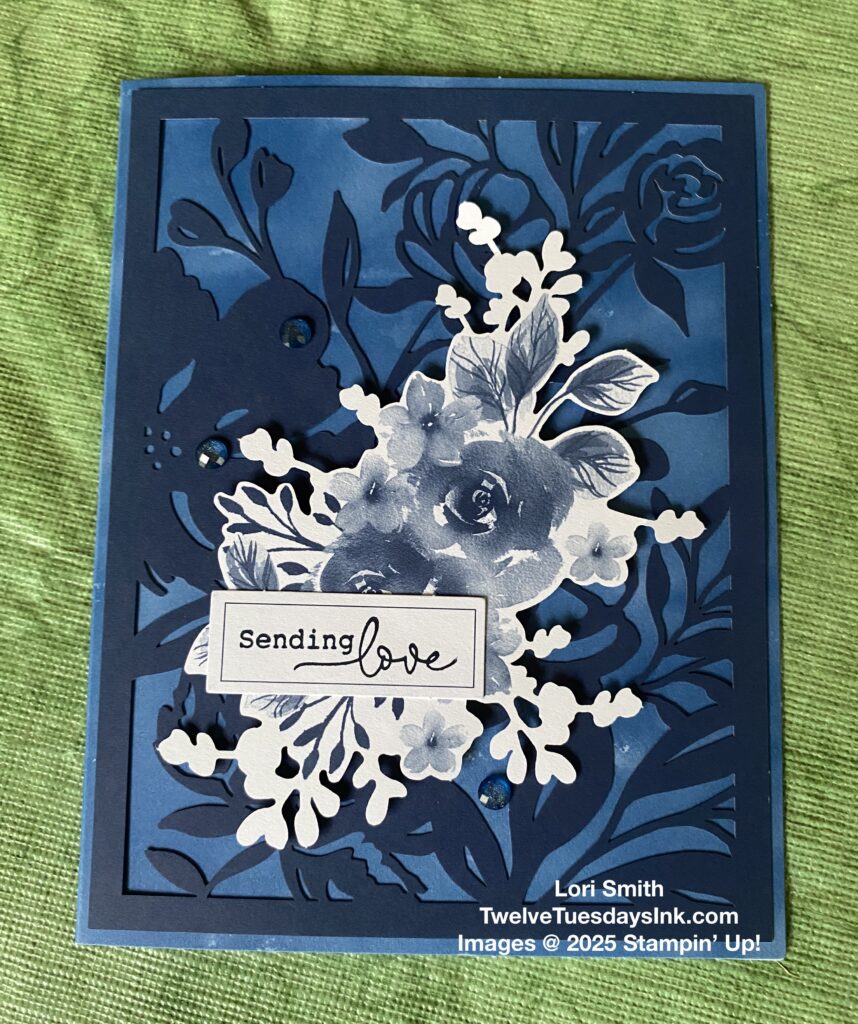
My Beautiful Blues kit included three styles of cards and was intended to make nine cards. I assembled two of the styles just as instructed by the kit. Well, five cards completed quickly. Why only 5? You’ll need to read on.
My Beautiful Blues Kit Blooper
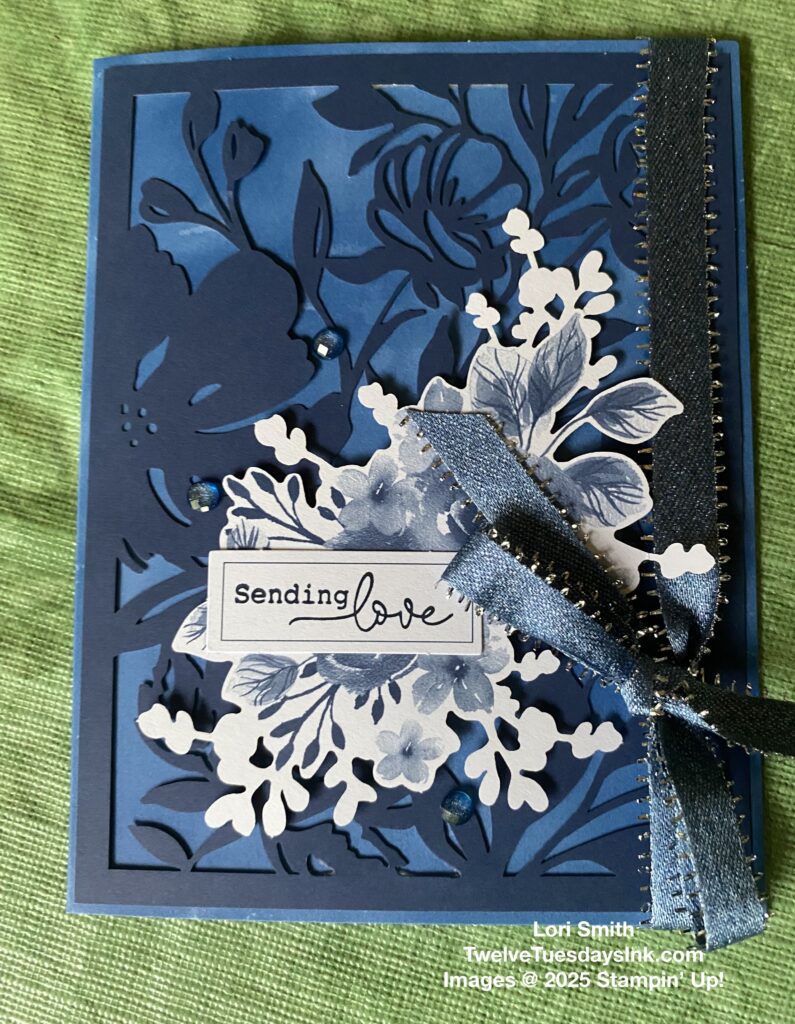
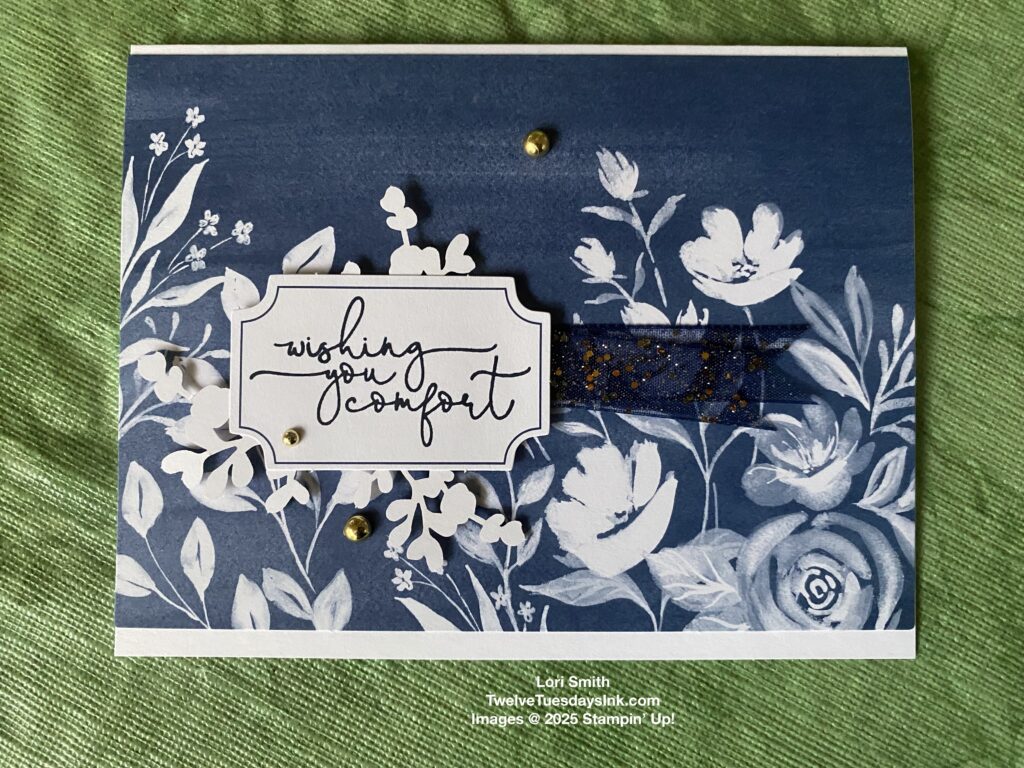
I must admit, that the first time I put my first Blueberry Bushel card together, I had tear & tape trouble because I used tape that was too wide. Twelve Tuesday Ink tip: Use the tear & tape that comes inside the Beautiful Blues kit! (Don’t use the 1/4″ size). I guess maybe I didn’t follow all instructions? As a result of my error, I needed to cover up tape that stuck out from the die cut image and showed. – not pretty. Lori, find something to hide this! MISTY MOONLIGHT & SILVER EDGED 1/2″ ribbon, soon to be available with the release of the Fall Mini Catalog to the rescue! Now six cards are completed. And the first card improvised!
My Beautiful Blues Kit Improvised
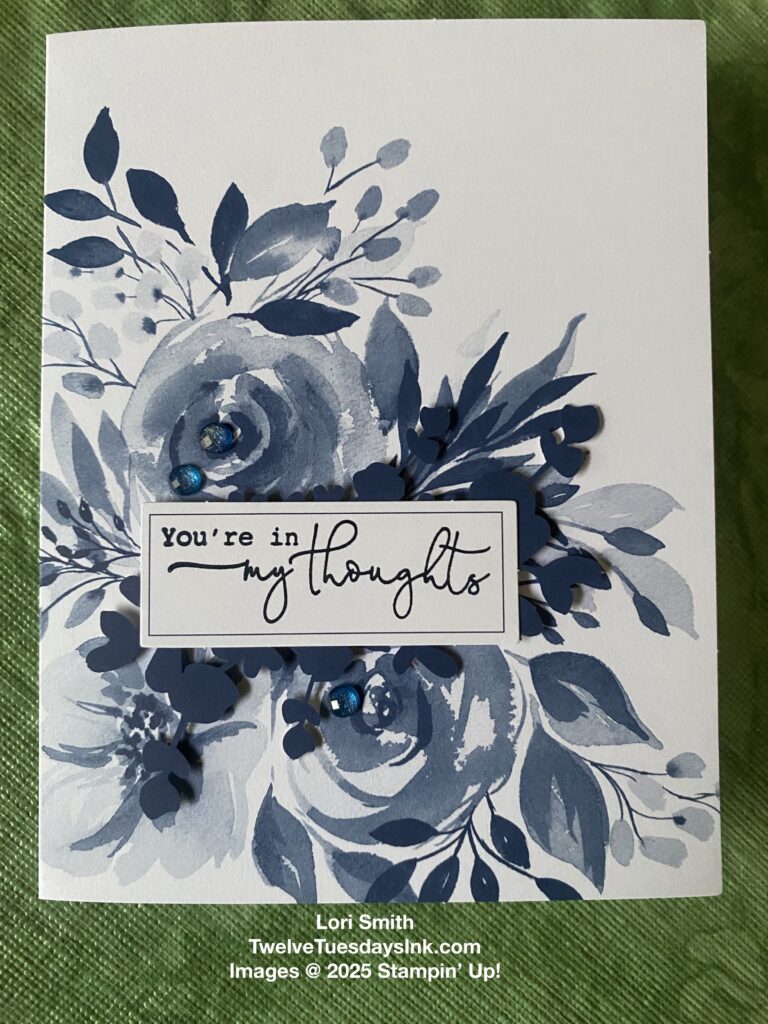
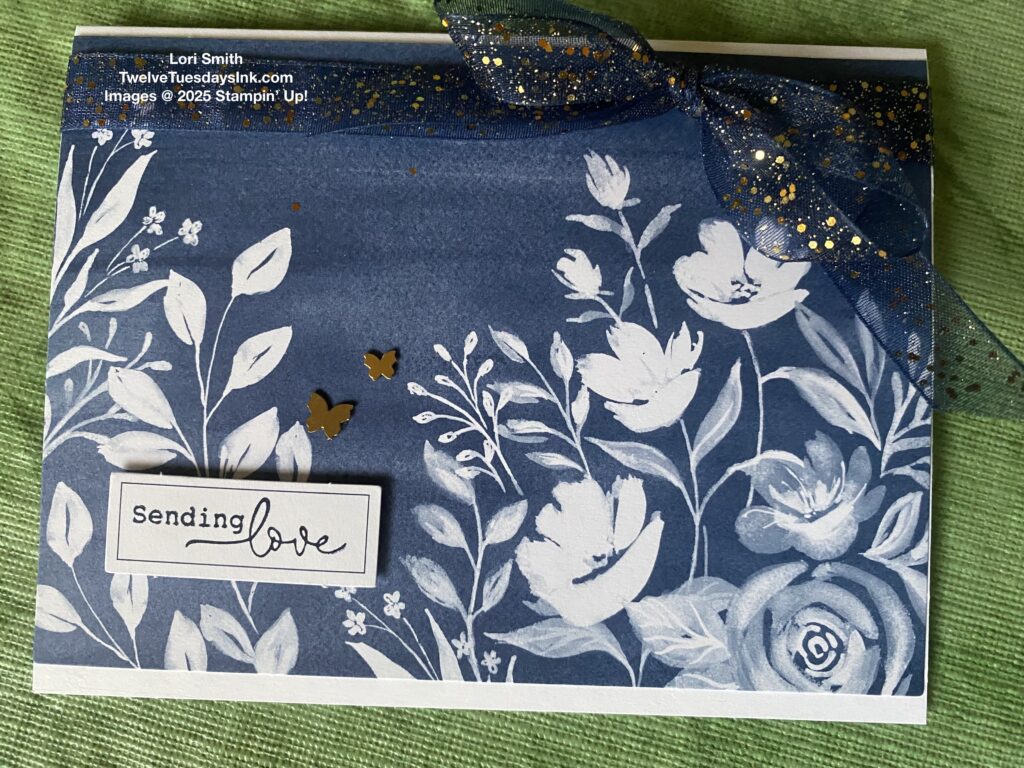
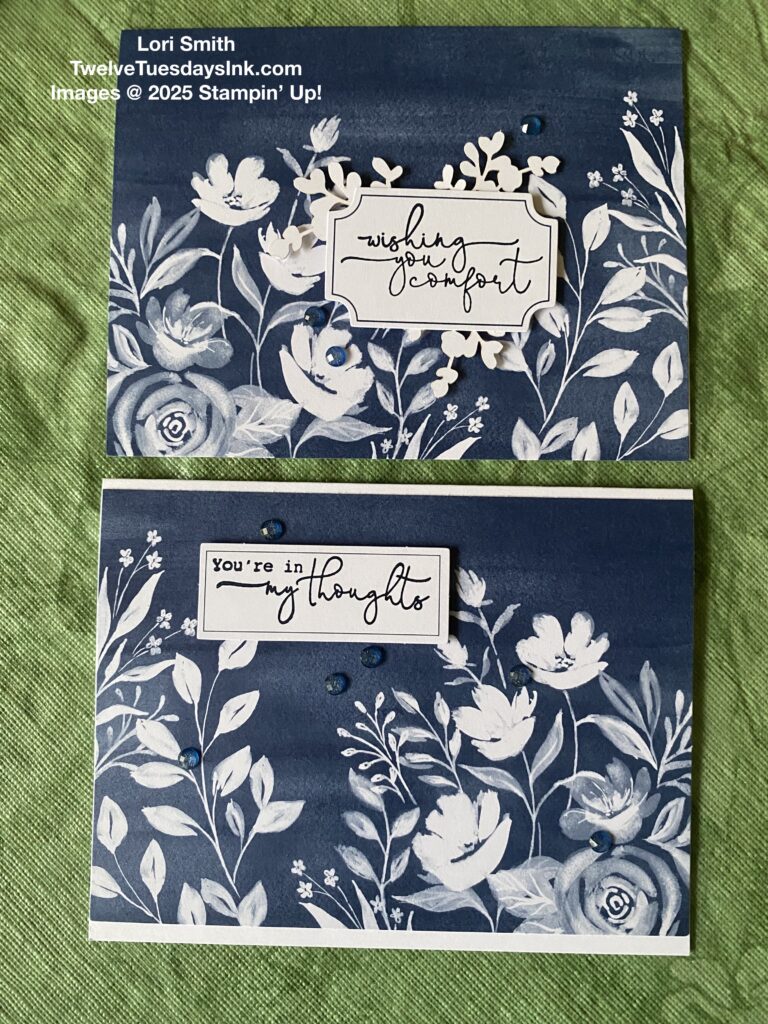
With style three in my Beautiful Blues kit left to use, I took the liberty to create six cards from the three card bases. Why? Because the back of these bases not only had the beautiful floral images on the front but the on the back, too. As a result, it allowed me to use both sides to my liking. Mind you, the front and back are mirrored images.
Every kit provides an extra label of each style which can be used for the time when you mess up your stamping technique and your card isn’t ruined. But, if one stamps carefully, these extras can be used for other projects. I see it as a “free gift” in every kit. (smile) In addition, I made sure to use up all the blue gem embellishments included in the kit.
I must explain why I only showed 5 of the 6 cards I made from the 3 card bases, because I really made six. Unfortunately, I had to send a sympathy to a friend.
Prep for More
Now onto cutting a kit card base that has images/designs on the front and back. The obvious way, just cut in the middle of each base on the score line. But, for the cards above, I choose differently.
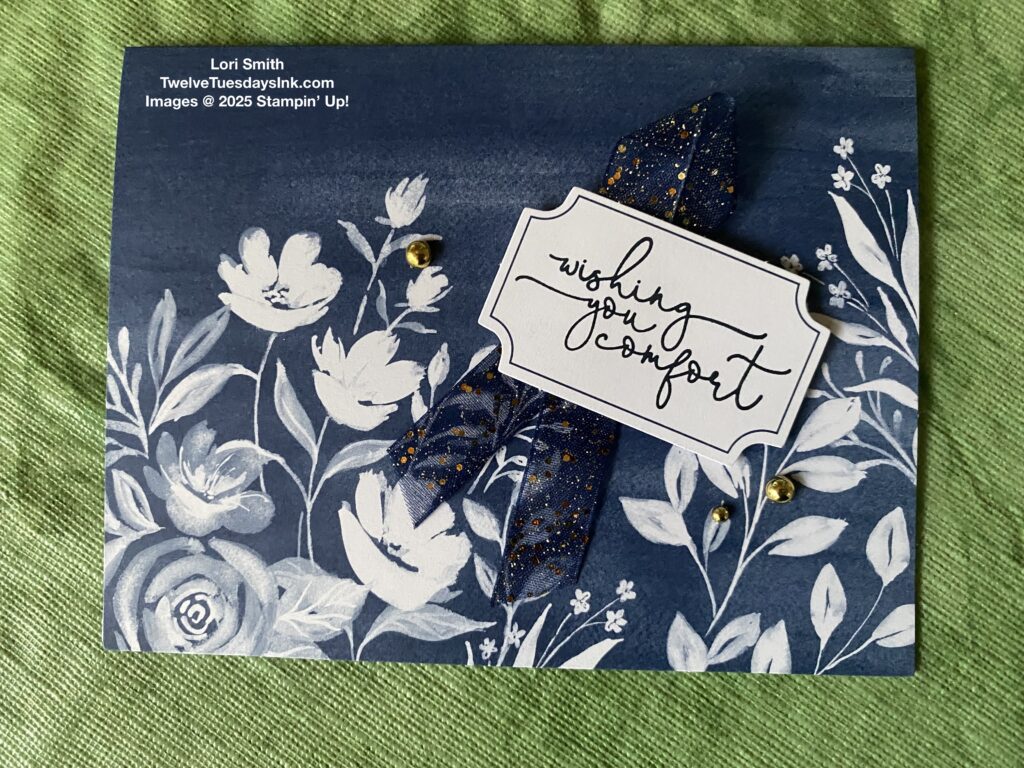
Gather 3 sheets of 8-1/2 x 11″ white card stock, a paper trimmer, liquid glue, tear & tape, and any extra embellishments of your choice. I chose some retired navy ribbon, Brushed Brass Butterflies, and retired adhesive gold dots. The navy ribbon, butterflies and gold dots worked well together and give the cards an extra rich flare. But use what you have.
Create Six Blue Cards from Three Bases
- Prepare three white card bases, by cutting 2 full sheets of white card stock in half with the trimmer. When finished, you should have four pieces, each measuring 5-1/2 x 8-1/2″.
- Score three of the pieces at the half mark (4-1/14″) along the longest side, then fold on the score lines to make white card bases. One piece is left over, save it to use for another project-no need to even score this.
- Cut the third sheet of white card stock into fourths. These pieces will measure 5-1/2 x 4-1/4″ when done. Again, you will use only three of these pieces. Set the fourth piece aside to use on a future project.
- Cut the three floral card bases, NOT at the score line, but 1/4″ to either the right or left of that line. This will create two pieces: one measuring 4 x 5-1/2″ and the other measuring 4-1/2 x 5-1/2″.
- Use the liquid glue to adhere the three blue pieces (size 4 x 5-1/2″) to the fronts of the three white card bases measuring 5-1/2 x 8-1/2″. Create a nice white border on the top and bottom of the blue piece, as desired. See examples above.
- Fold the other three blue pieces at the score line. Add tear & tape to the small 1/4″ flaps. Then adhere a 5-1/2 x 4-1/4″ white piece to create the back side of each card. (I chose to put the tear & tape on the inside of the 1/4″ flaps, but if you prefer, add it to the outside of the blue pieces. It shouldn’t make much difference). Line up the front and back pieces, as best you can. If there is white showing, trim the excess to neaten the look.
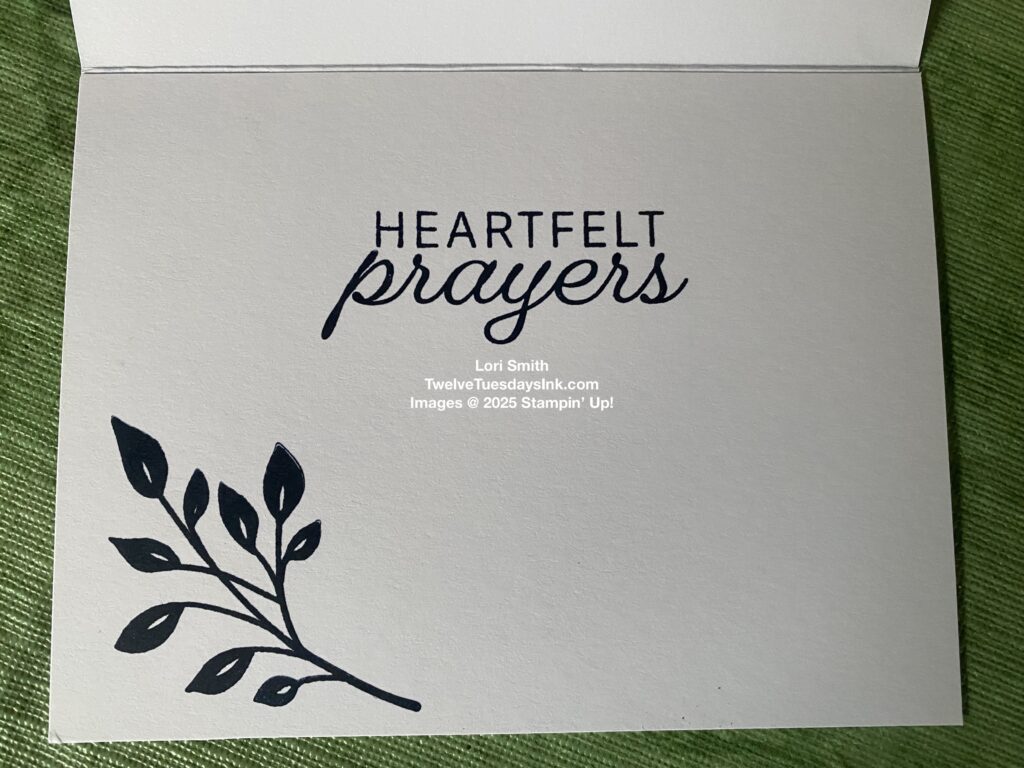
- Embellish the card fronts as desired. I stamped words “heartfelt prayers” and the leaf flourish inside each card to finish them. The inside sentiment comes from a suite available soon in the Fall Mini Catalog, also, called Peaceful Garden Suite collection.
Enjoy the Kit
Creative preference always allows you to make nine cards from this kit or more. Make it your own. But, remember to enjoy the process!
When completed, the only things left from the kit are the ink spot, stamps, and acrylic block to be used for whatever you wish in the future! The fonts used in the sentiments are beautiful, so I’ll definitely keep the stamps and acrylic block nearby.
My Beautiful Blues kit cards offer comfort, thoughts of you, and love to each recipient. If you’re interested to view and learn more.about the products used, click on the bolded type to take a trip to my online store. It’s all there. Remember to browse other available kits from the link in my Supplies page and see other products offered, as well.
Thanks for visiting, today!