
Some people love to celebrate Halloween by dressing up and going trick or treating. And the September 2022 Spooky Treats (Paper Pumpkin) kit includes everything needed to create treat boxes for the occasion. But, I like to make Halloween cards, too. The Scary Cute bundle caught my eye from the July to December 2022 Mini Catalog, and as a result, I found that I can combine the Spooky Treats kit and this stamp bundle to make some scary cute spooky treats cards! Let me share them with you.
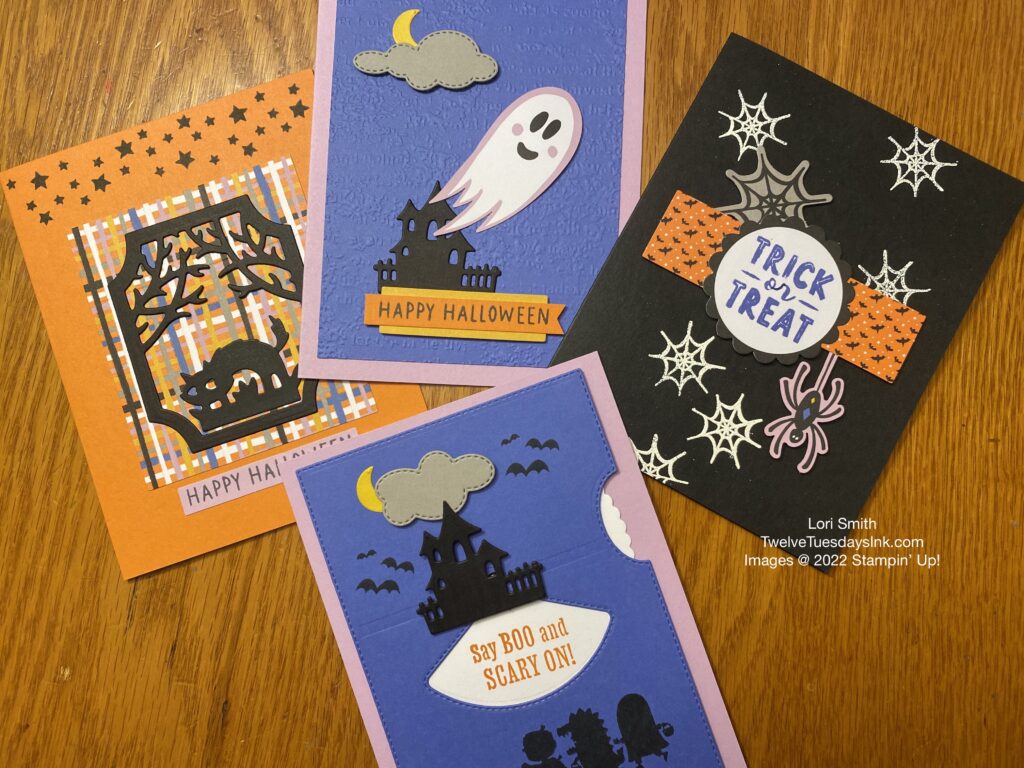
Spooky Treat Card Alternates
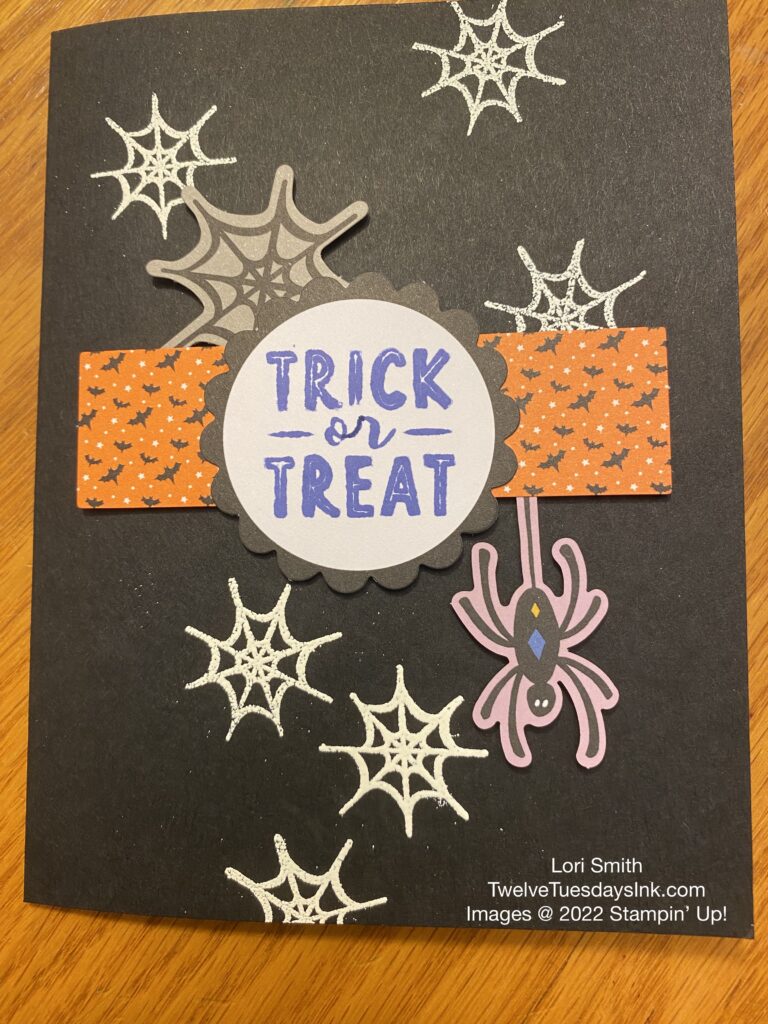
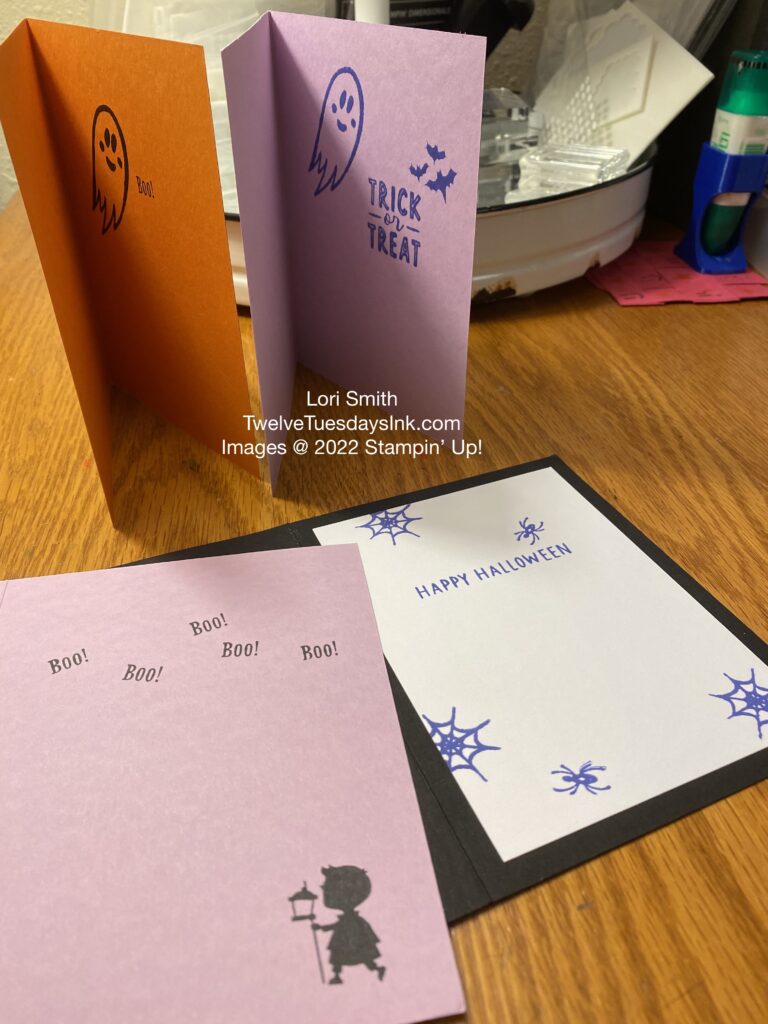
To create this first card, use the spiderweb stamp from the Spooky Treats kit. Get out the Versamark ink, white embossing powder and a heat tool to really help the little webs “pop” against the black card base. I picked a few cutout pieces from the kit to make a cluster and finish the front.
Twelve Tuesdays Ink Tip: Cut the orange bat banner in half, to extend past the black and white label. This gives the illusion of a longer strip of paper.
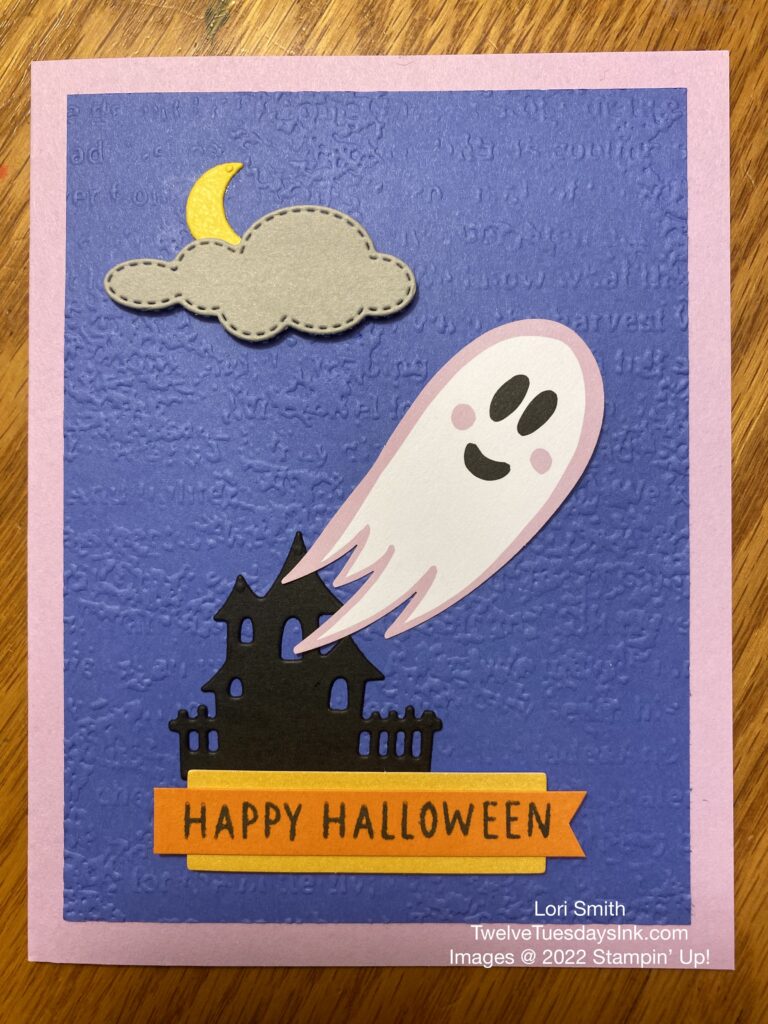
For the second alternate idea, incorporate the ghost from the kit and the house from the Scary Cute stamp bundle. I decided to also use the same color palate as the Spooky Treats kit. It looks like the ghost is flying out of the house. Trick or Treat!
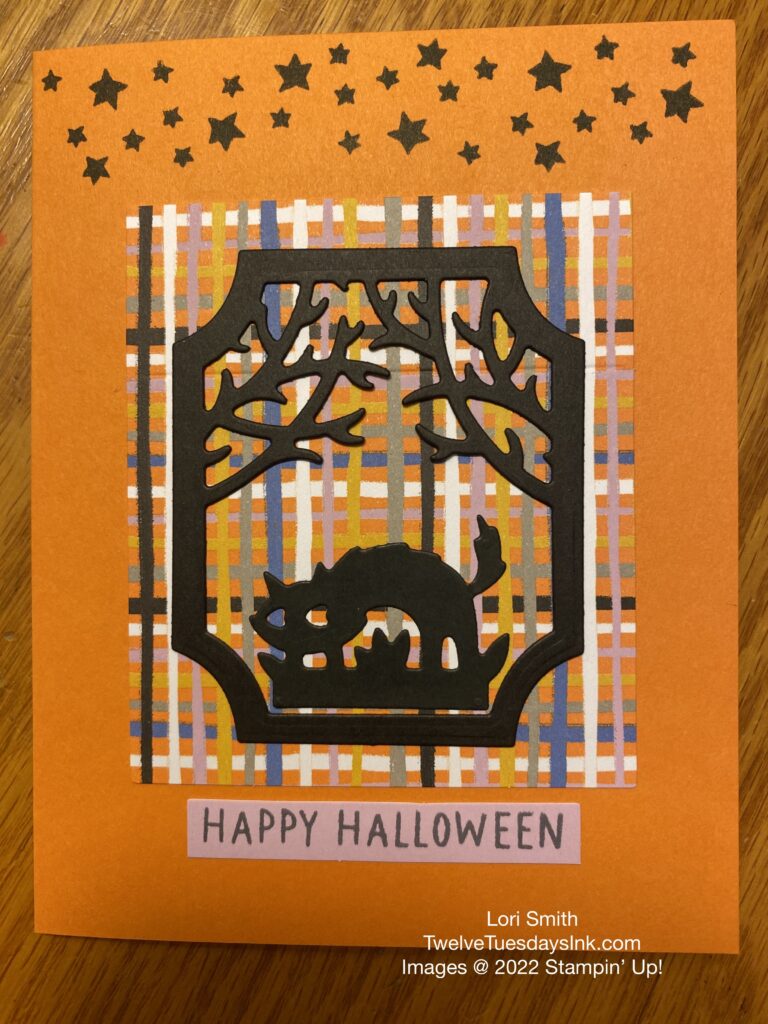
This third card may give you an idea of how to use the stars in the Spooky Treats stamp set. Also, I wanted to feature the scaredy cat and tree branches dies from the Scary Cute bundle. Don’t be afraid to cut a sleeve cover from the kit to create your own DSP. Boo!
Add Some Scary Cute Spooky Inside
Remember to add a little scary, cute, and spooky interest to the insides of your cards, as well.
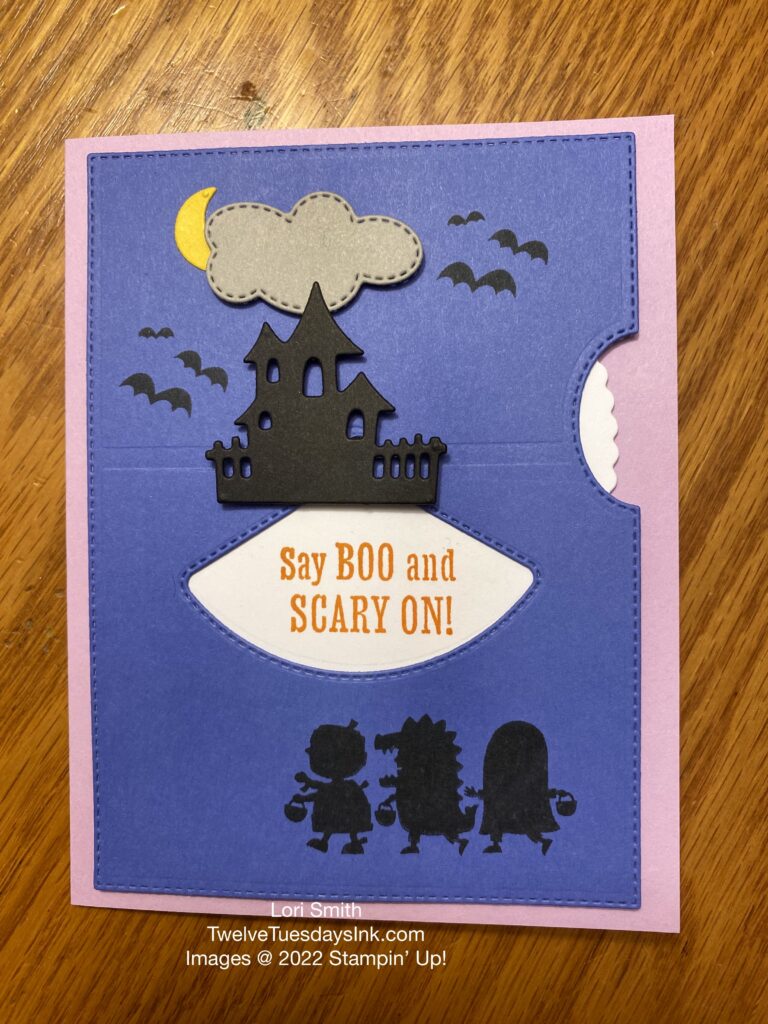
Scary Cute Give It a Whirl Card!
My last card idea has been on my mind for quite some time. And as I said before, I’ve had my eye on the Scary Cute bundle for a while. and thought I could share a card with the Tuesday stamp club group. Because I showcased a card using For the Record stamp set (retired) and the Give It a Whirl dies this summer, interest was peeked on how to use this die set and the group wanted to make a card with it. Then, I told them I’d work on an idea. Spoiler Alert! We are going to make a Scary Cute Give It A Whirl card this month!!!
See my prototype using some retired Stampin’ Up! cardstock colors. This card front is not attached to the Gorgeous Grape card base on purpose, just yet. Why?

Because the orange card front will be the example for the stamp group to be able to see how I prefer to assemble the moving wheel part.
Once a brad is in place holding the wheel and front window piece together, add a Stampin’ Dimensional onto the back of the brad. Then add a small punched out circle on to the dimensional. (If you don’t have a punch, the Give It A Whirl die set has circle dies, too). By doing so, this sandwich of the wheel, brad, dimensional, and the circle supports the middle of the card front. And it will allow the sentiment wheel to easily turn on the same level. Attach the entire assembly to the card front with four more dimensionals in the corners and center it on the card base. Now, the assembly lies evenly, in one layer. See the picture below.

October Tuesday Stamp Club Card
So, here’s a look at the actual card that we’ll be creating this month. The card color palate idea comes from the Spooky Treats kit, but the rest has come together with the Give It a Whirl die set and Scary Cute bundle. Boo! Aren’t those Trick or Treaters cute?!
May my card ideas give you the courage to create your own cards, or even alter a few treat boxes from the kit.
Scary Cute Spooky Treats for You
The following list are some items you would need to make some scary, cute, spooky treat cards for yourself. Select the item number to view and learn more about each one. You can also order at the same time. Treat yourself with some of these!
- Scary Cute Bundle, 159852
- Give It A Whirl dies, 154336
- Stampin’ Cut & Emboss Machine, 149653
- Round & Square Brads, 155570 (or just take from your stash, if you already have some)
- Take Your Pick tool, 144107 (optional, but it can be used for many craft tasks)
- Versamark ink, 102283
- Basic Stampin’ Emboss Powders, 155554
- Heat tool, 129053
- Timeworn Type 3D embossing folder, 156505
Treat Yourself Every Month!
A Paper Pumpkin kit could arrive in your mailbox every month, if you subscribe. Next month, the Paper Pumpkin kit promises to make Christmas cards.

As the banner hints, these cards will have a traditional flare with a traditional color palate. I’m excited about those iridescent snowflakes I see! The kit will create 9 Christmas cards of three designs each. There will also be coordinating envelopes. Another exciting thing is that this kit will coordinate with November’s kit and an extra add-on kit offer. How wonderful! I’m almost certain the mixing and matching of pieces will be endless!
If you’re looking for other Christmas kits and products offered by Stamping’ Up! then, go to my Supplies page to explore the different options. Click HERE!
Now, go and treat yourself to some time to create more holiday cards!