
This “What’s Behind the Mask?” post is long over due. But, I wanted to share the fun we had at our January stamp club using the Butterflies & Flowers Layering Decorative Masks. And while I created that card project, I thought I should bring out the Plenty of Patterns Masks and create with them, too.
I love the versatility of mediums that you can use with masks. Besides using inks and blending brushes, sponges, or daubers, you can use masks with sprays, paint, paste, embossing powders, or whatever you choose. But, allow me to show you how to make a simple, single layer card of encouragement.
Start Simple
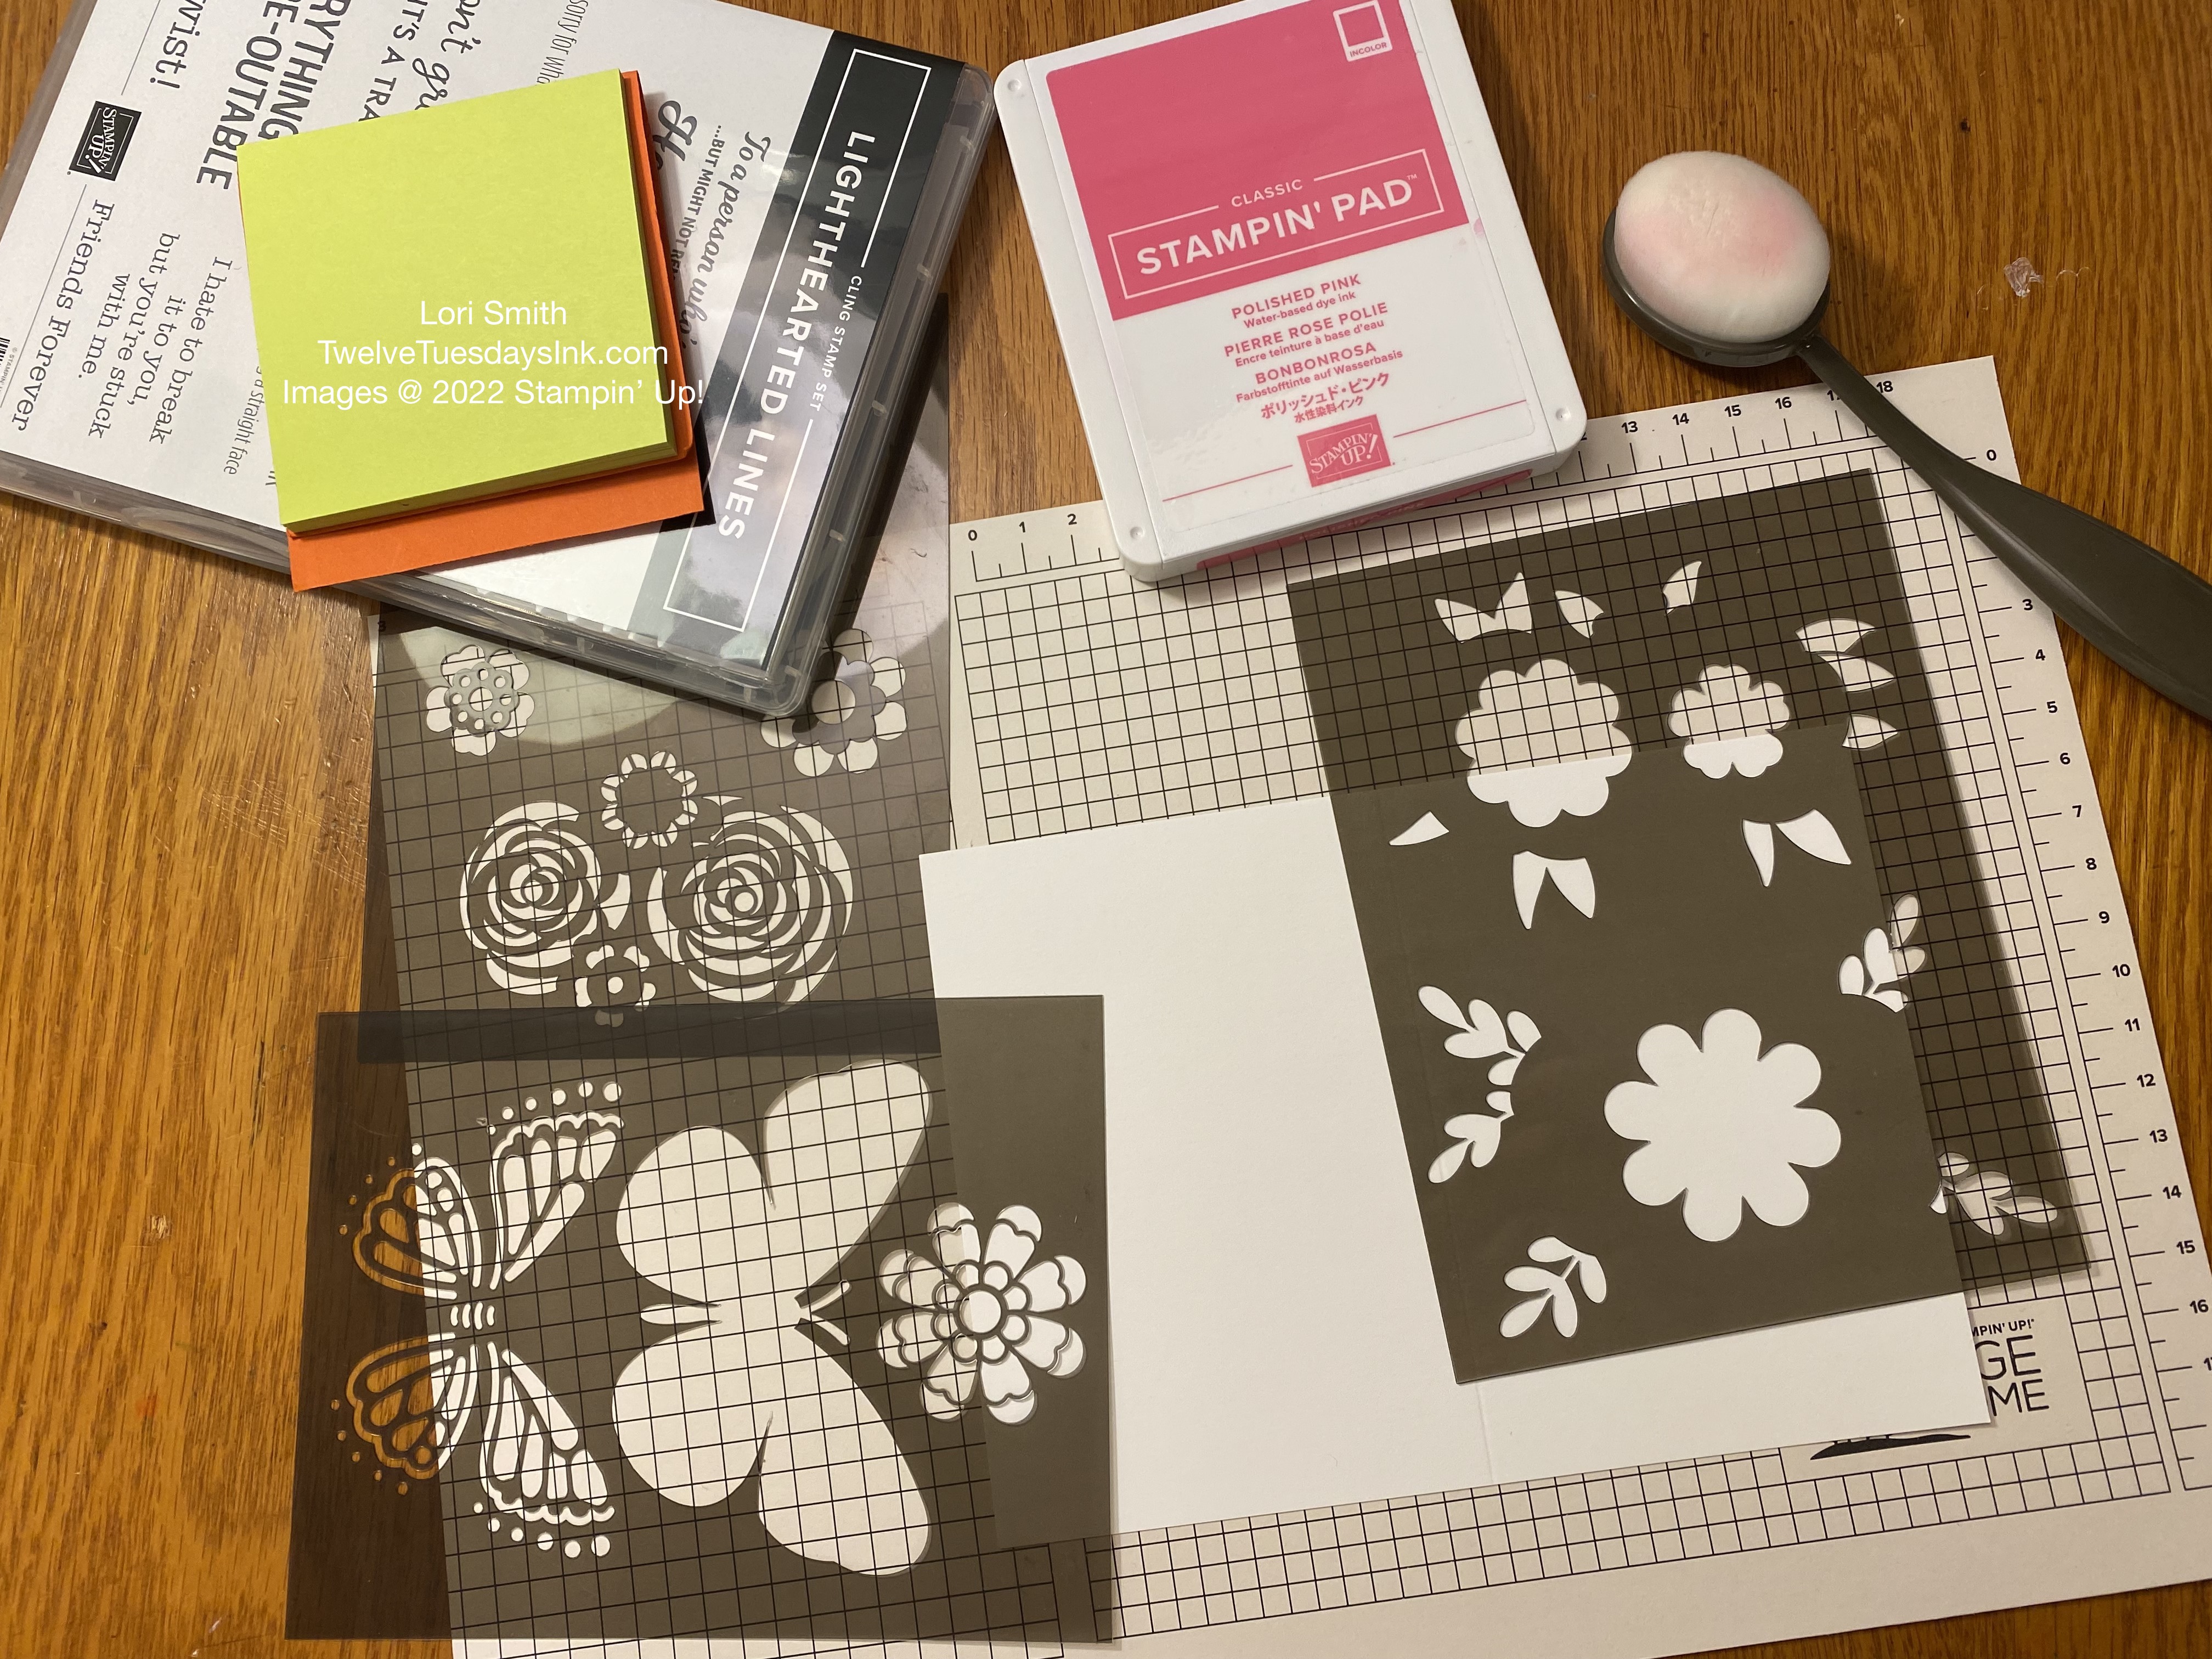
Our club meets in various members’ houses, and as a result, I needed to keep our card project simple. And so, I thought it would be a good project to share with you too. Let’s get started by gathering what you need to make the “plot twist” card. Select the item number to view and learn more about these Stampin’ Up! products!
- Basic White Note Cards & Envelopes, item 159232
- Butterflies & Flowers Layering Decorative Masks, item 158142
- Blending Brushes, item 153611
- Tuxedo Black Memento Ink, item 132708
- Lighthearted Lines stamps, item 155042, sorry – no longer available
- Block H, item 118490
- Three color inks for the flowers: I choose Polished Pink, item 155712; Balmy Blue, item 147105; and Daffodil Delight, item 147094
- scrap paper and sticky notes
10 Steps to Make a Single Layer Card
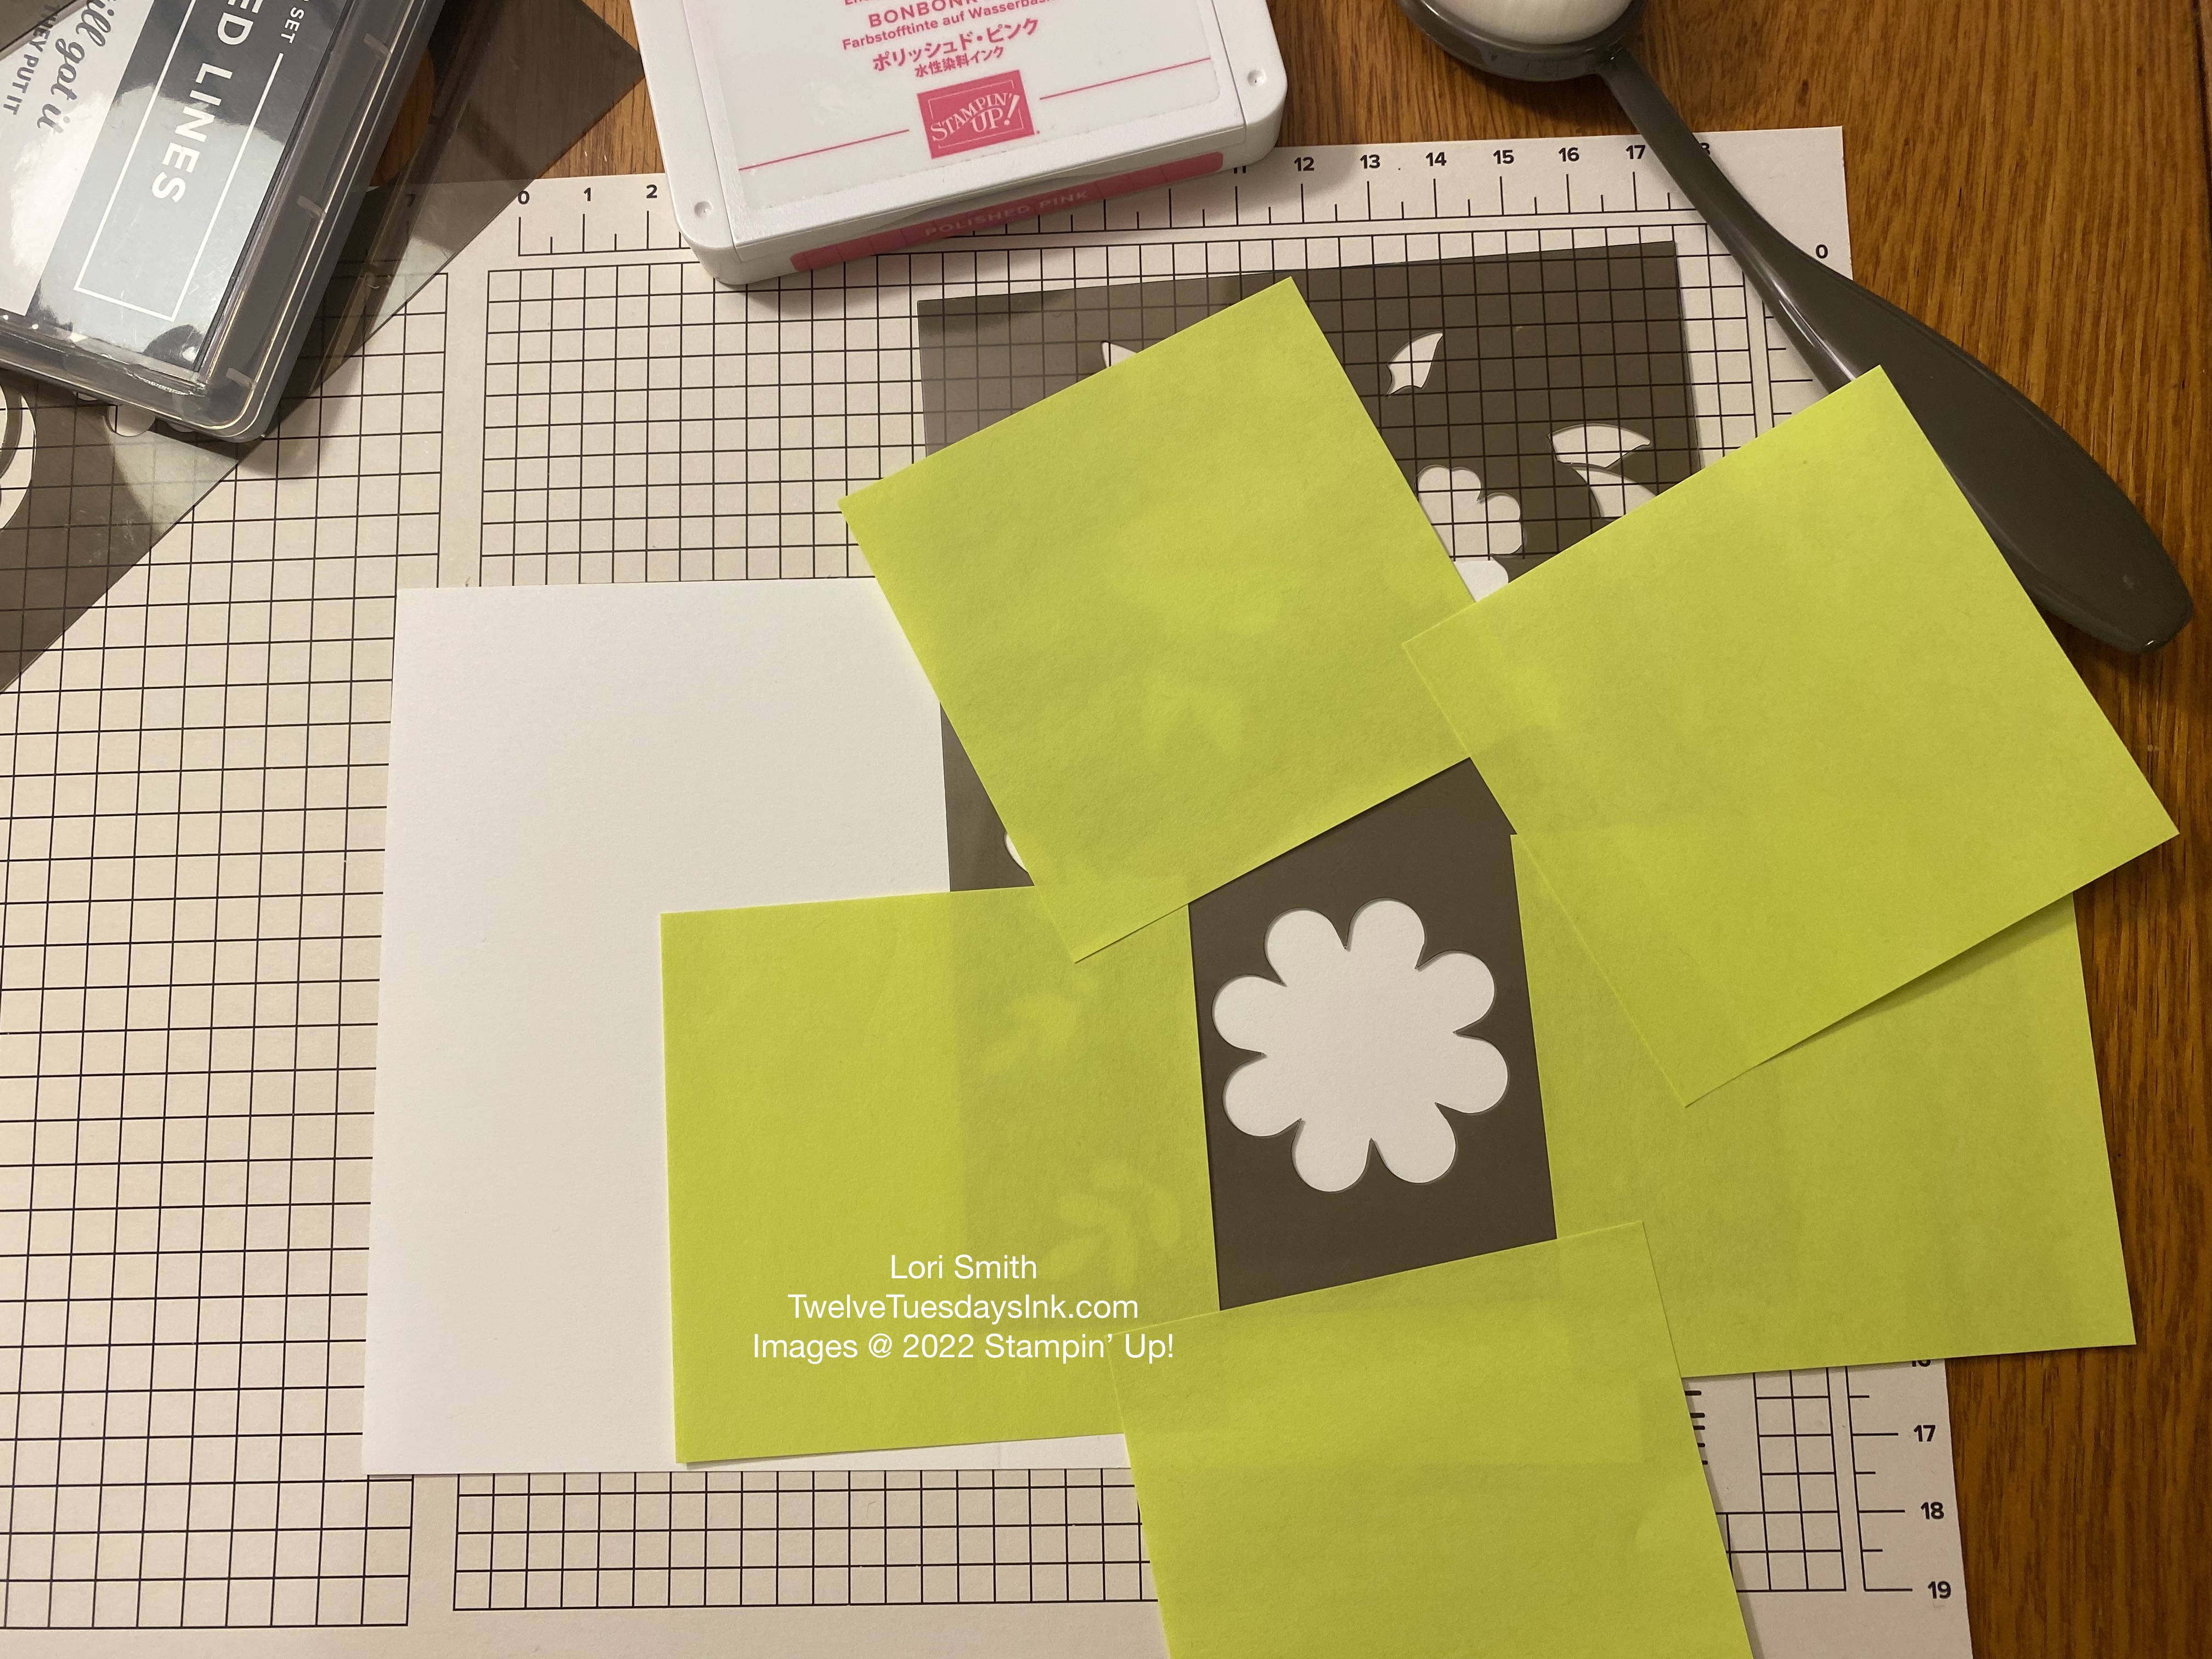
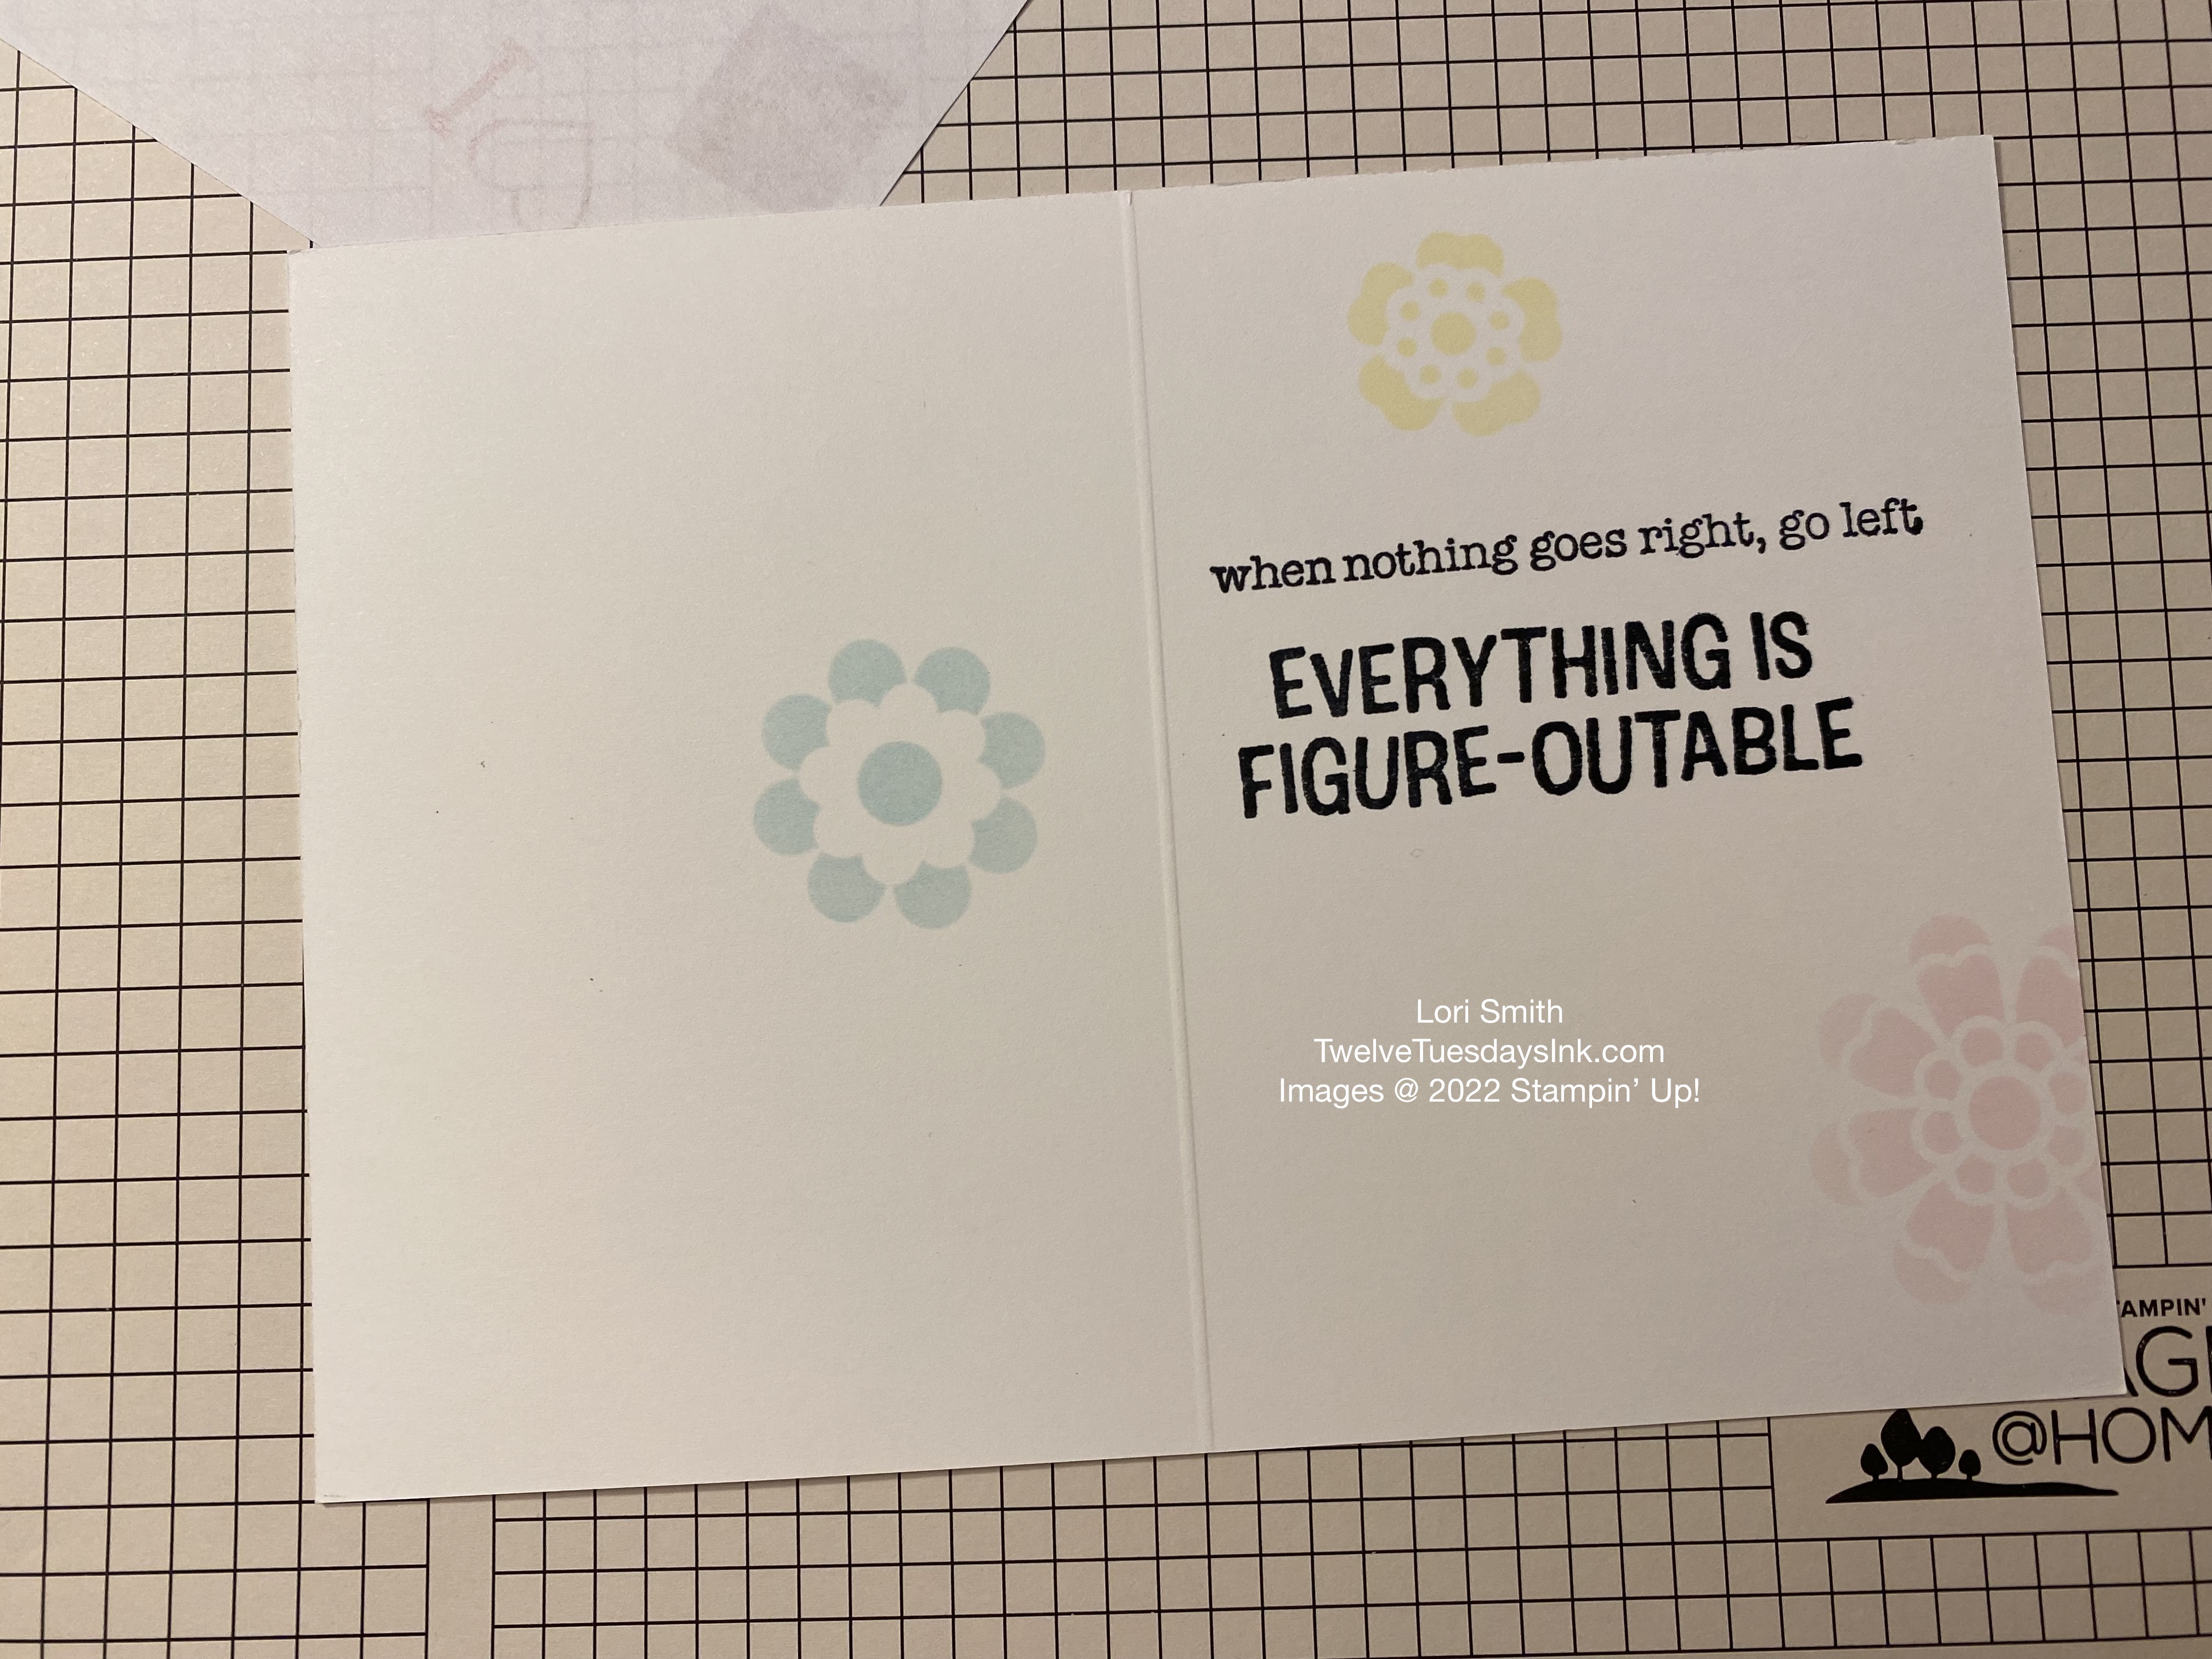
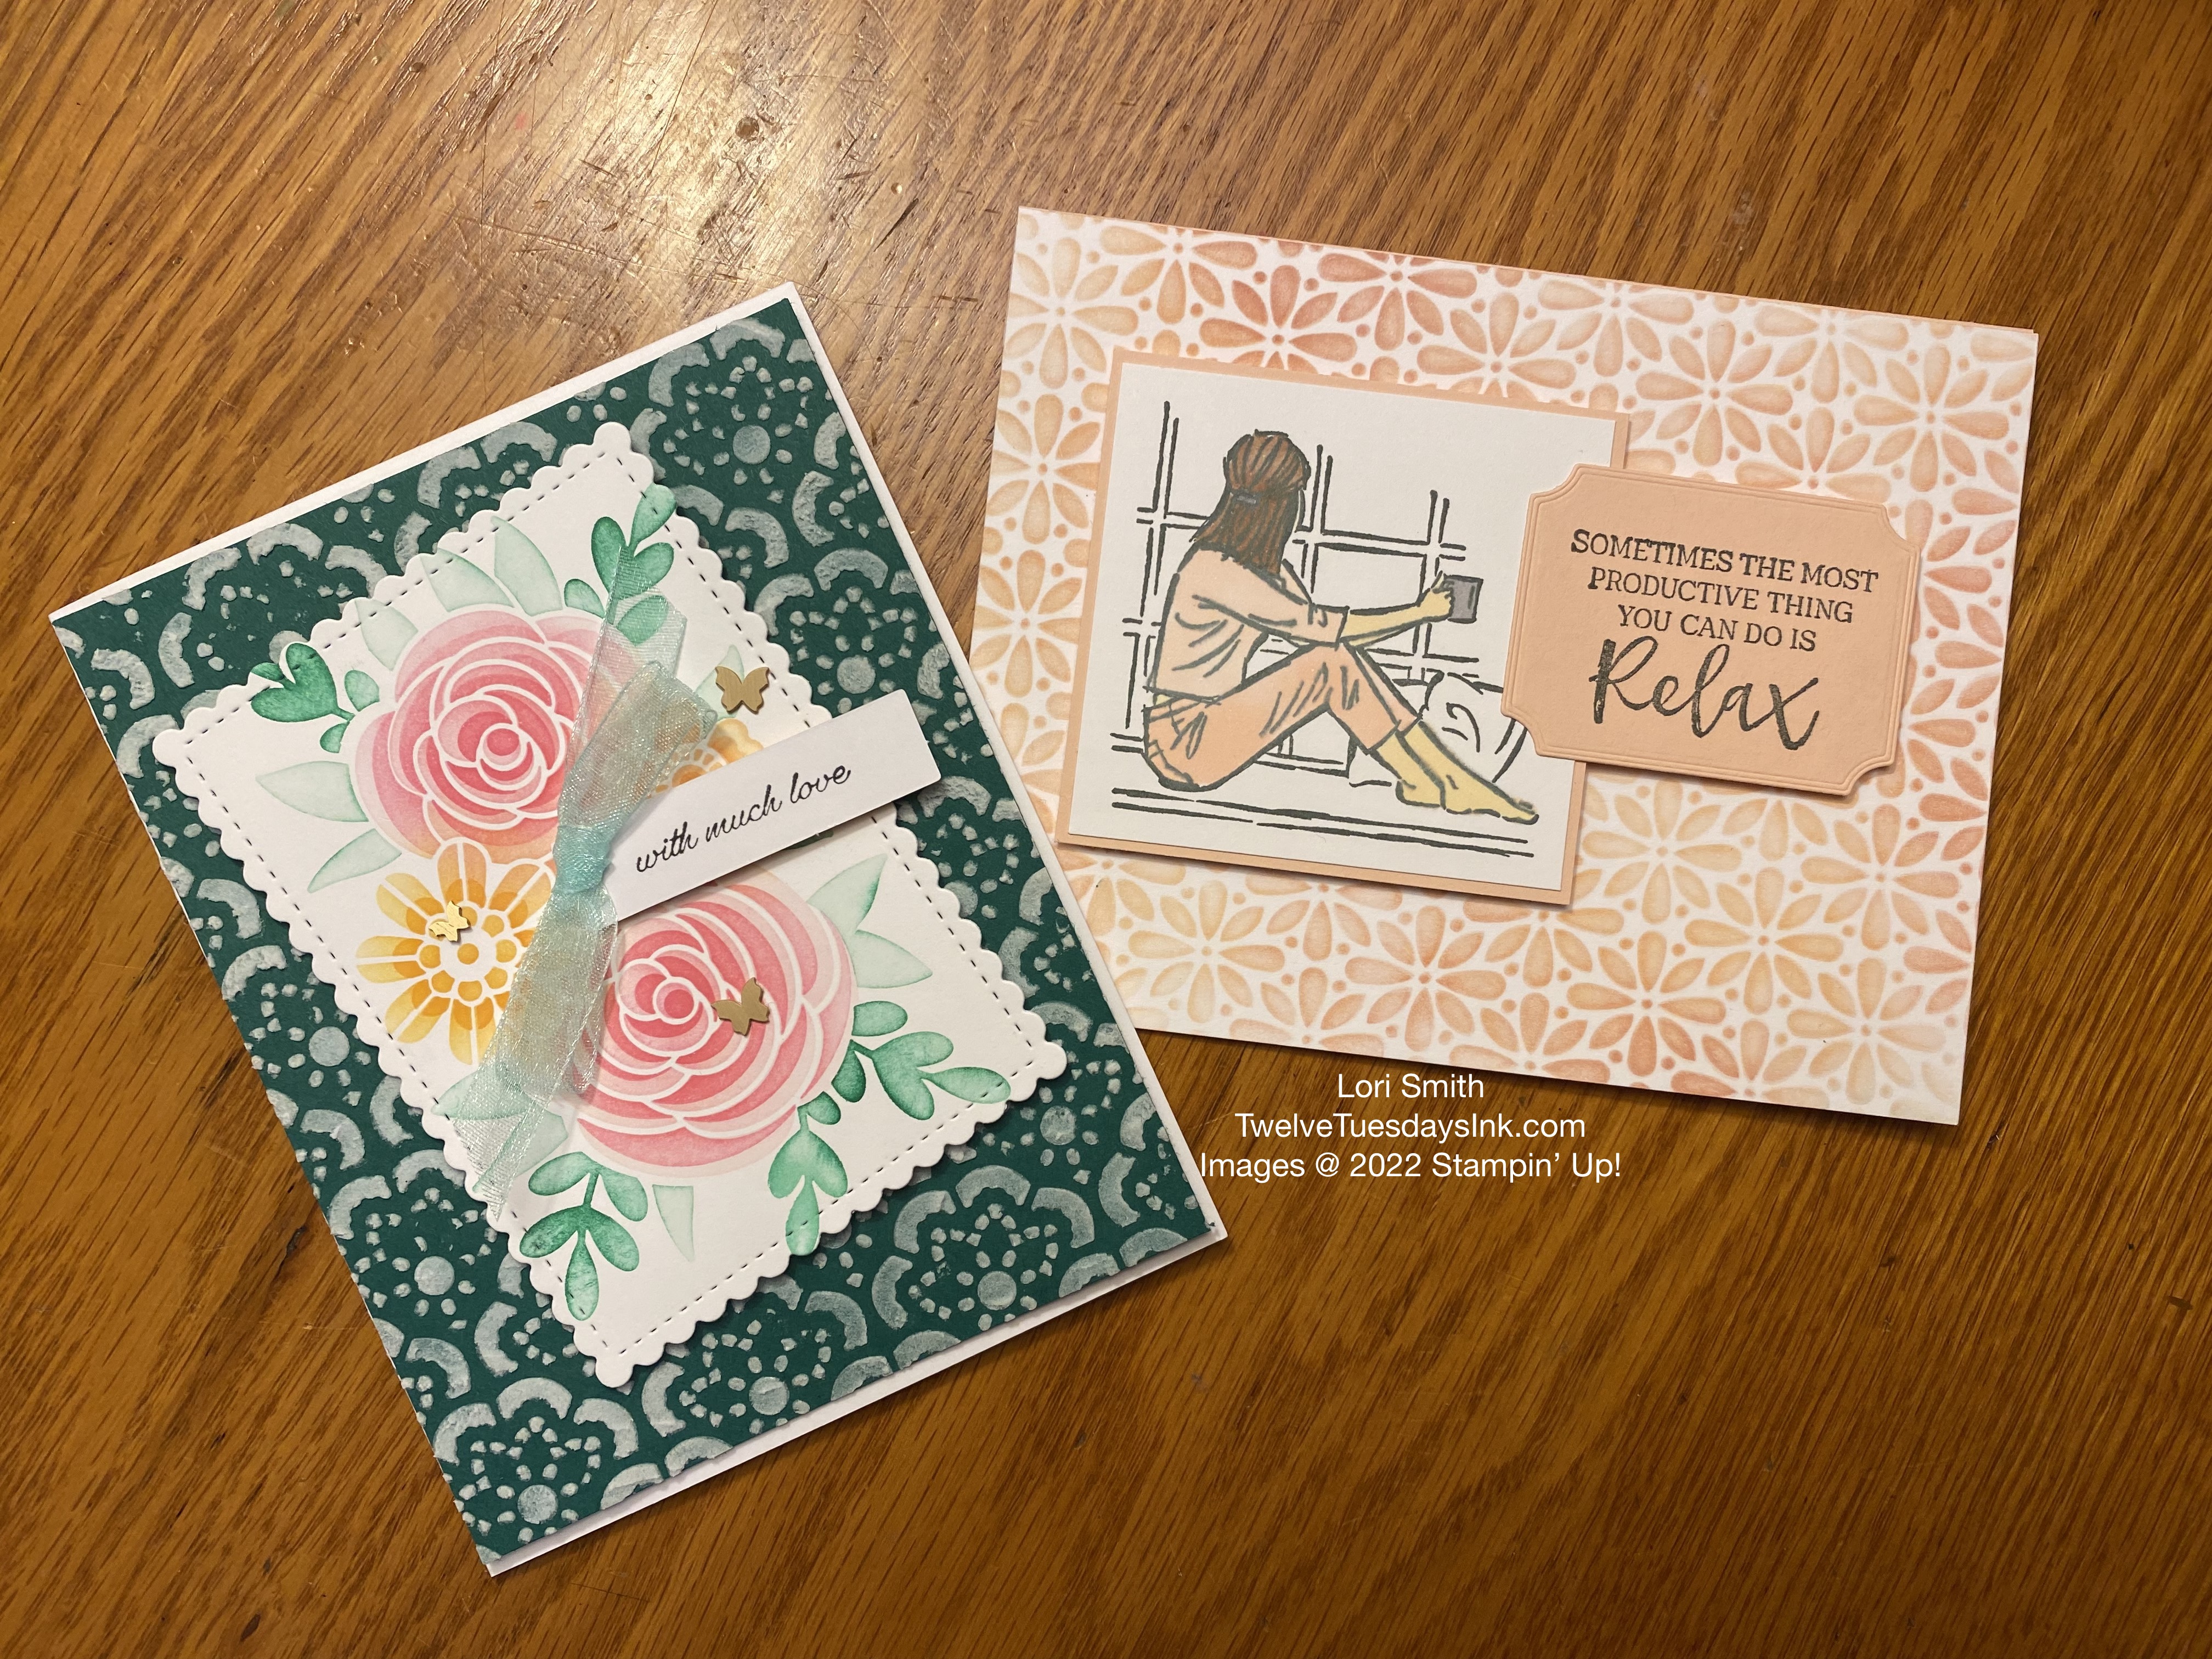
ONE: Protect your work area with scrap paper. Then lay one unfolded note card down and position your first image in the desired spot on the front. Position stencil in lower left side of the front, but leave room for the sentiment.
TWO: Use sticky notes to cover any area you don’t want ink on. Believe me, don’t shortcut on covering the areas you need to protect from unwanted ink!
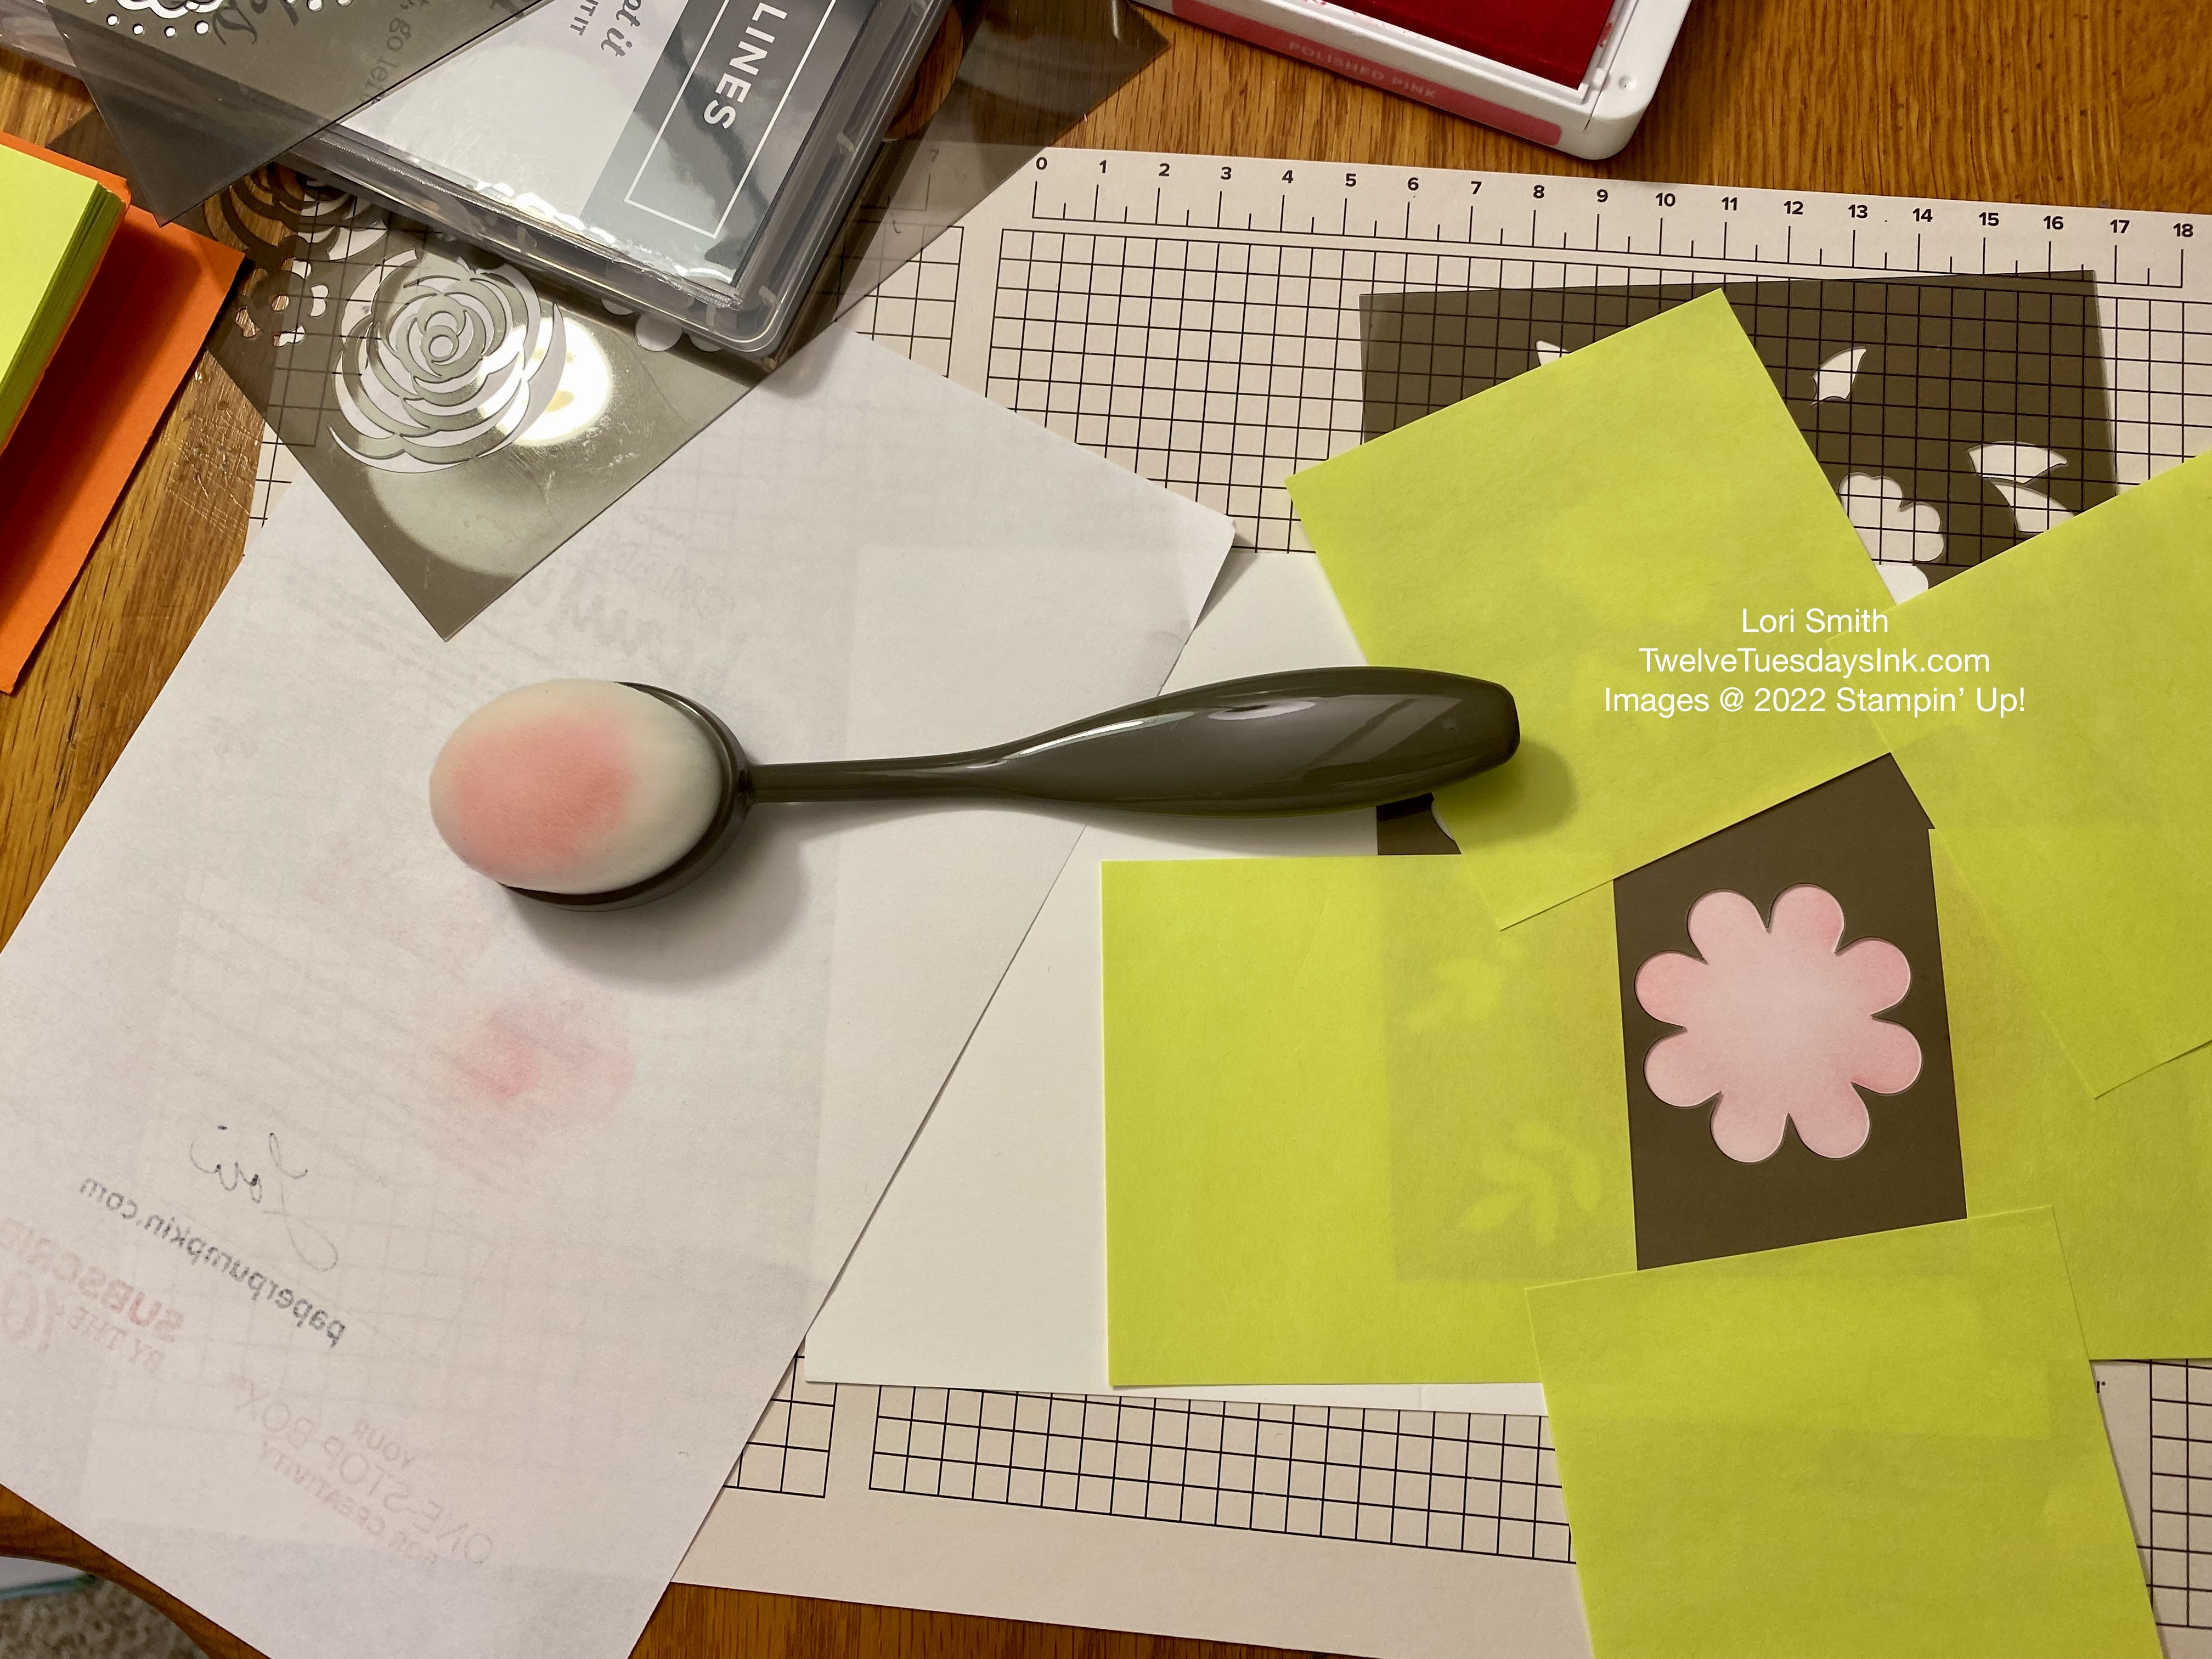
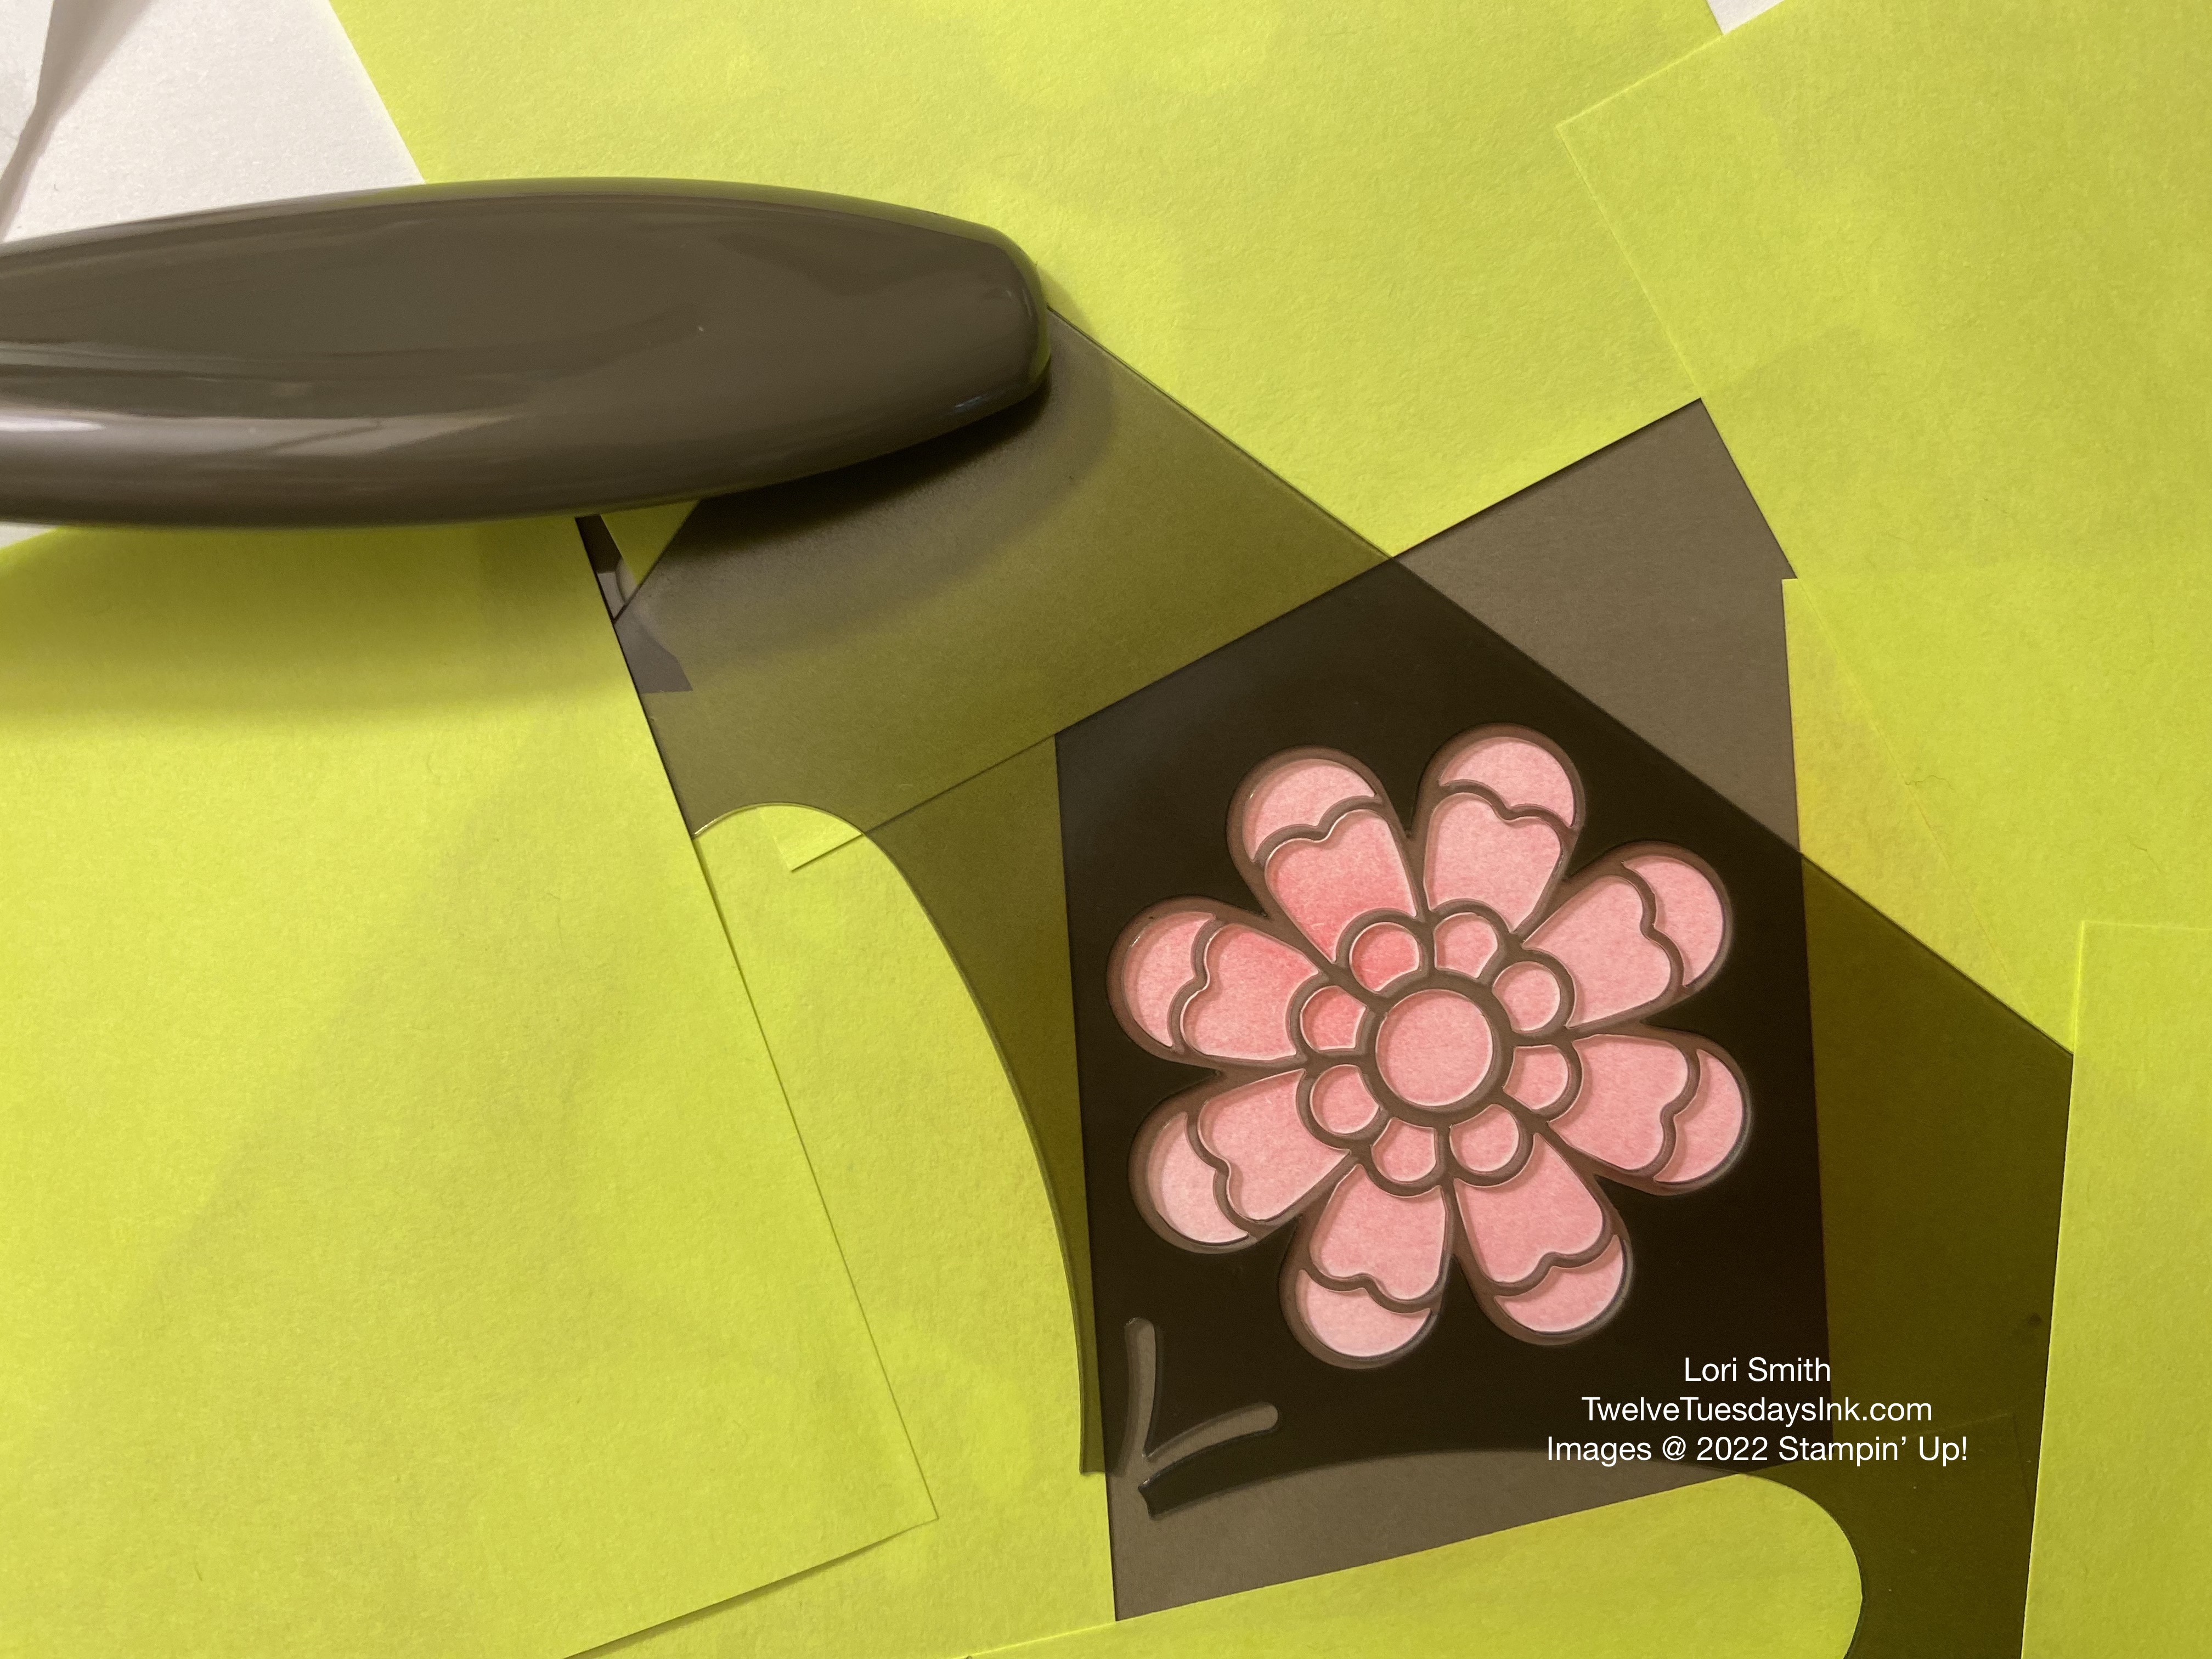
THREE: Load the blending brush with pink ink, and test on your scrap paper. Then, brush the ink inside the stencil to the desired intensity. Hint: Start by lightly applying ink and add more. If you brush too much ink at first, you can not erase it.
FOUR: Layer and align the coordinating, detailed stencil on top of “base” image and reapply ink again.
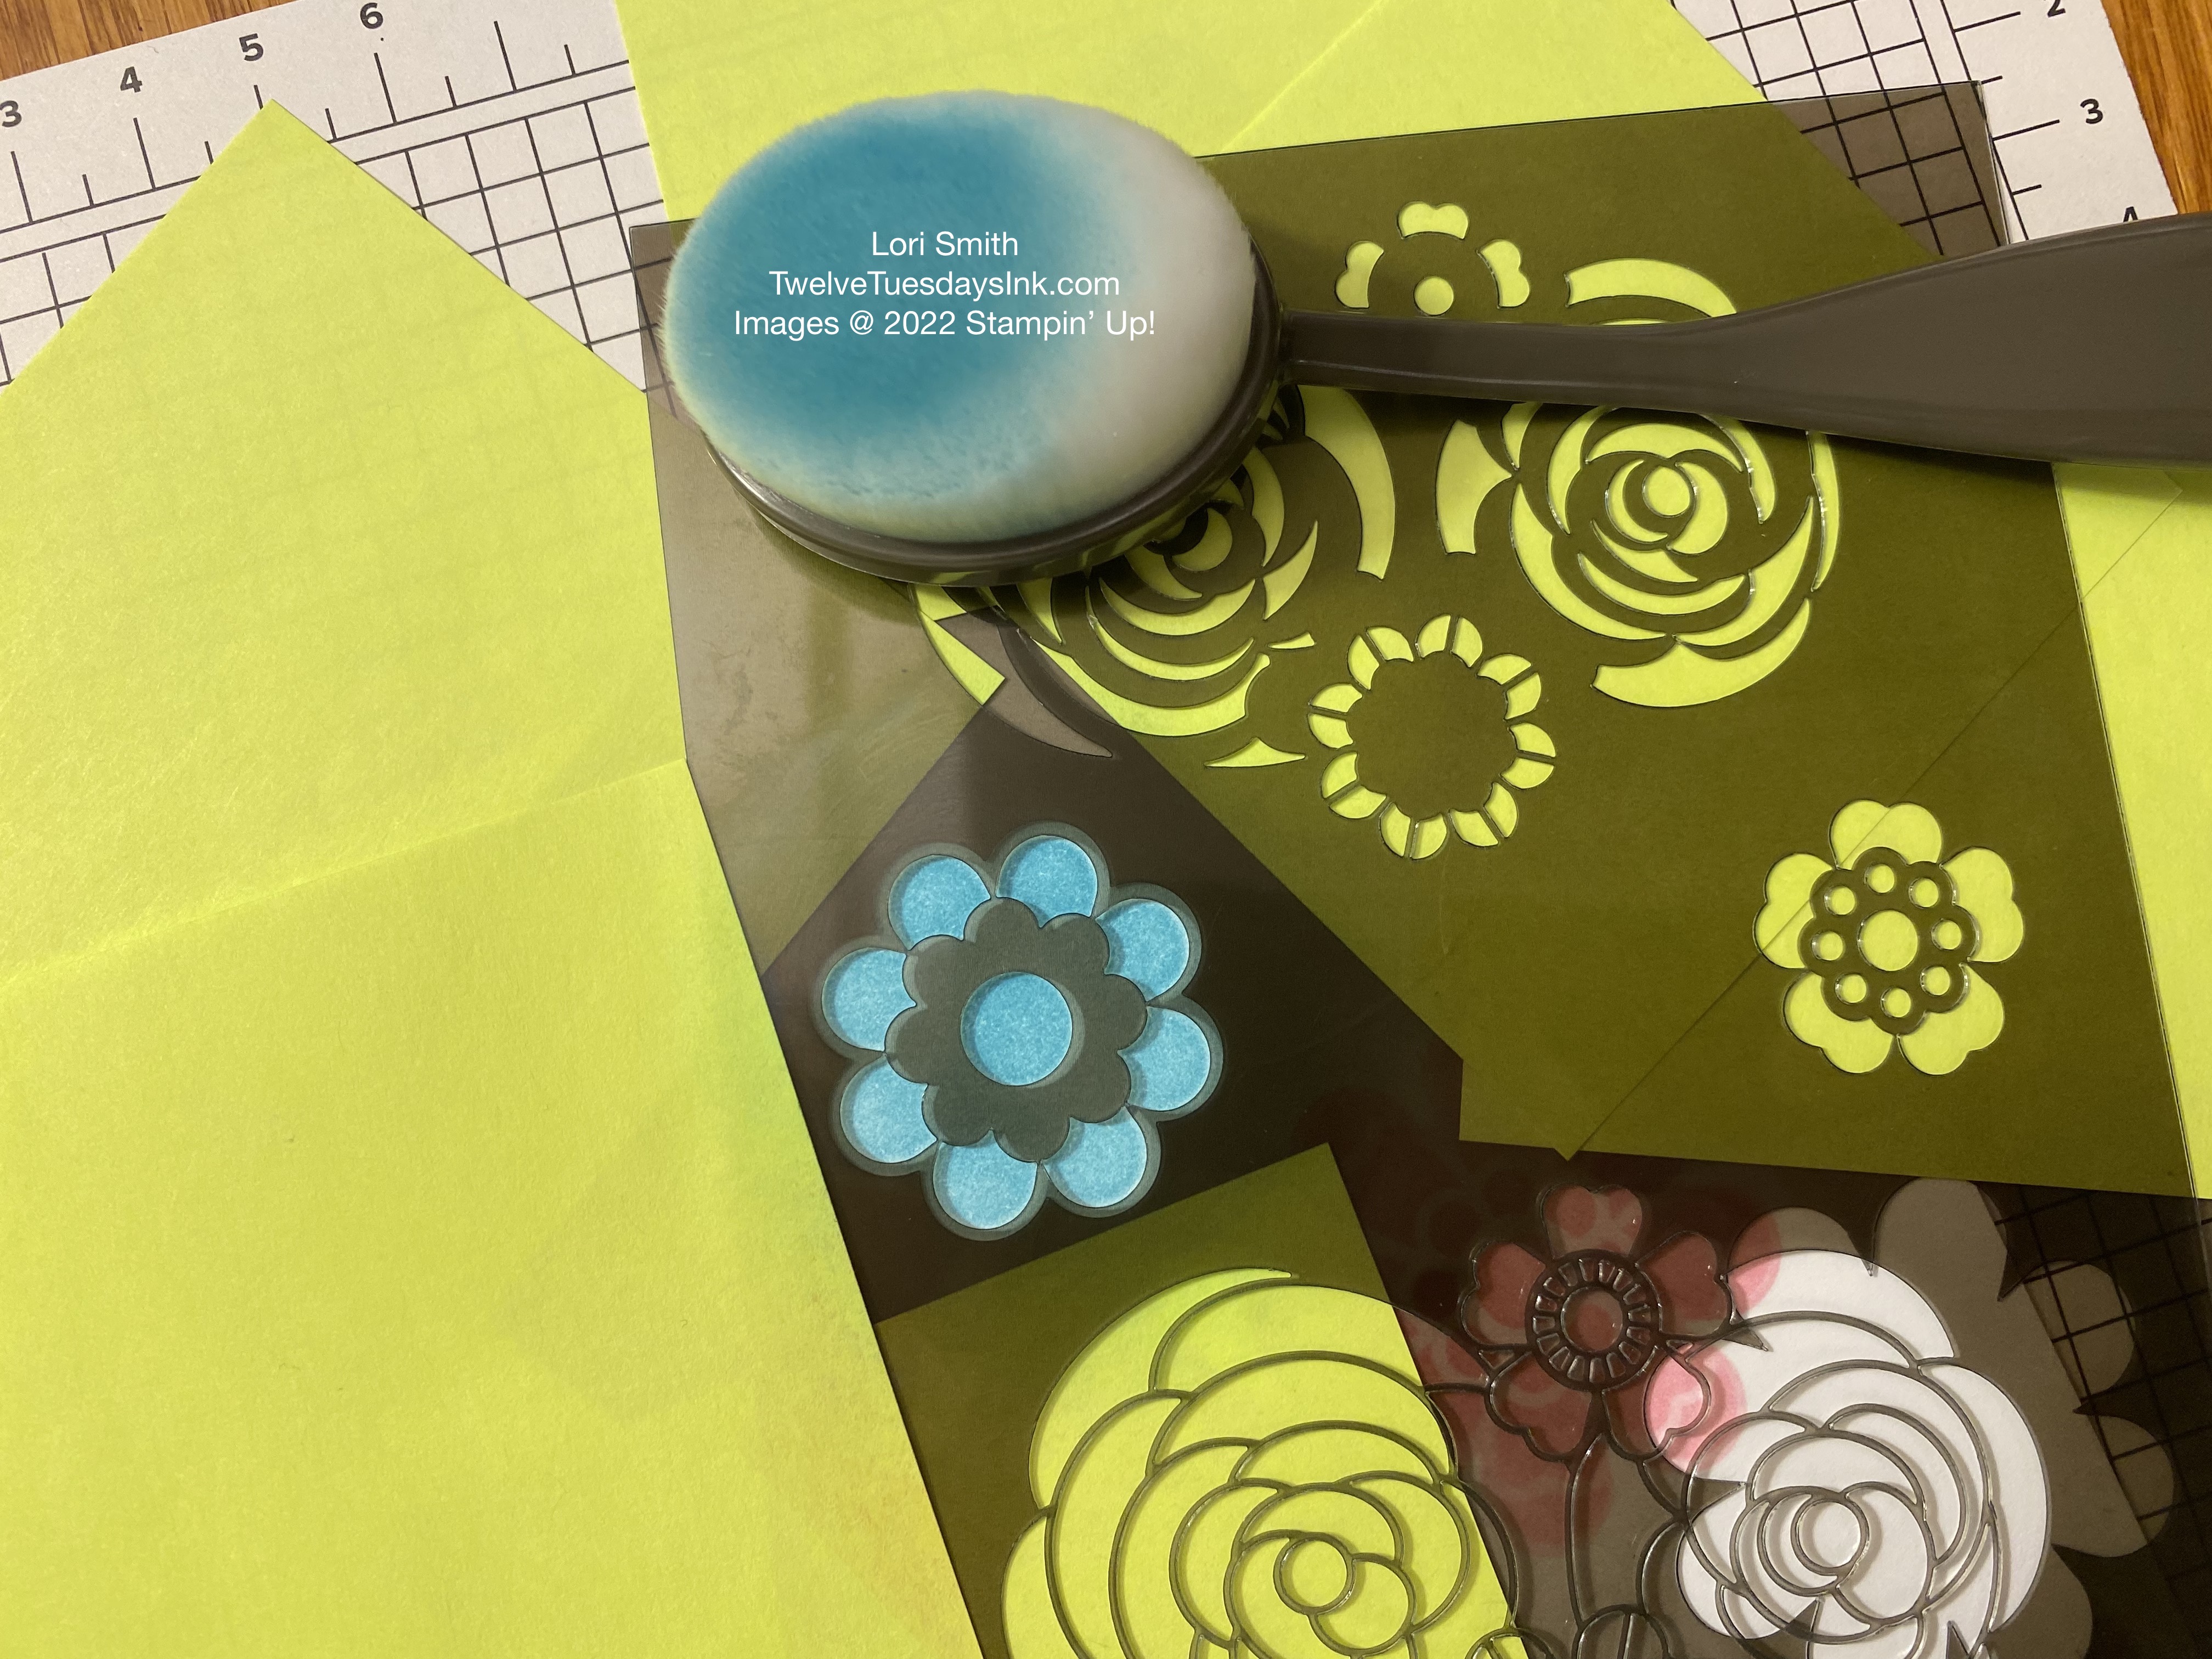
FIVE: Clean used stencils with a damp cloth after use. Remove sticky notes and place the other “base” flower stencils toward top of the card front. Cover the smallest flower with sticky notes.
SIX: Repeat steps 2 through 4 with the blue ink.
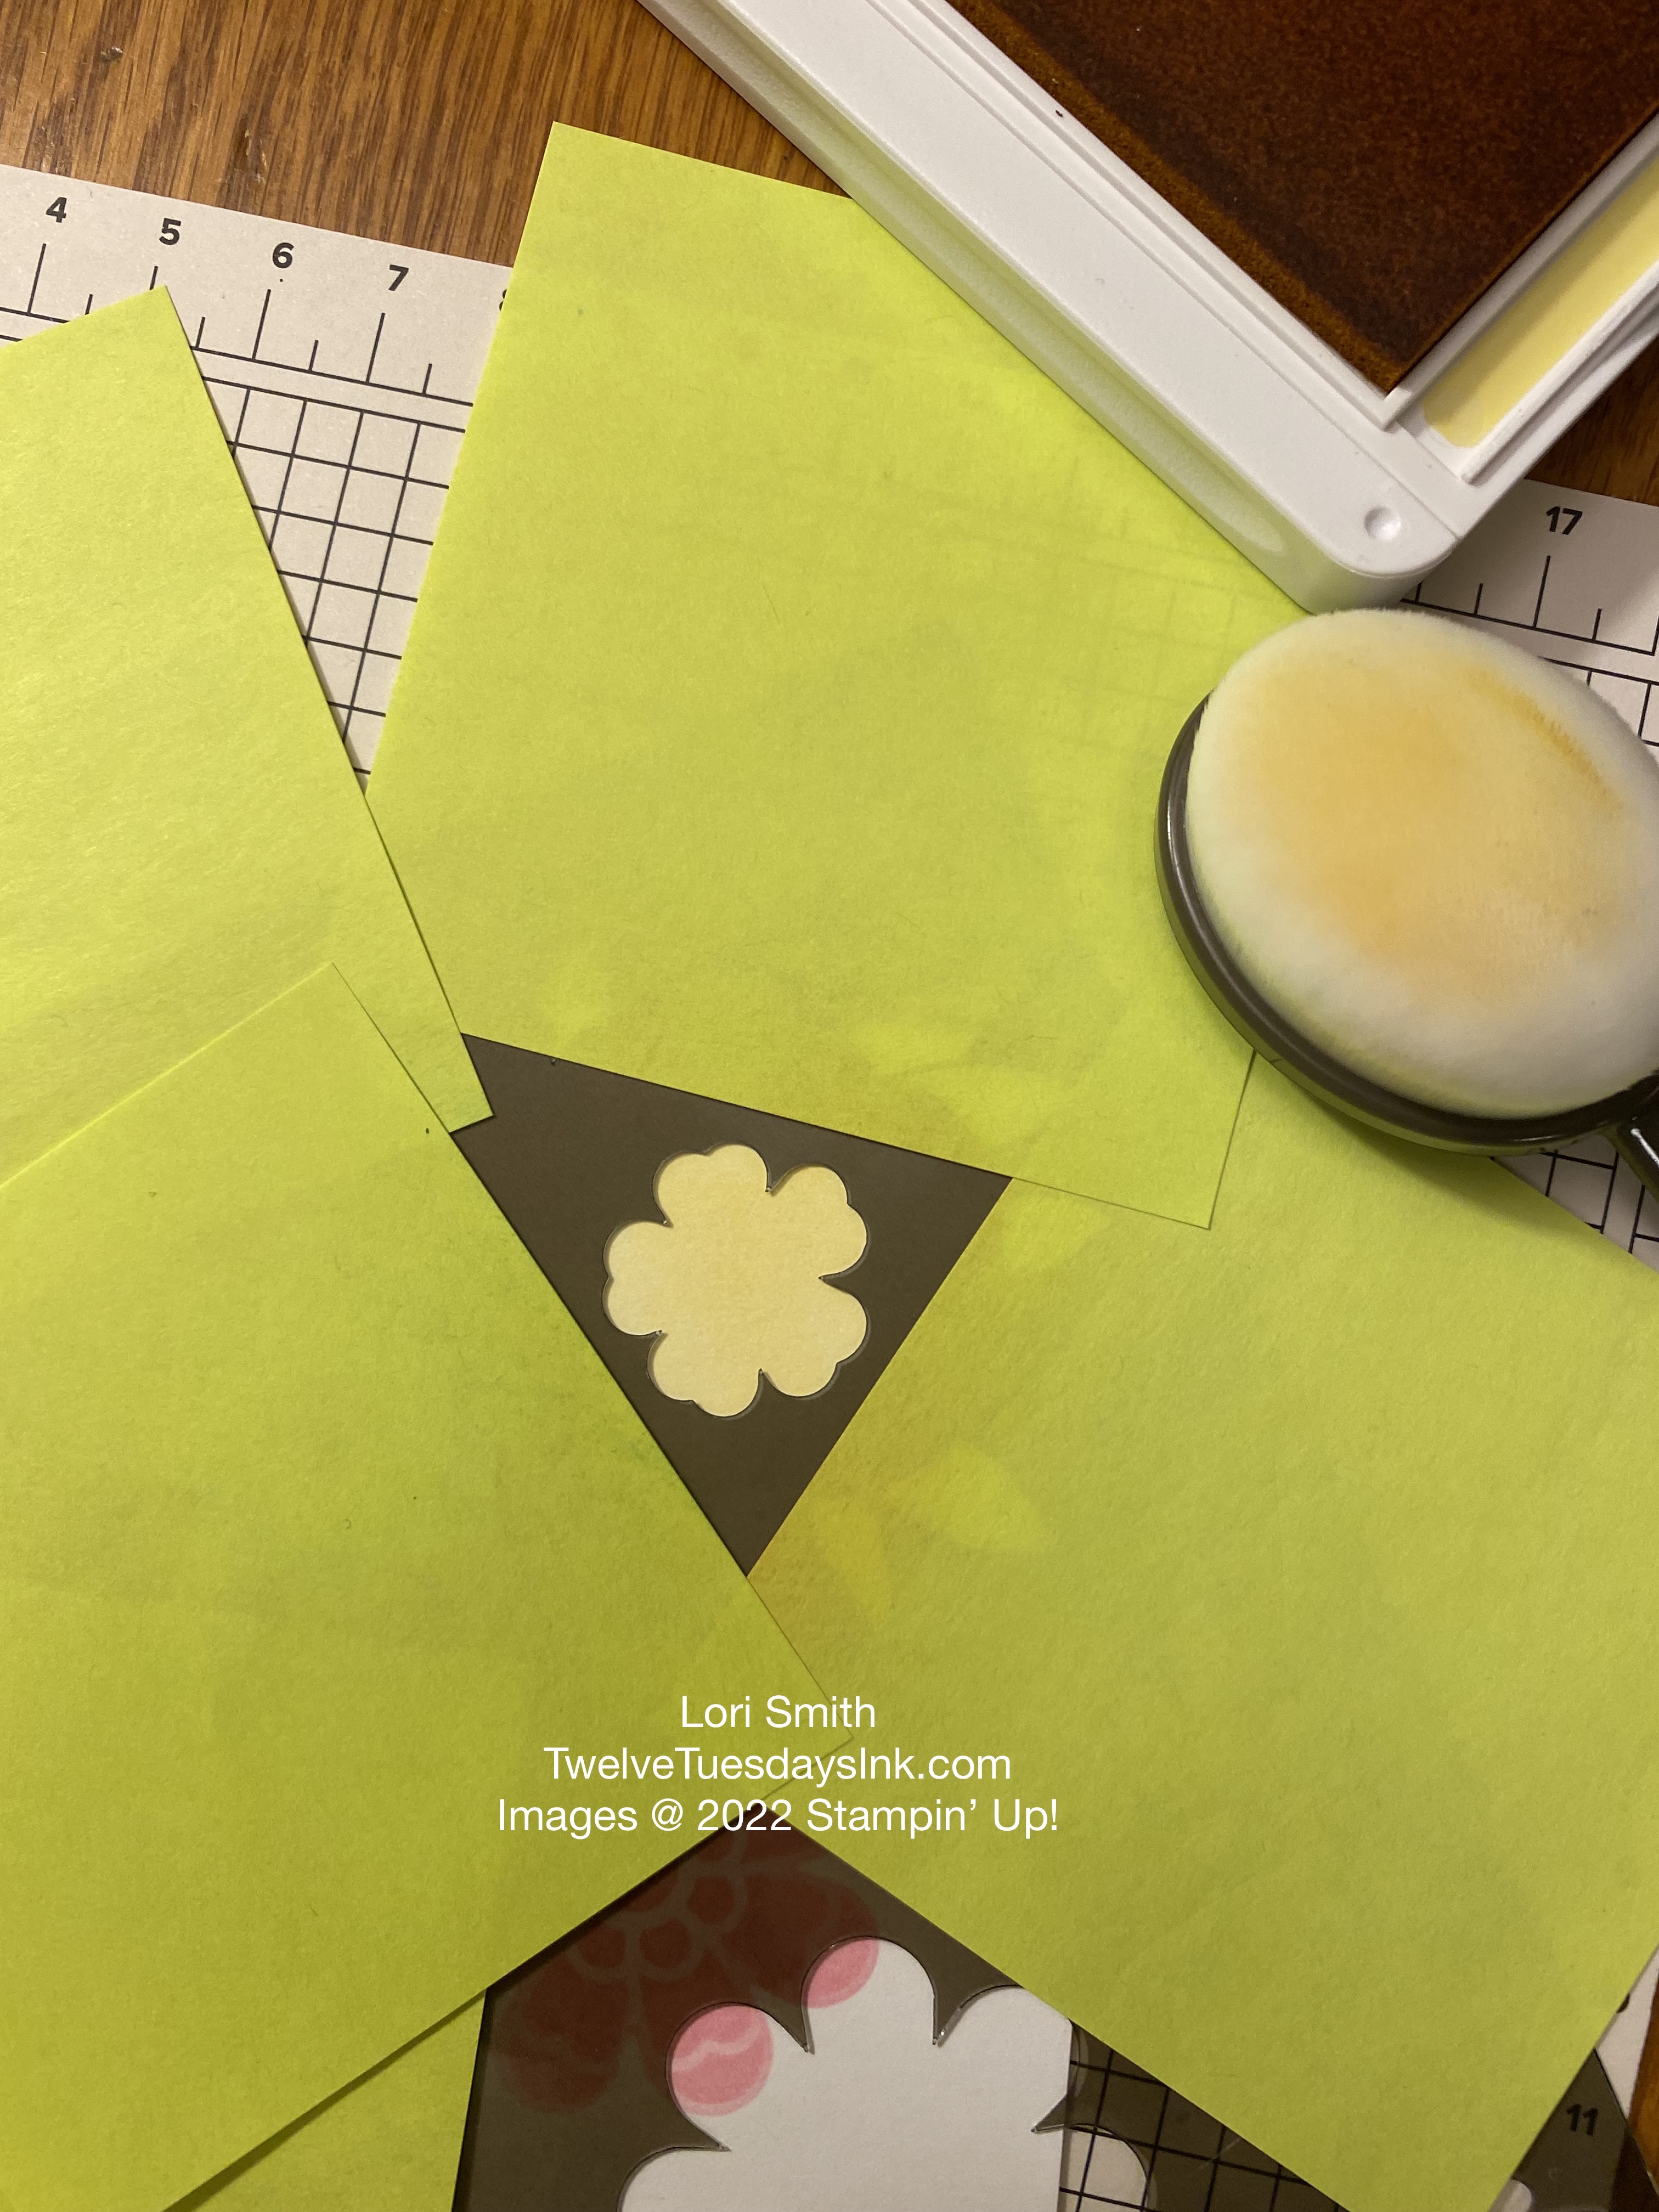
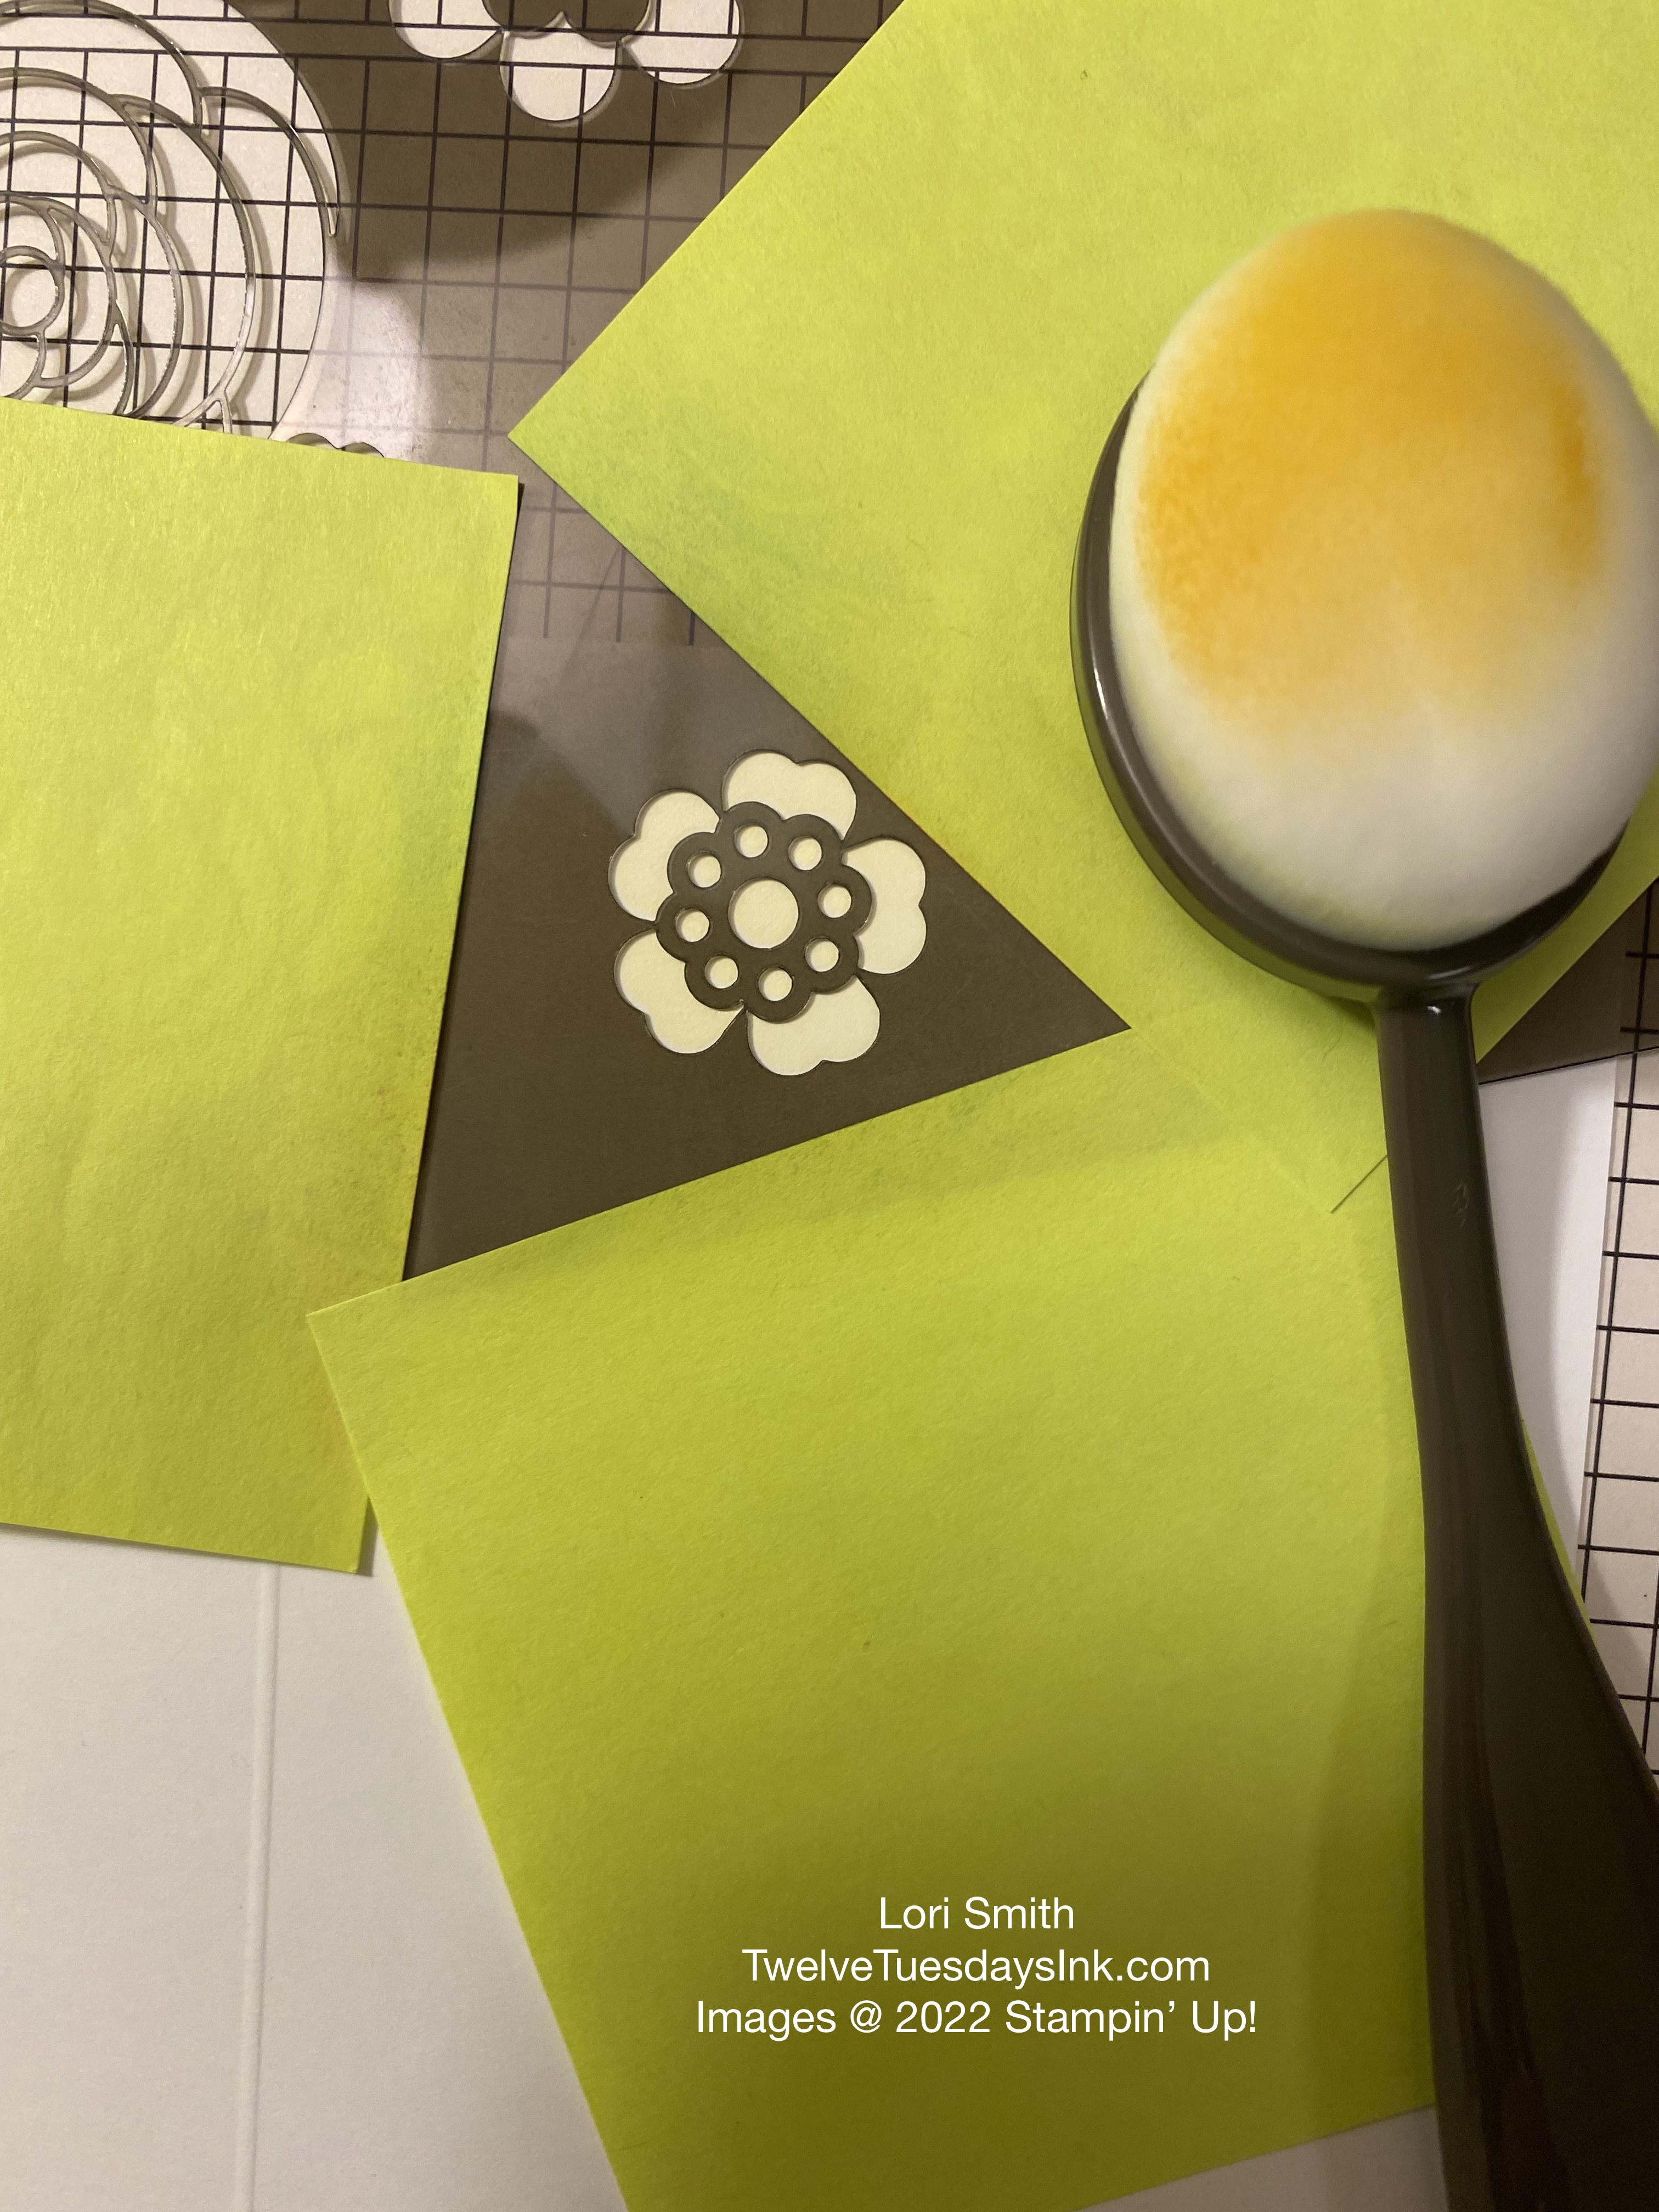
SEVEN: Repeat inking the smallest flower using the yellow ink by repeating steps 2 through 4, again.
EIGHT: Stamp your sentiment on the front.

NINE: Without reinking the brushes, lightly brush all three inks using the detail stencils to add flower “shadows” on the inside of the card.
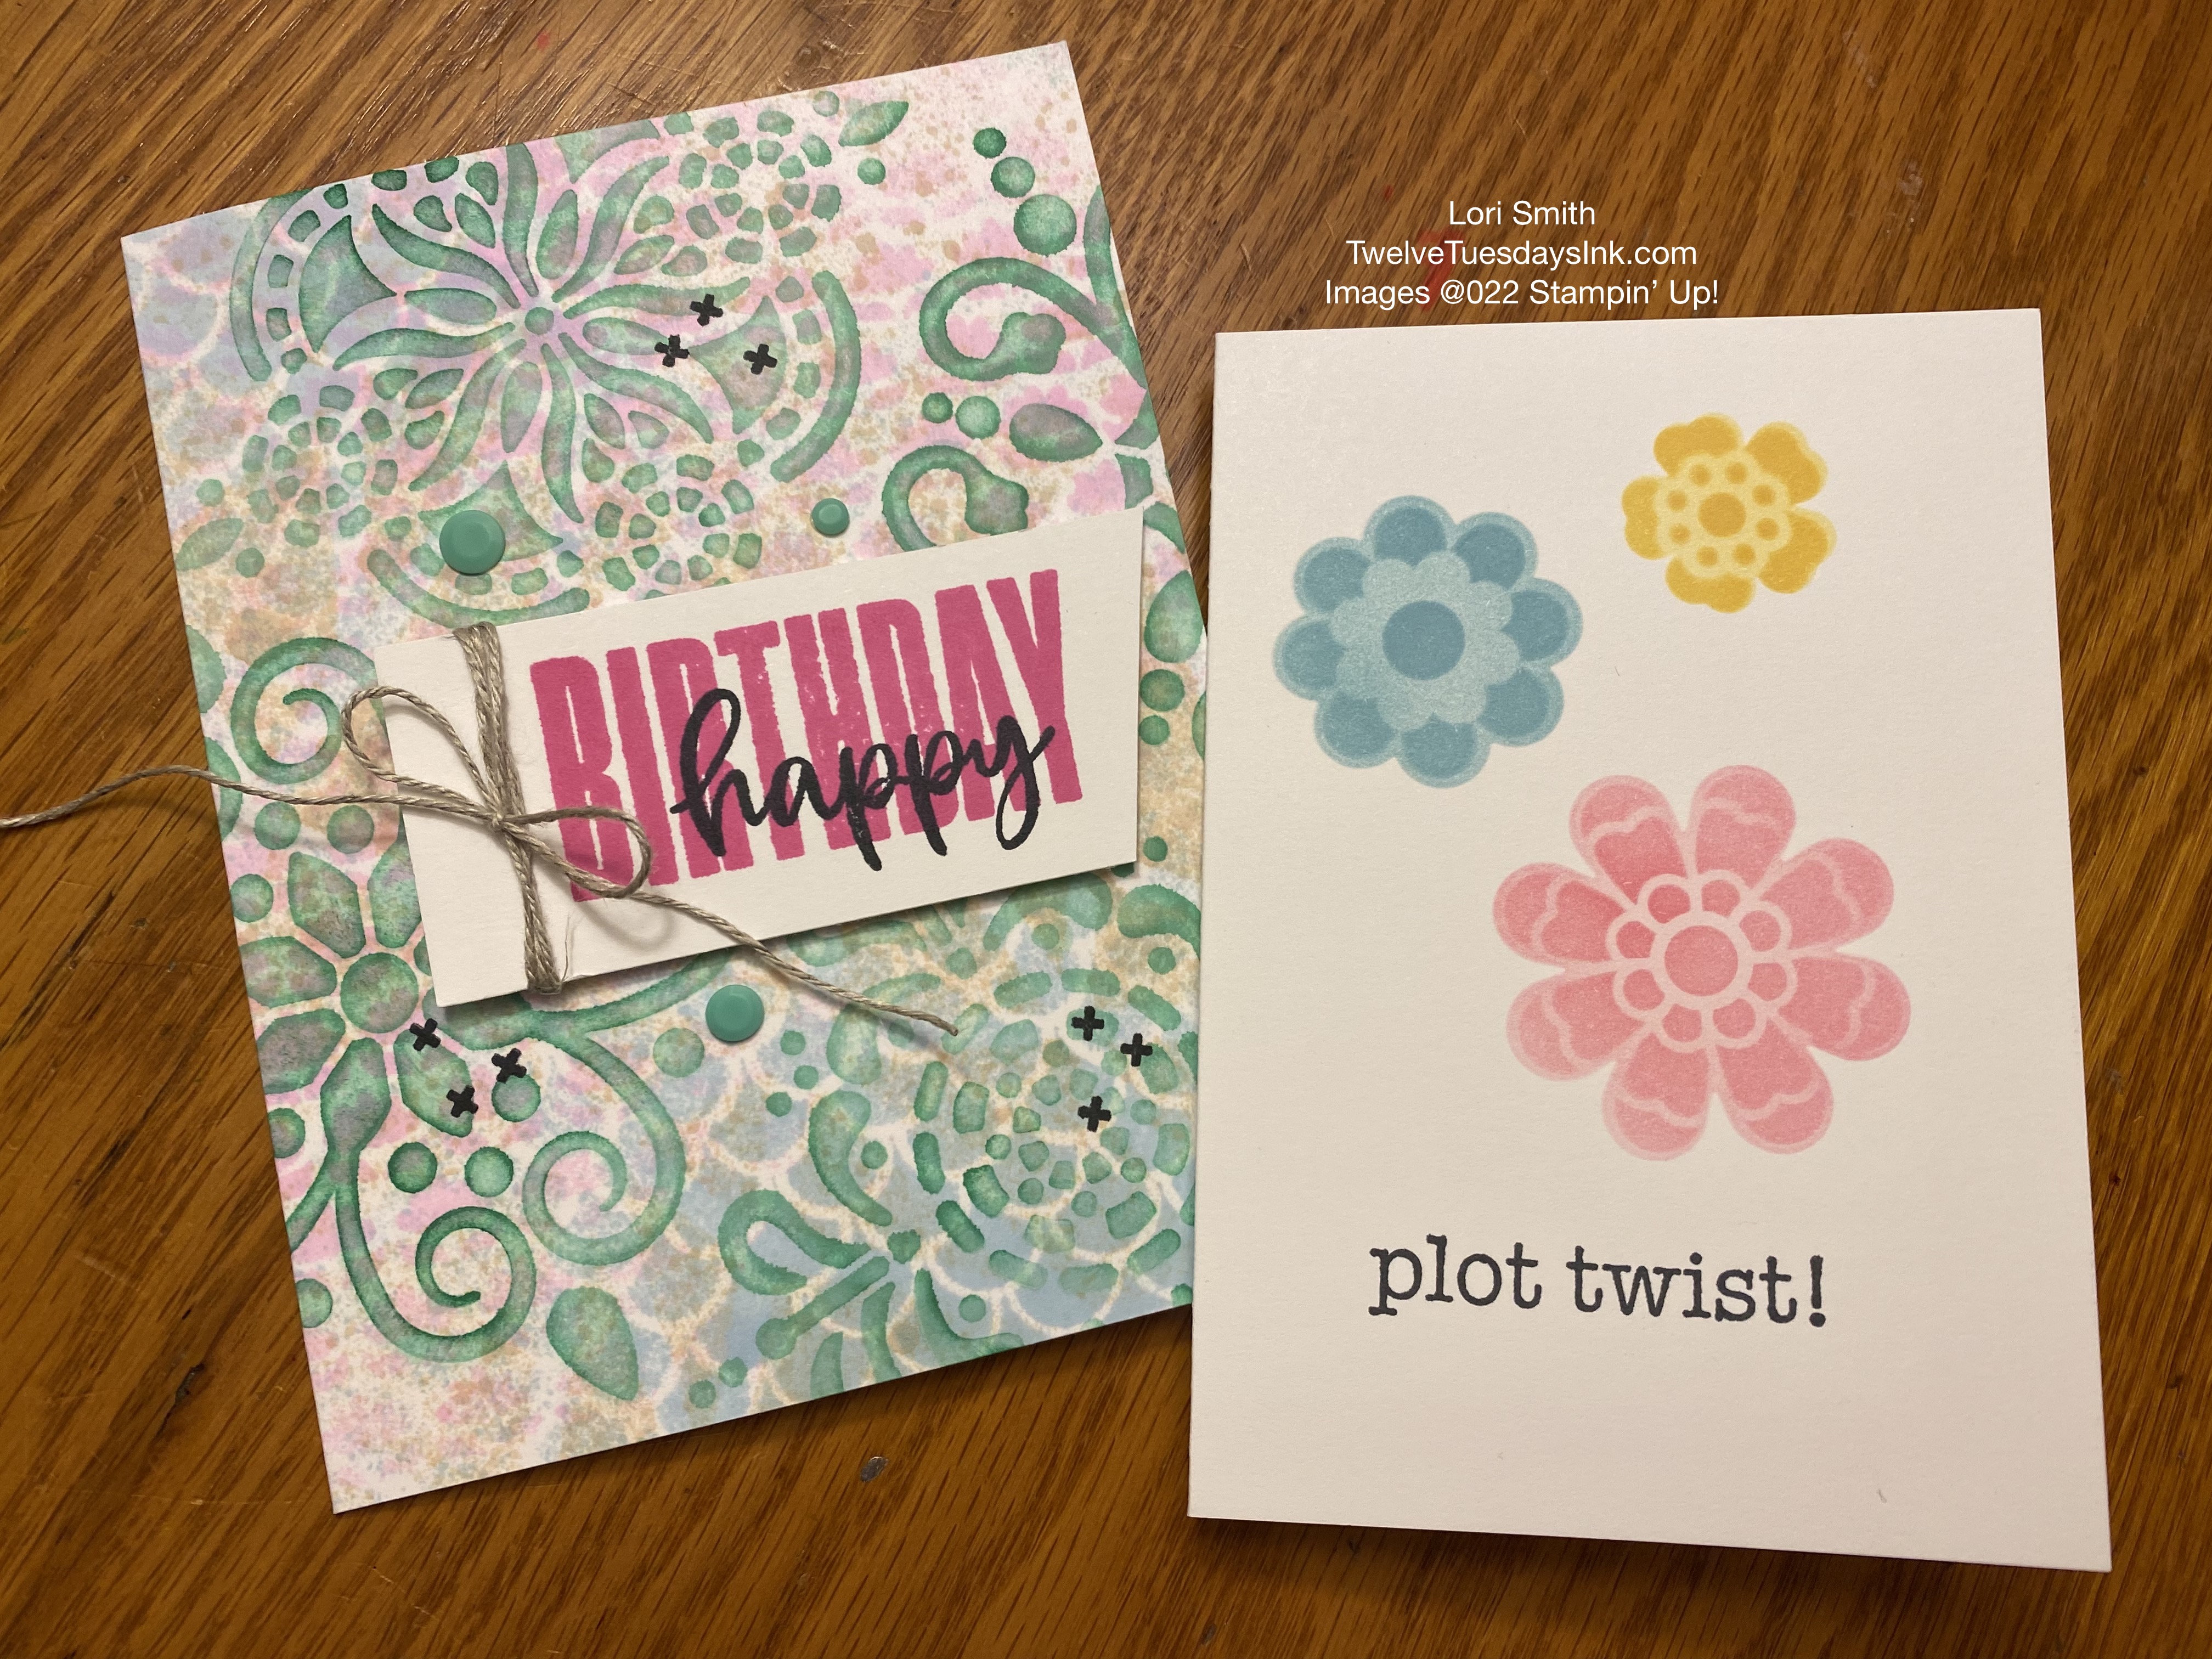
TEN: Stamp your inside sentiment, and then you’re done!
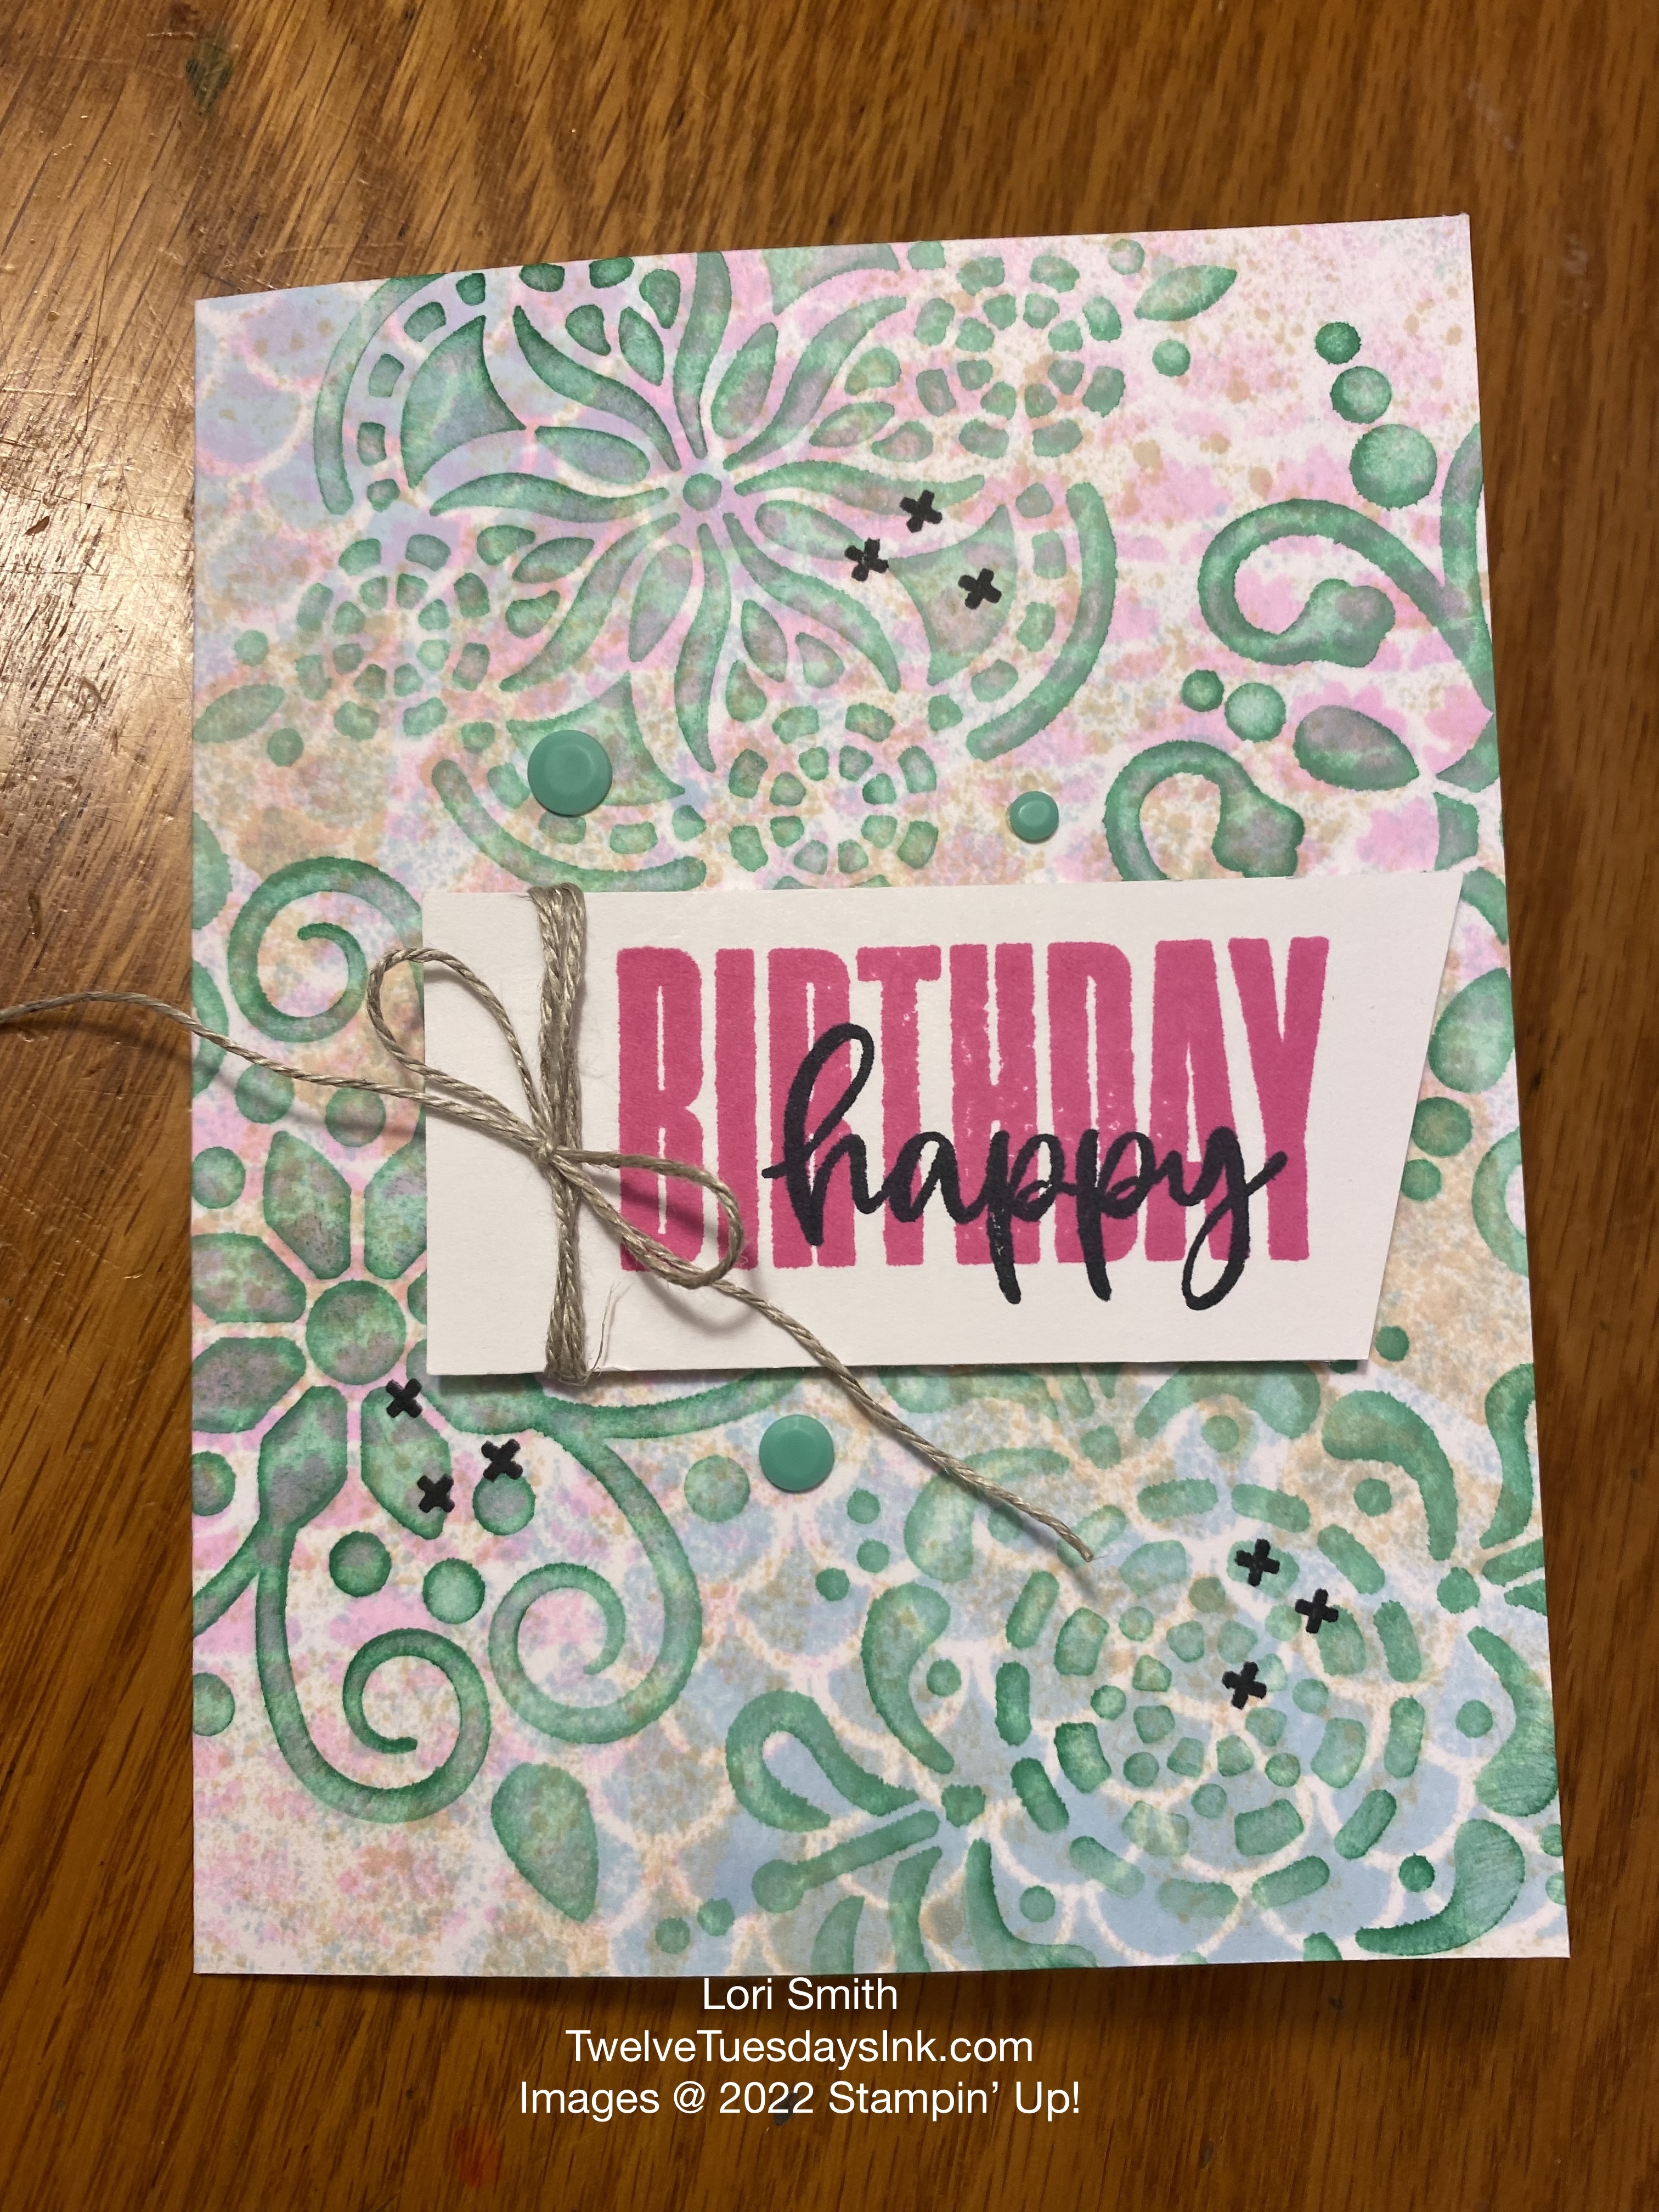
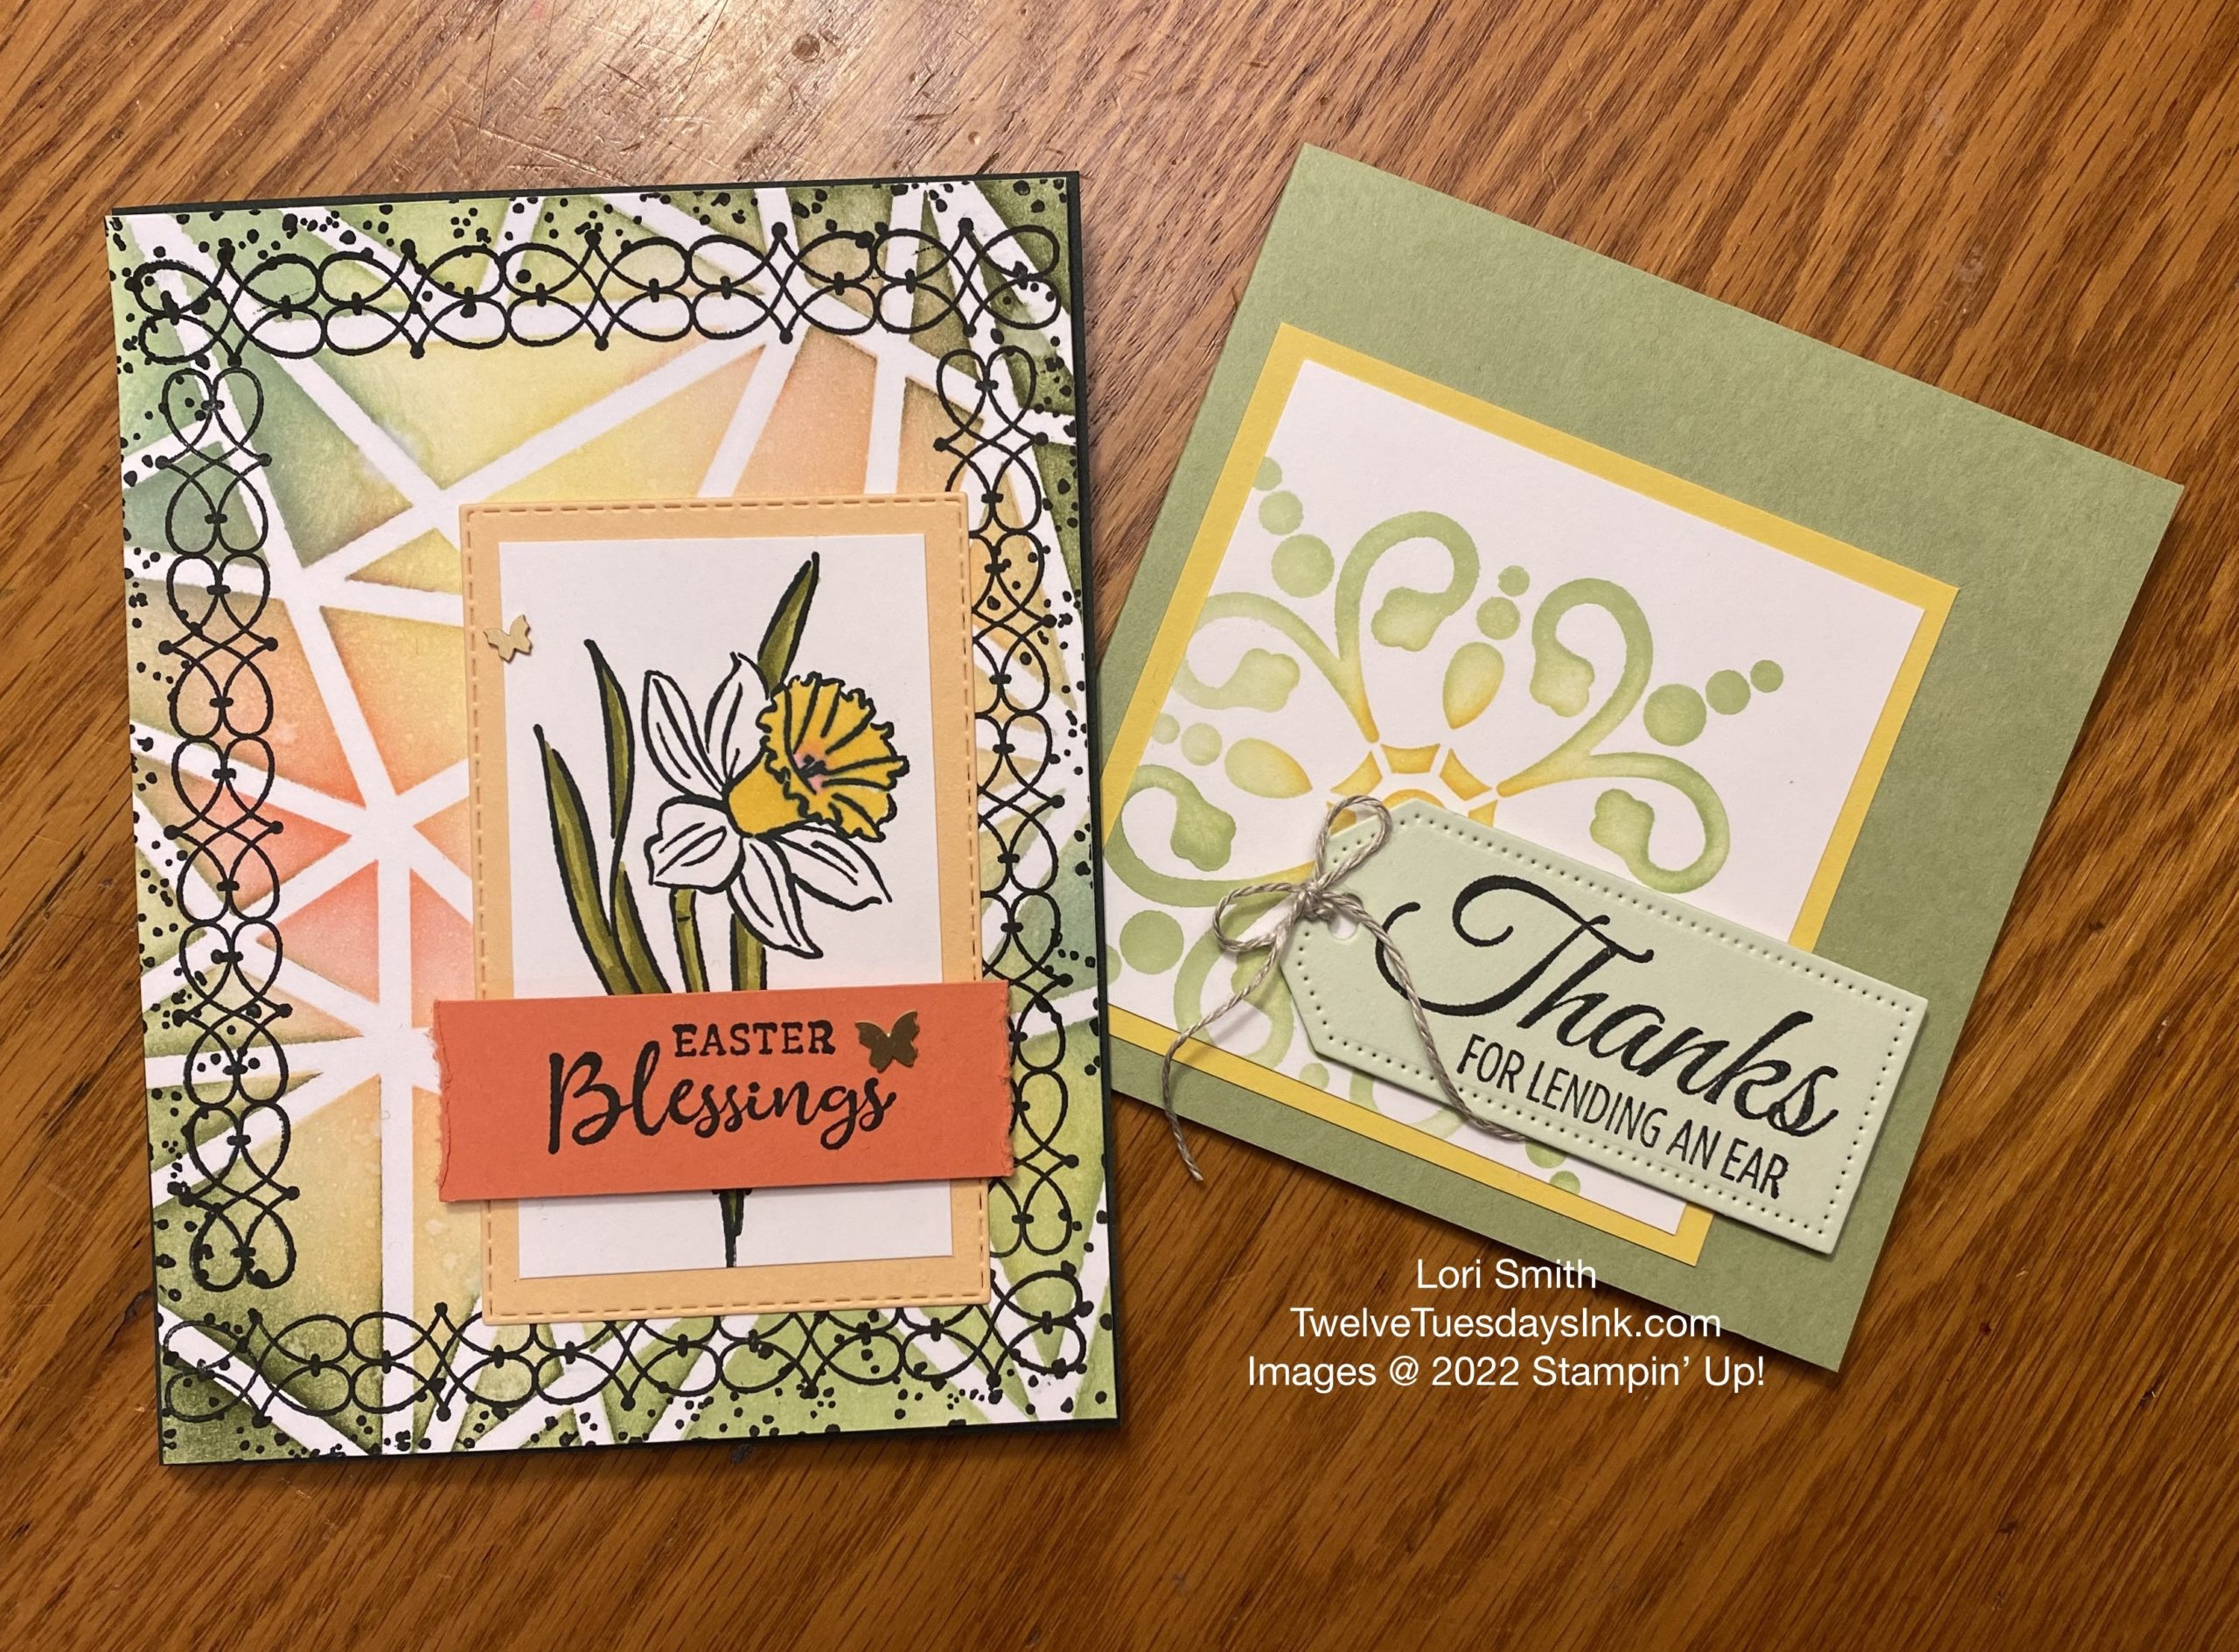
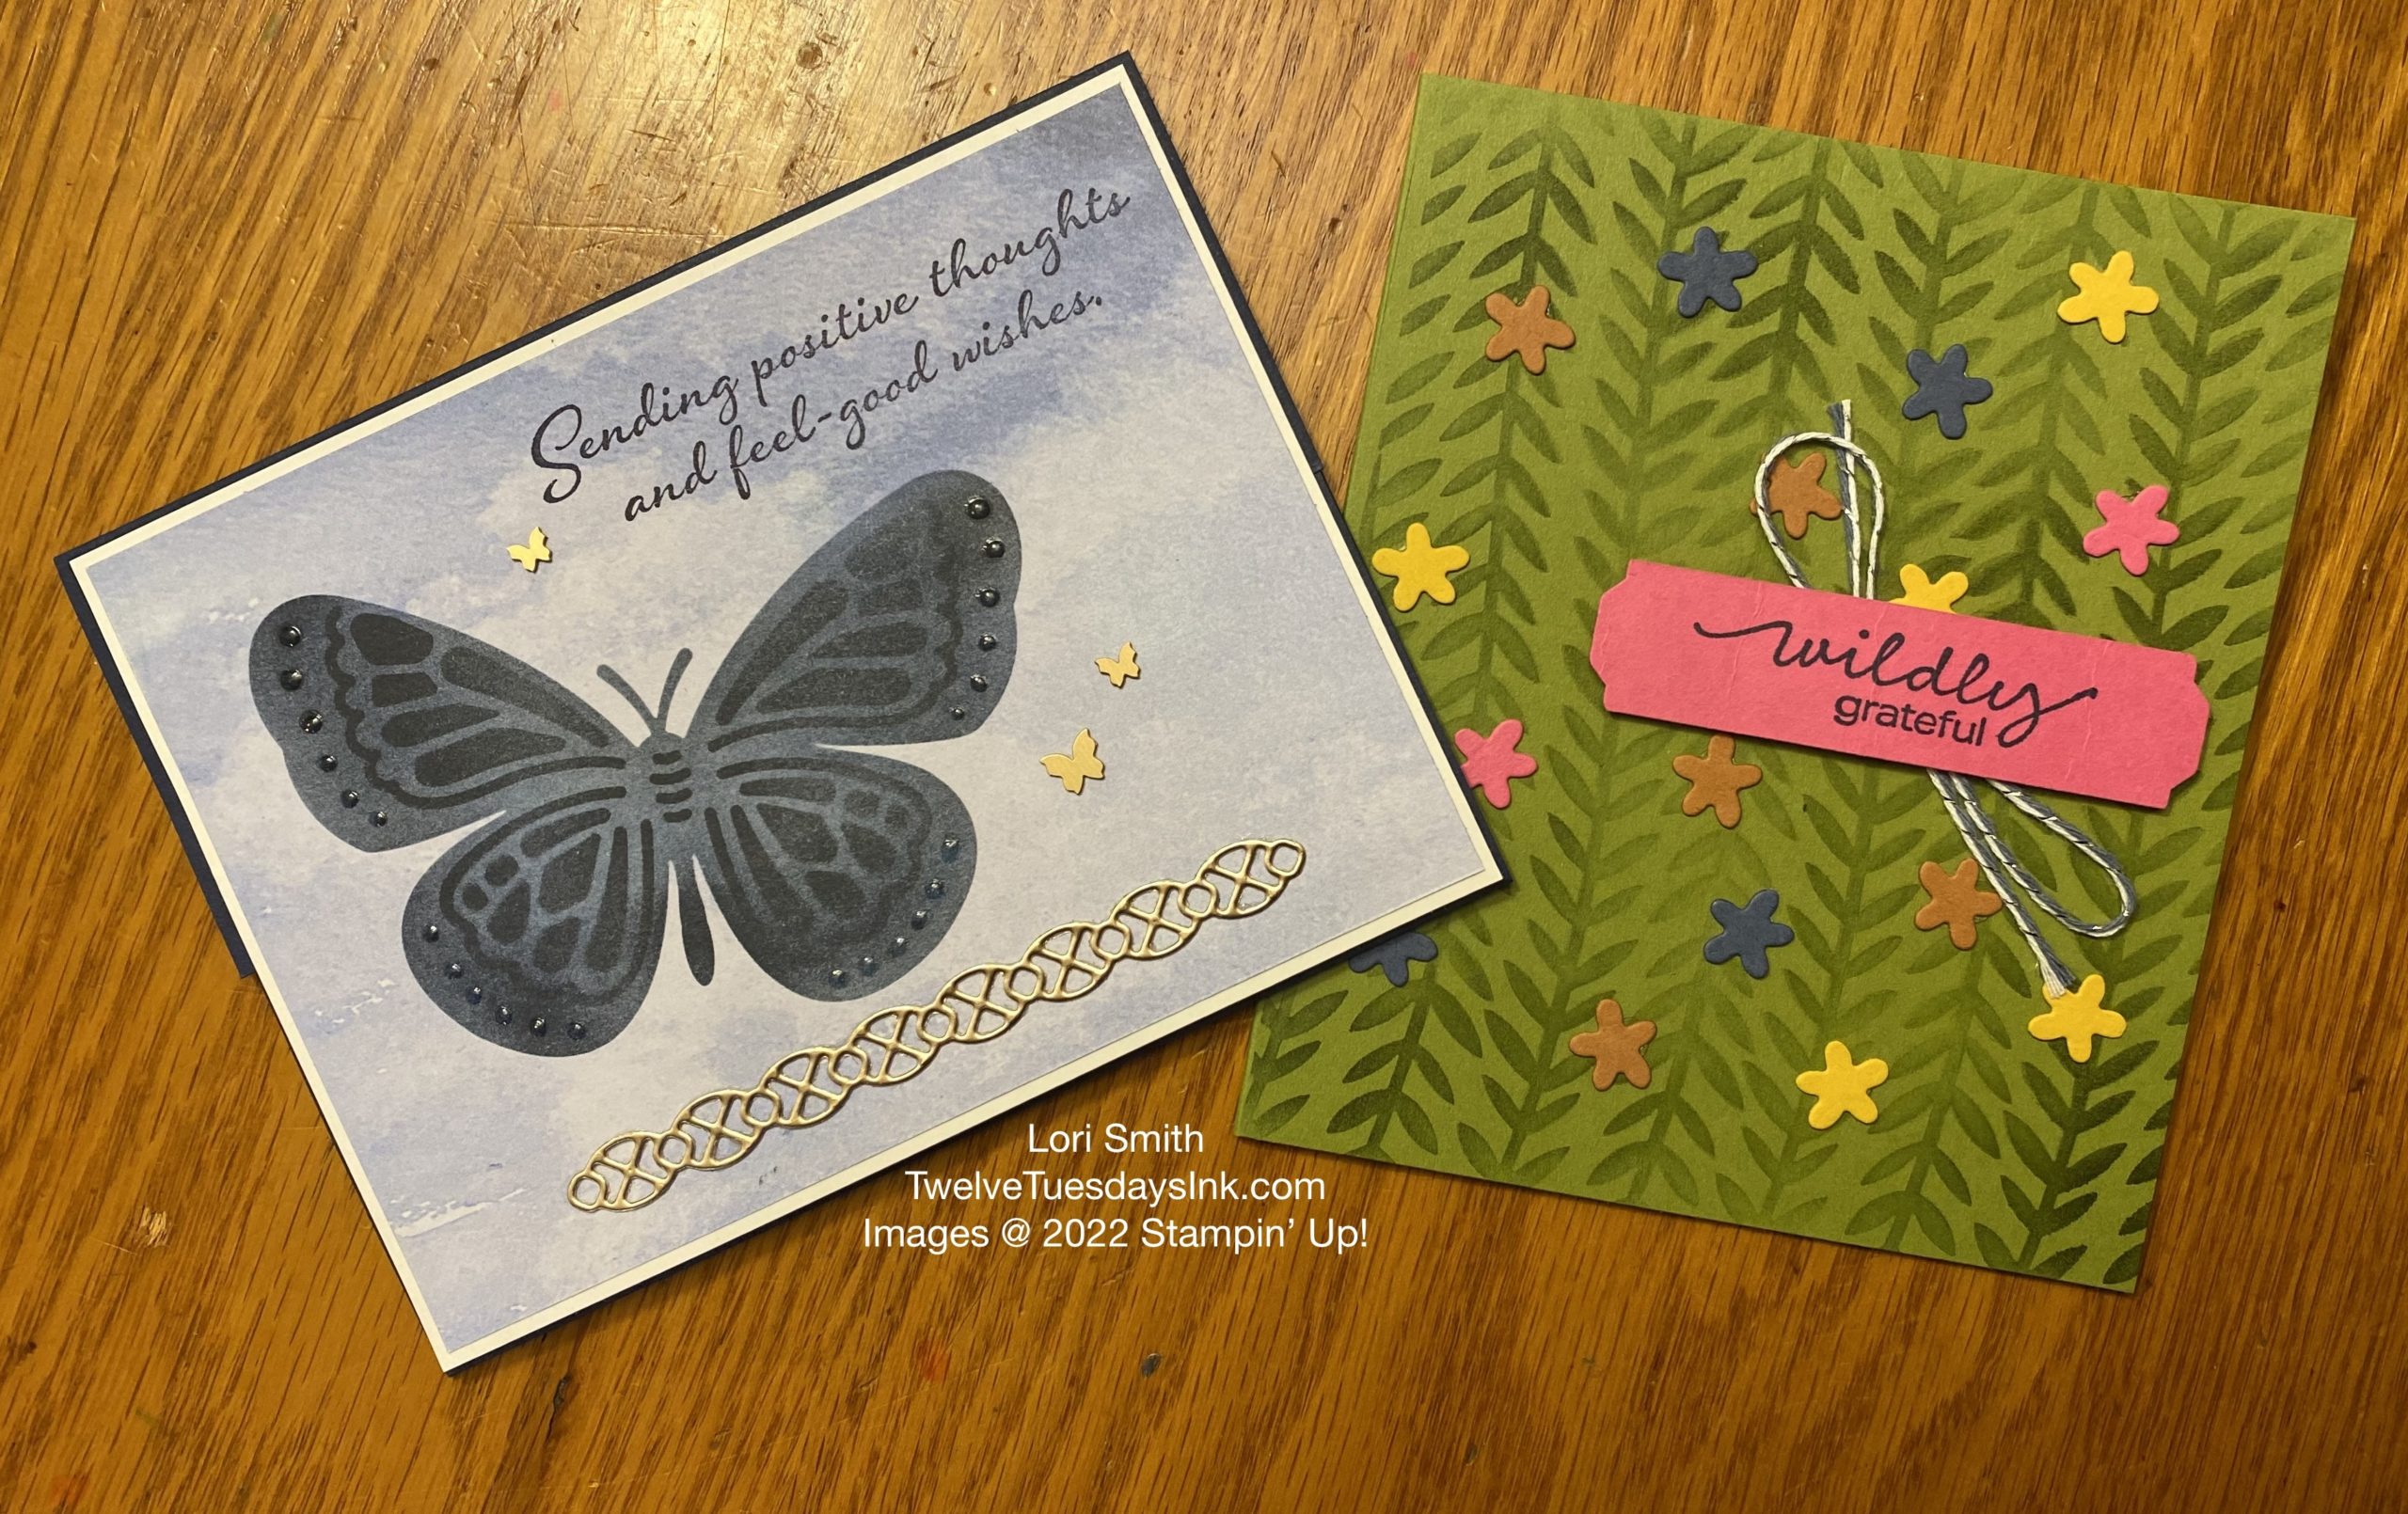
Mask Collage
Here is another card I made using the Plenty of Patterns masks. I incorporated all of the masks on the card front. Except for using the green ink and blending brush with one mask, I spritzed different ink colors in various areas with the other three masks. The embellishments add a little interest, even though the sentiment is simple.
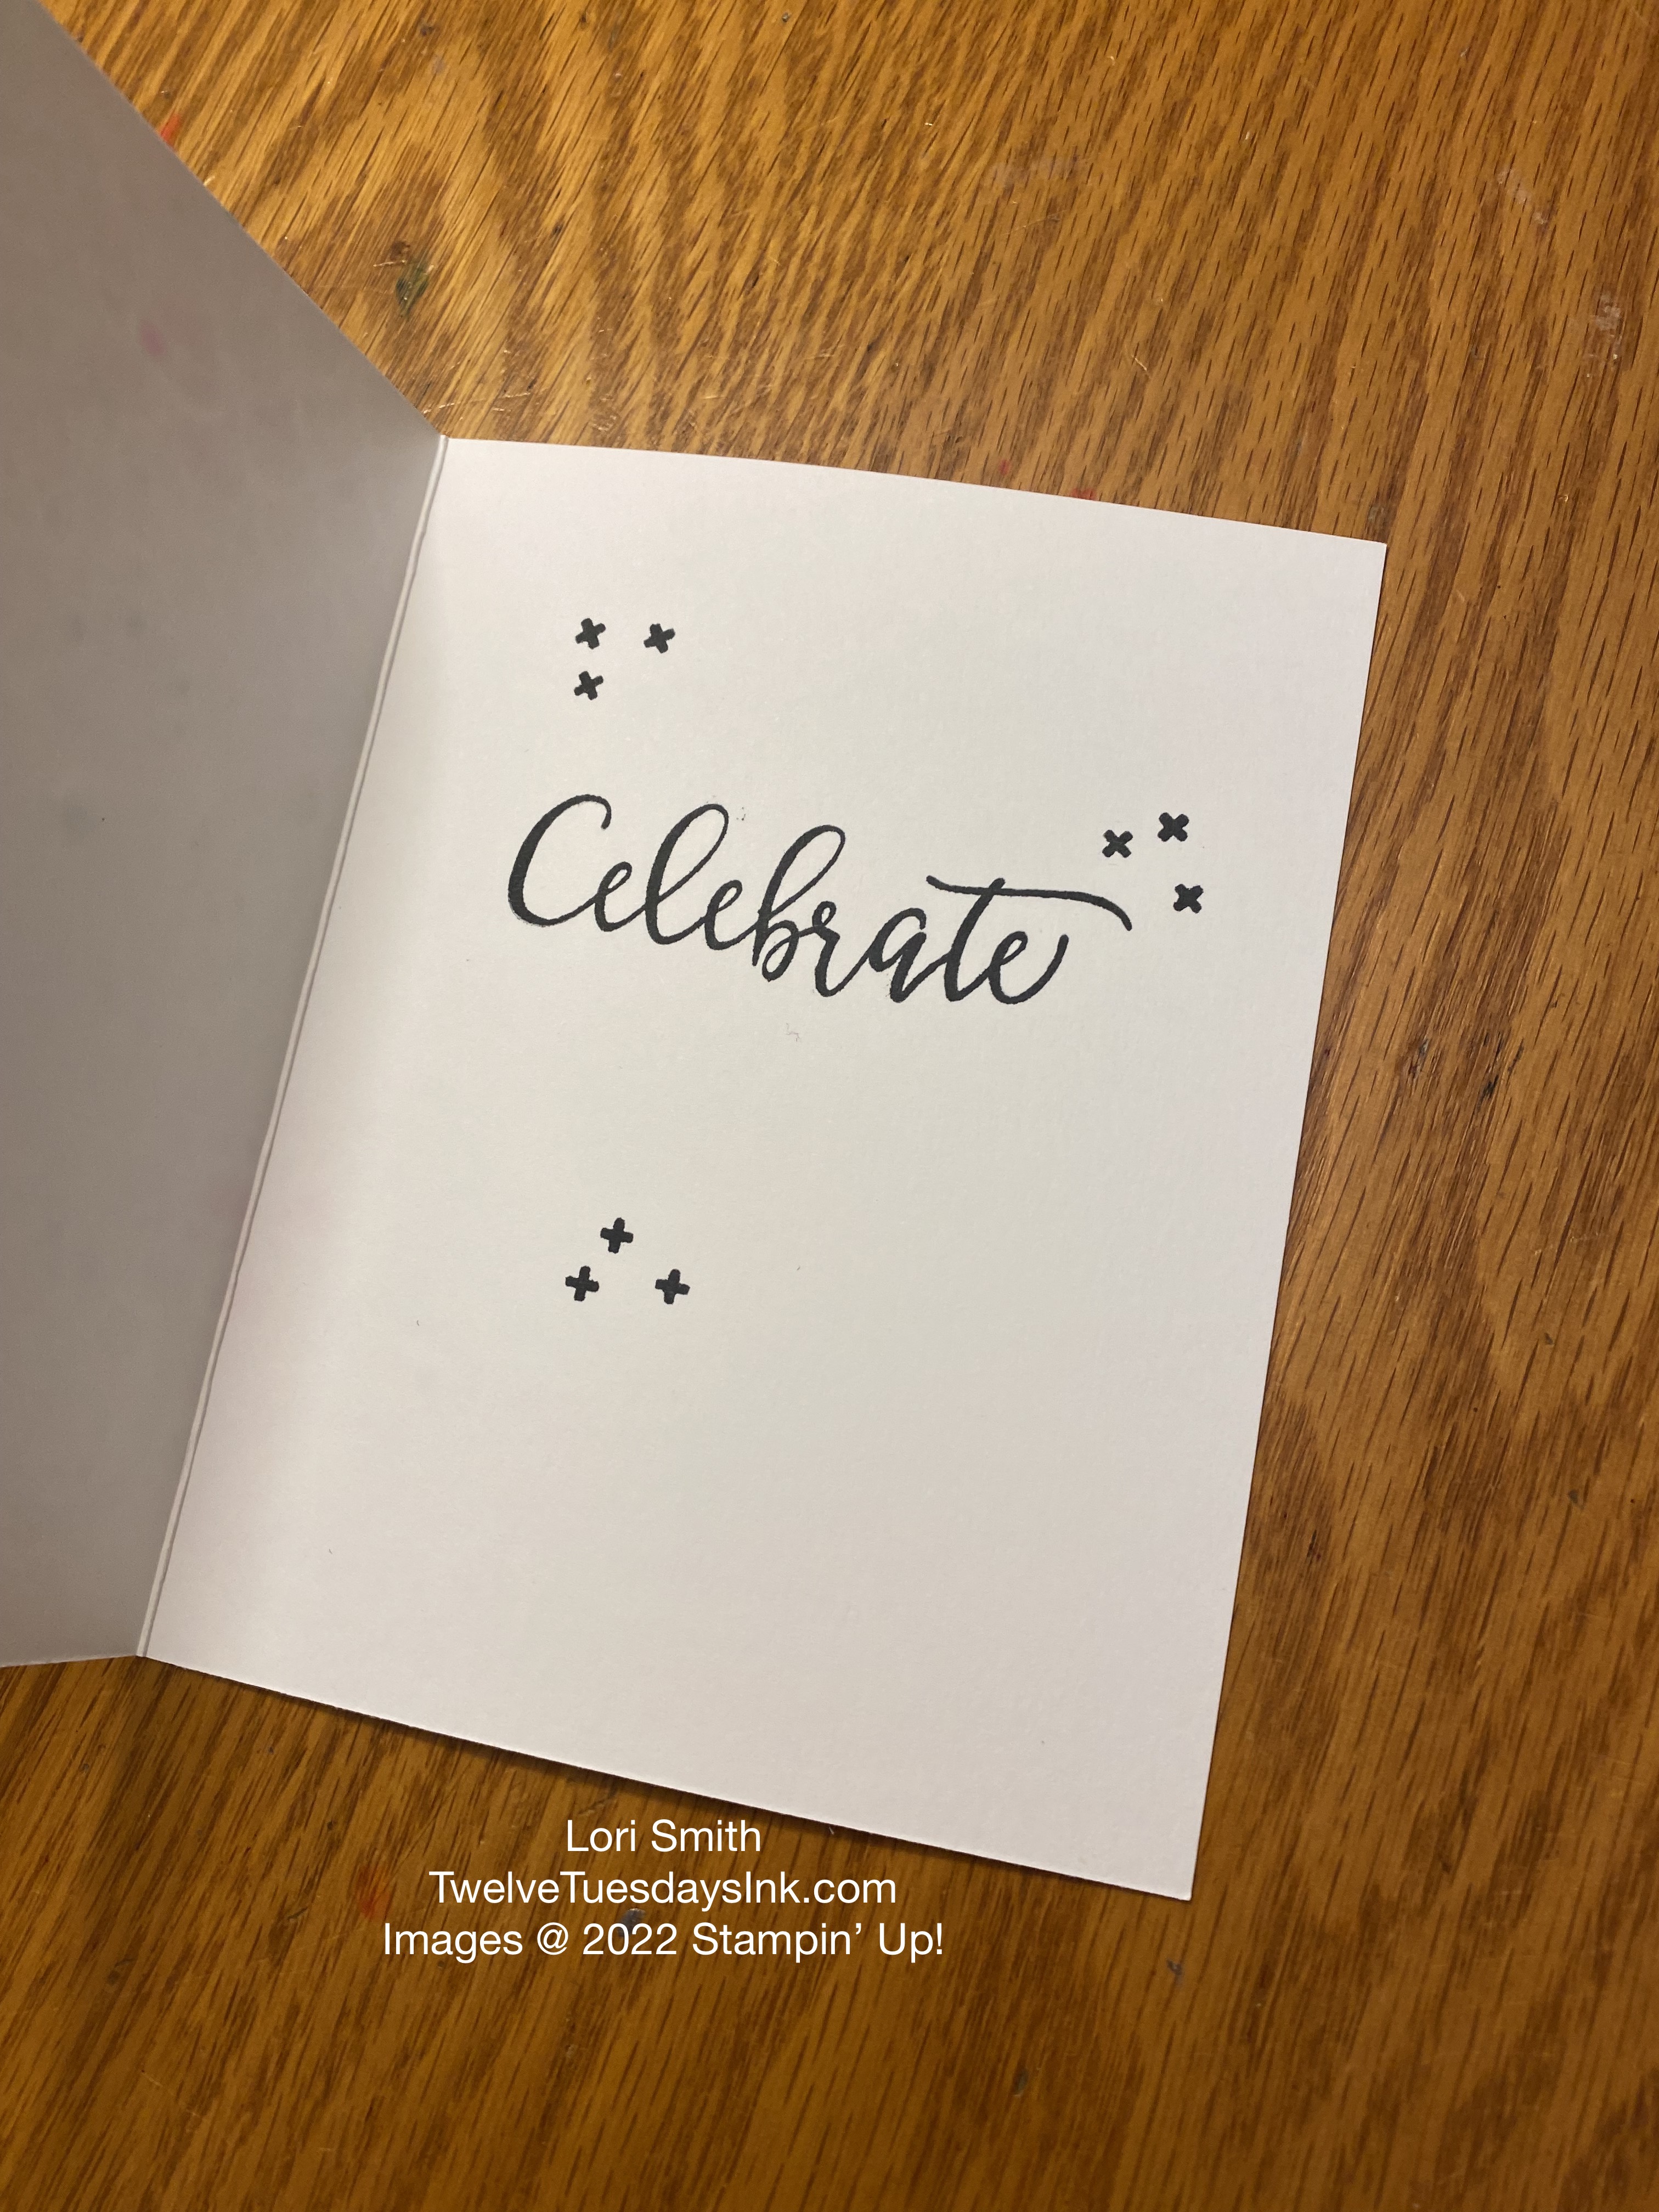
I also, simply stamped the inside.
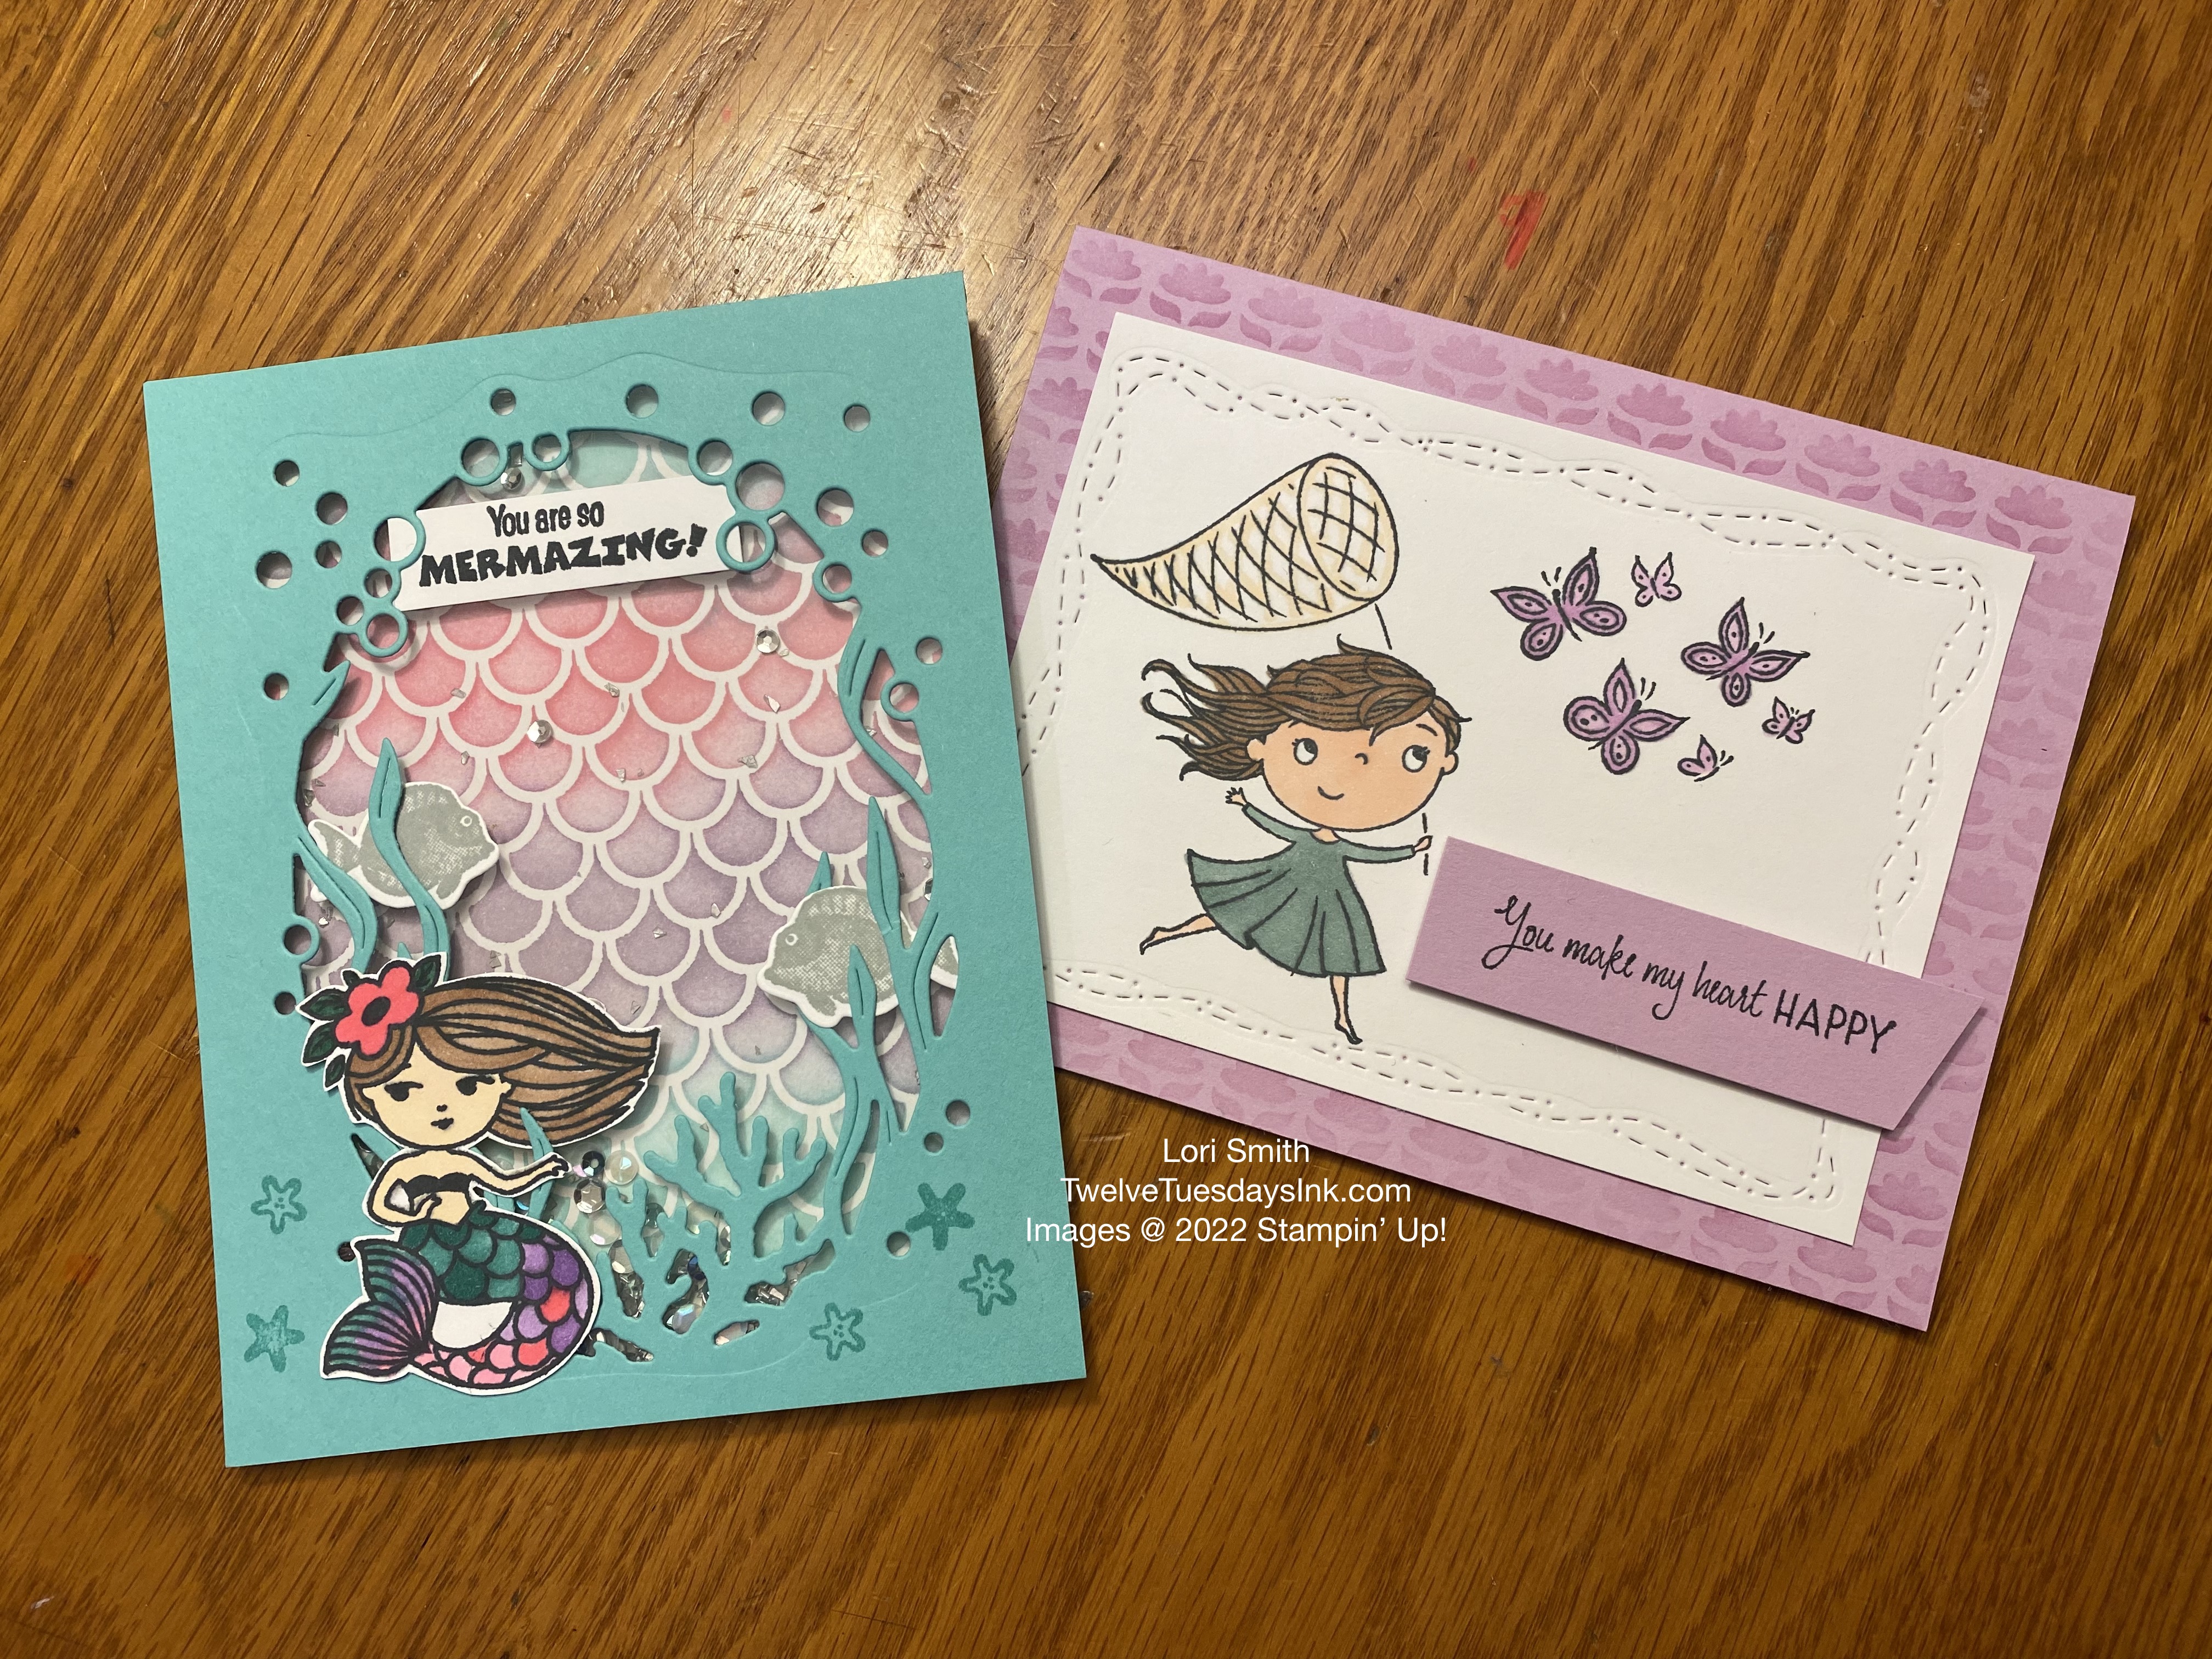
Working with the masks made me realize how easy they are to use. So, why don’t I use them more? I really don’t have a good answer. But I did make a few other cards when I had them out of the package. These two mask sets won’t be available much longer, so if you’d like to try crafting with some, get them now.
Coming soon are the Artistic Mix Decorative Masks, in the May 2022 to April 2023 Annual Stamping’ Up! Catalog. These are already on my wishlist, and I can’t wait! Go to my Supplies Page to see the latest of what’s all available at my online store.